I was an active supporter of open.yellow.os at the beginning of its development, but after a while, for various reasons, I had to keep my distance from it. Now that everything has settled down and RC1 has been released, I would like to show you the installation procedure.
Download the image file
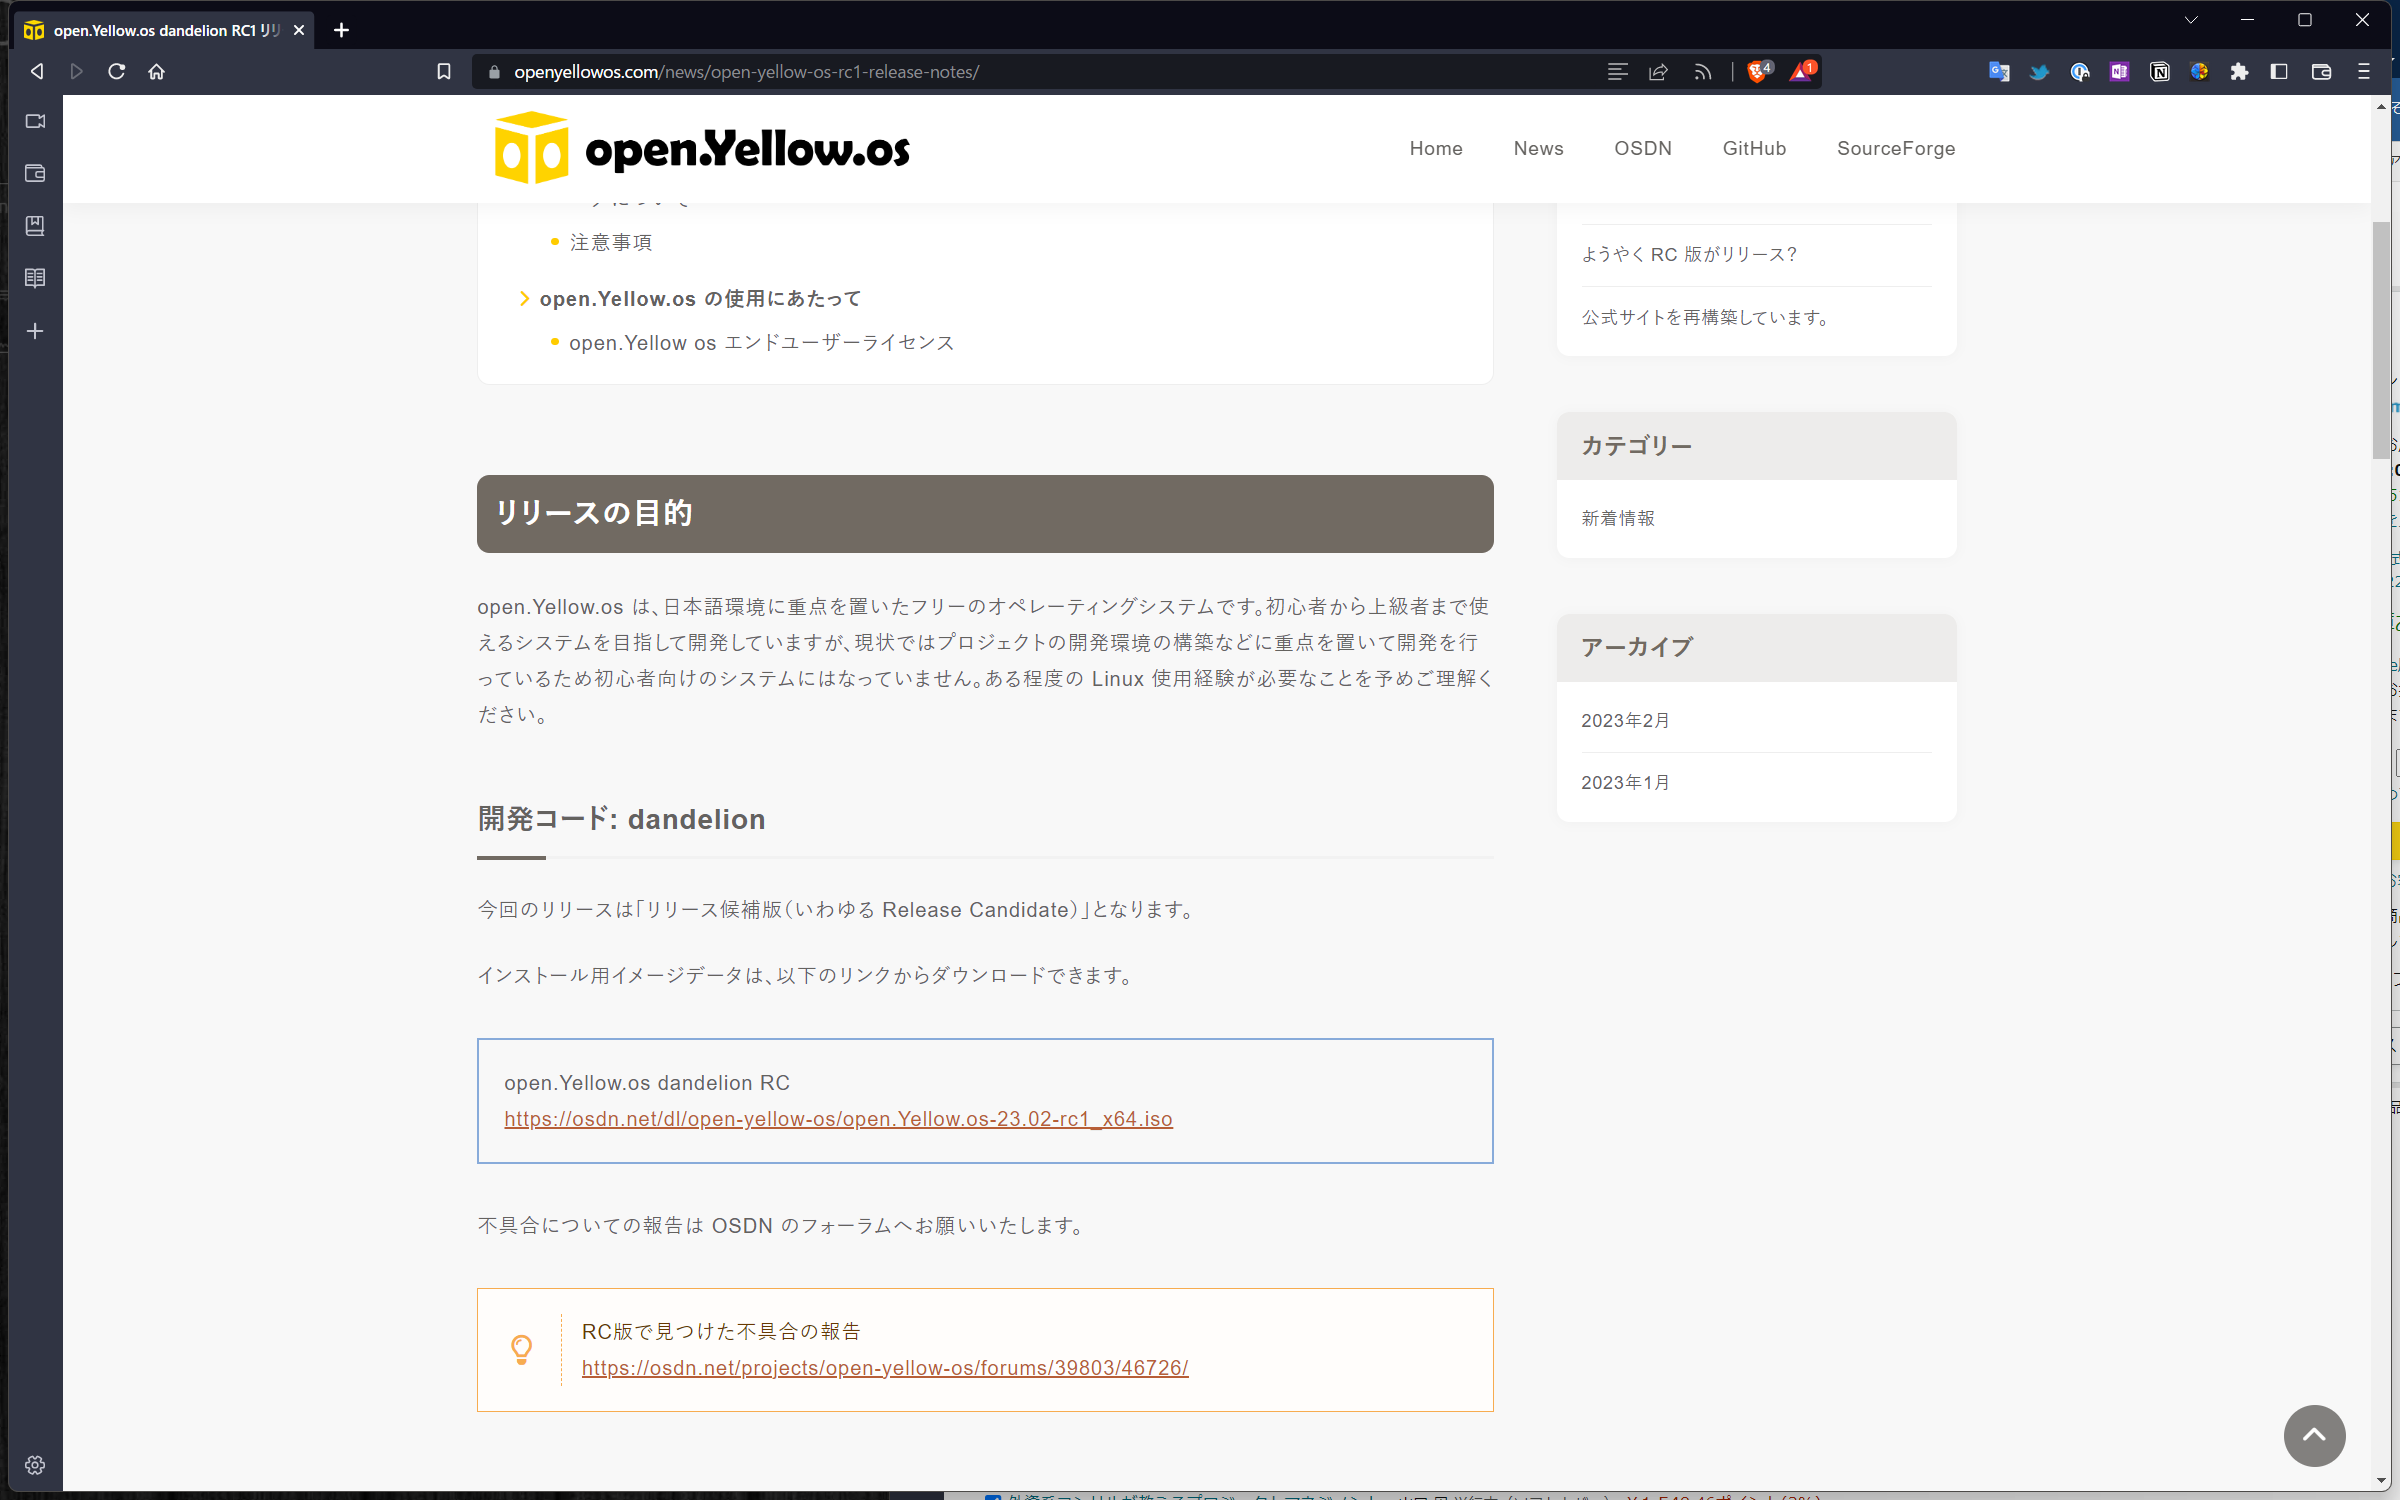
https://openyellowos.com/news/open-yellow-os-rc1-release-notes/
Download from here.
Preparation in VMware
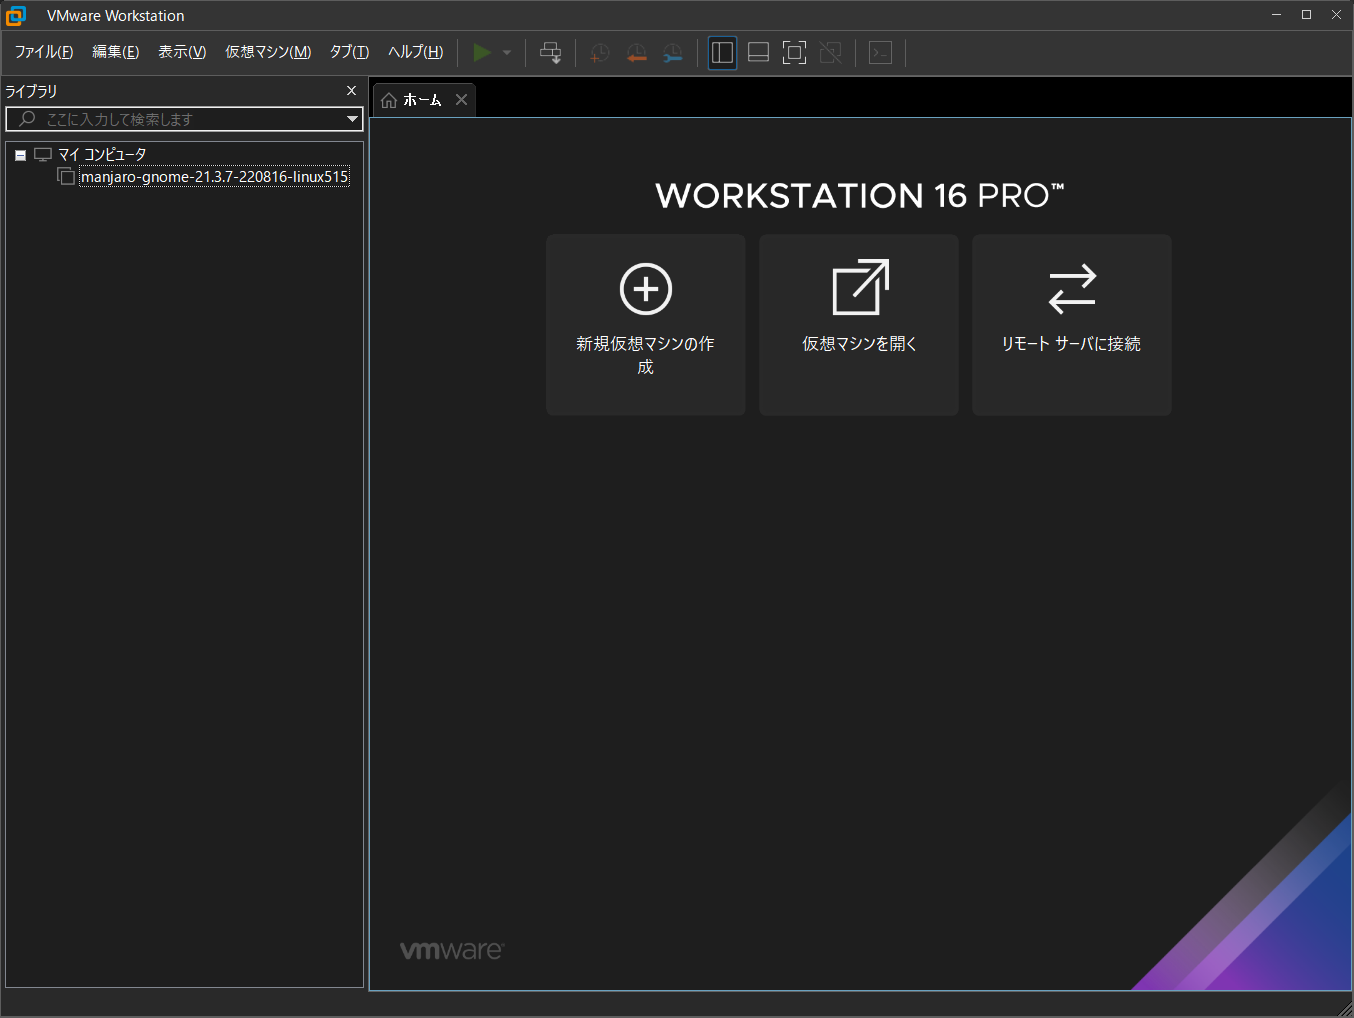
Create a new virtual machine in VMware.
-
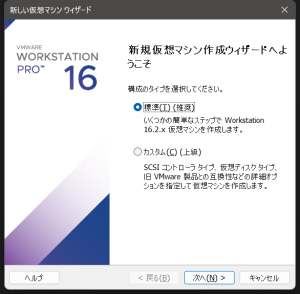
- 表示順で始めます

-

- 後でOSを入れることとします

-

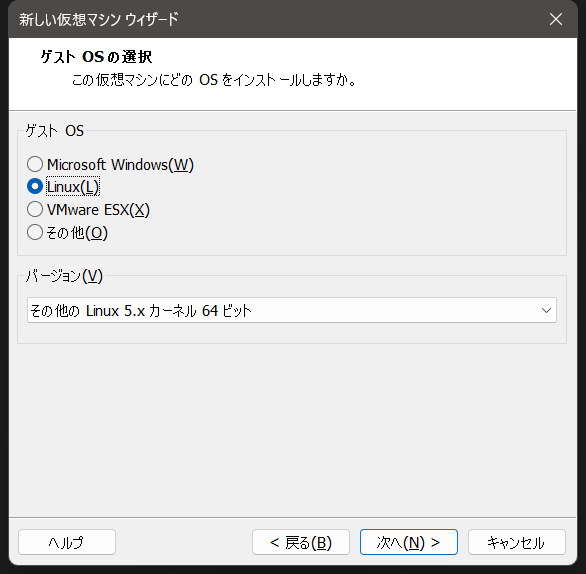
- Linuxを選び
-
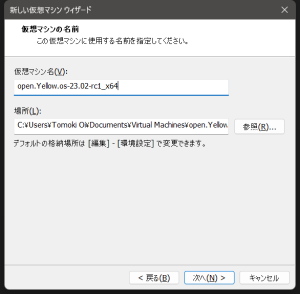
- 名前をDLしたファイル名にしてみます

-

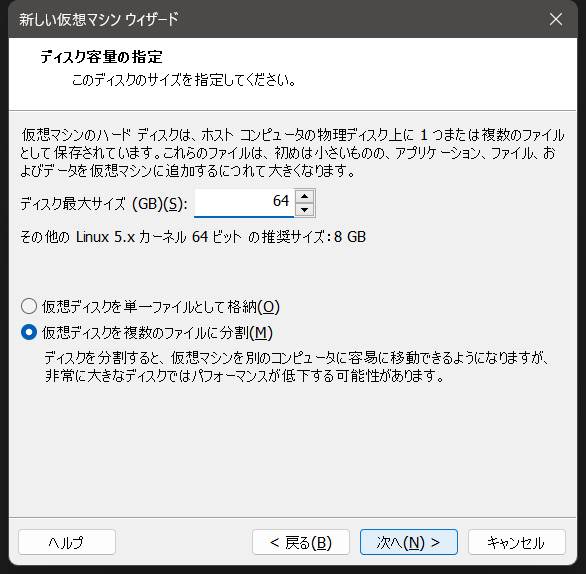
- ディスクは64GB程度を準備して
-

- ここから更にカスタマイズです
-
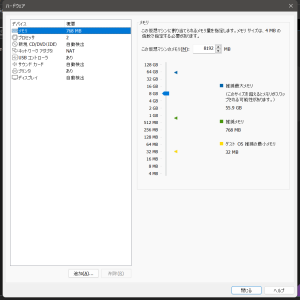
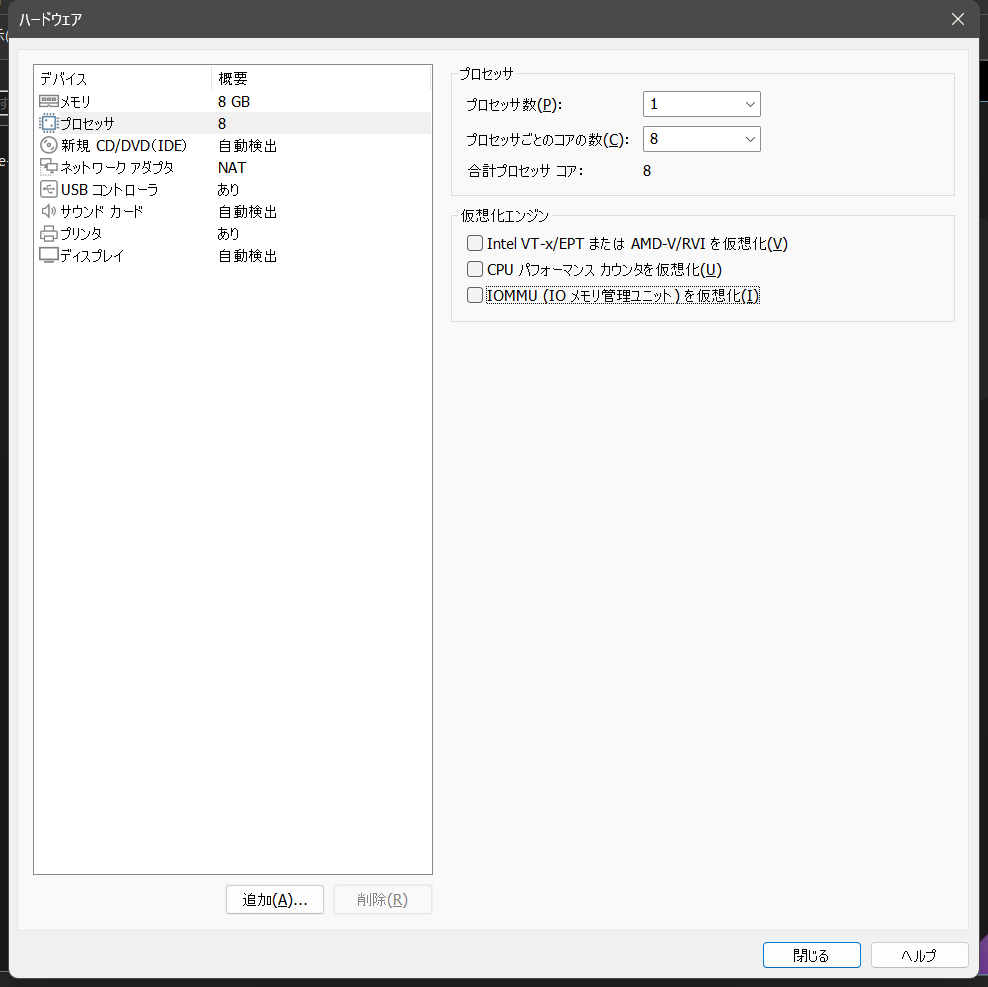
- メモリは8GBくらいでしょうか

-
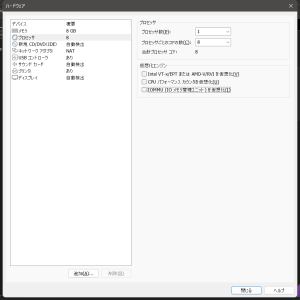
- プロセッサはオクタコアにして
-
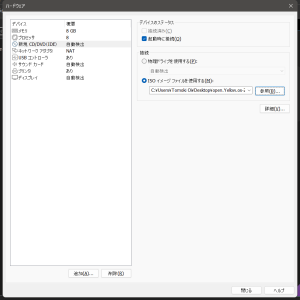
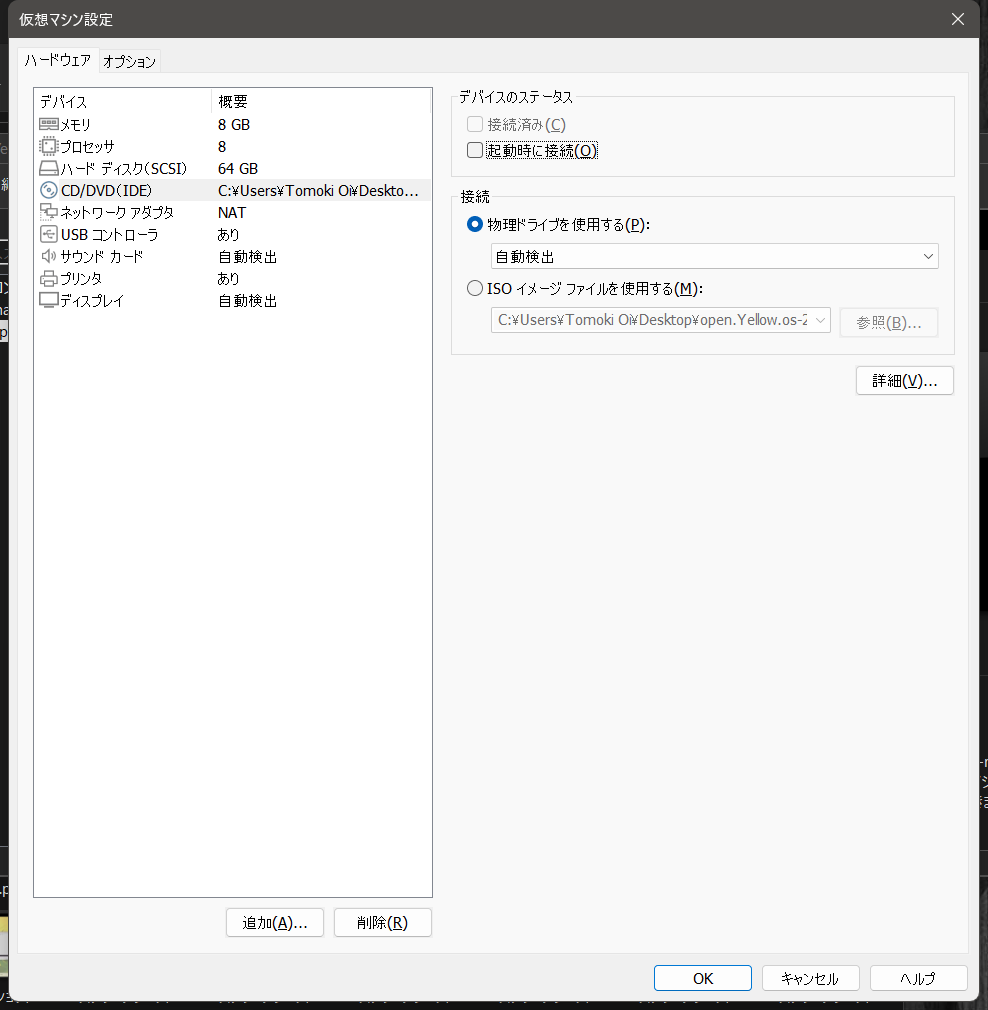
- ※ここ重要!DLしたisoファイルを指定します

-
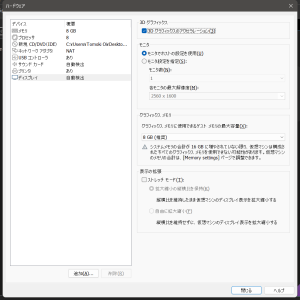
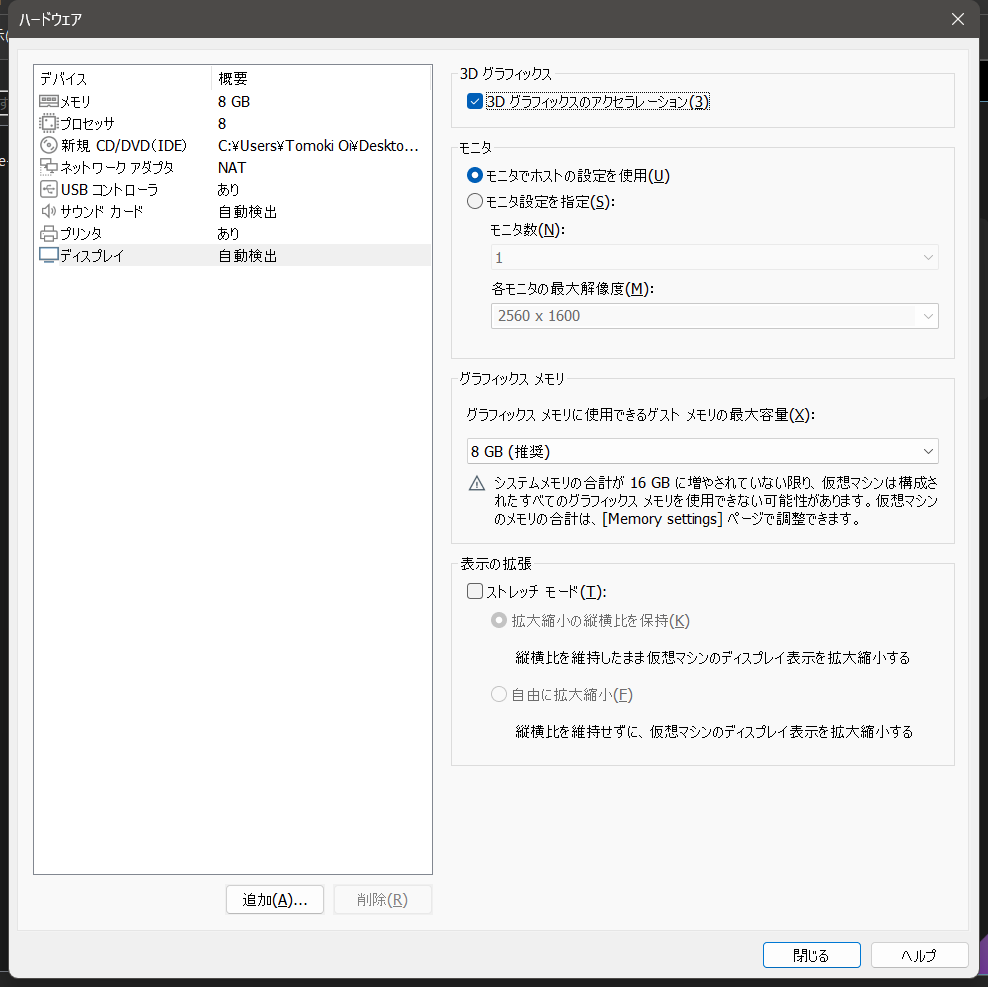
- 3Dグラフィックを有効にして
-

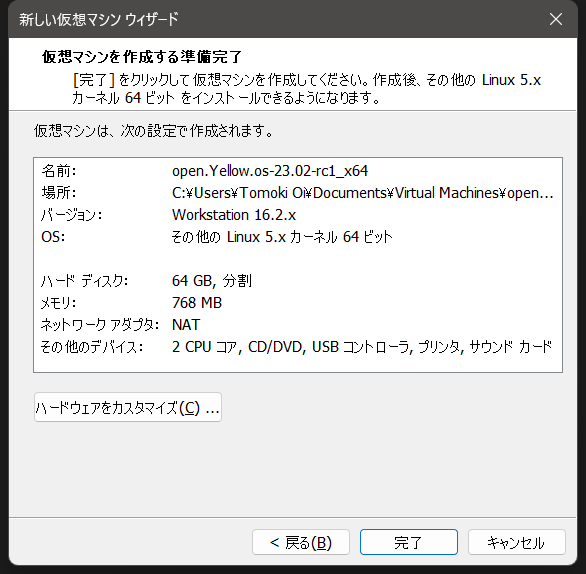
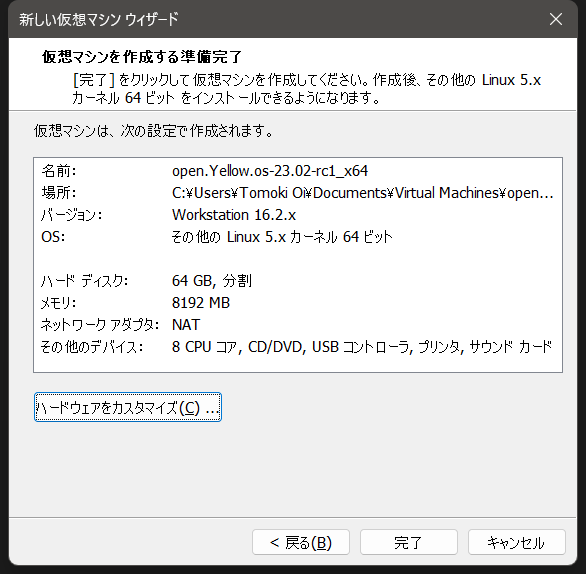
- 準備完了です。
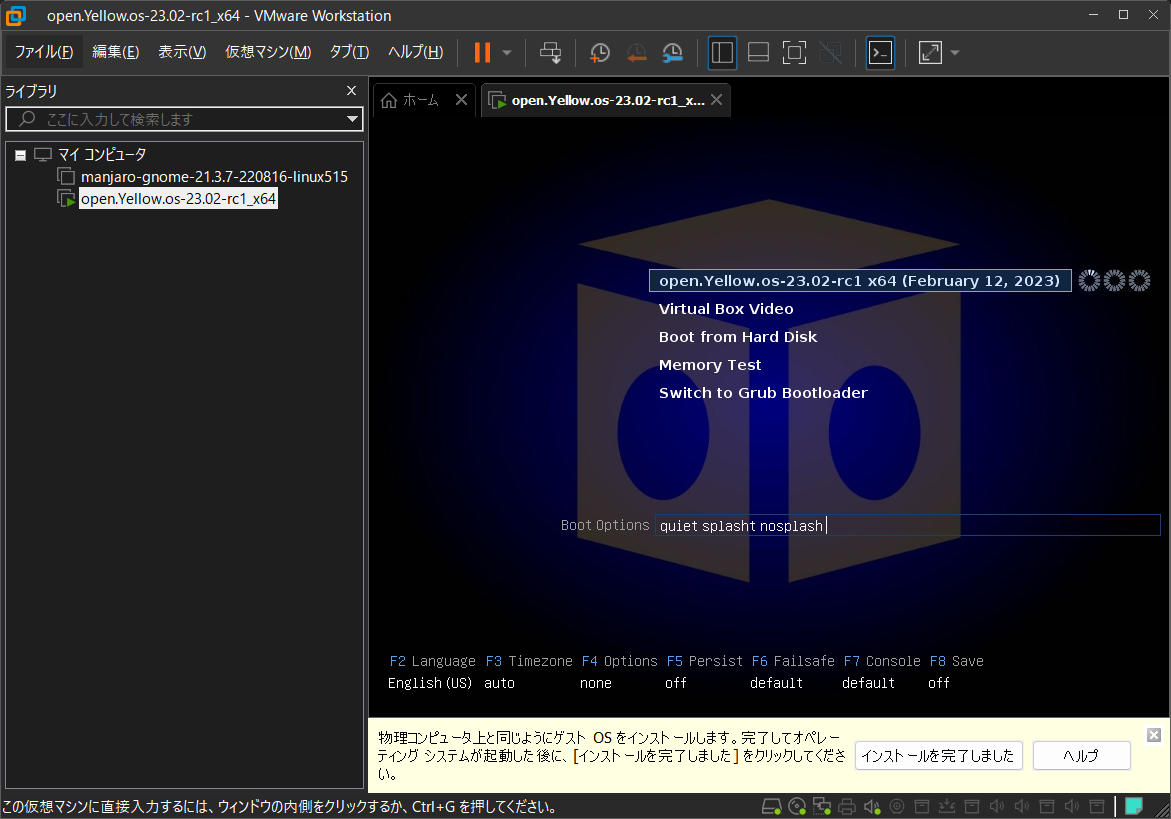
Start live media
This is where things take an awfully long time.
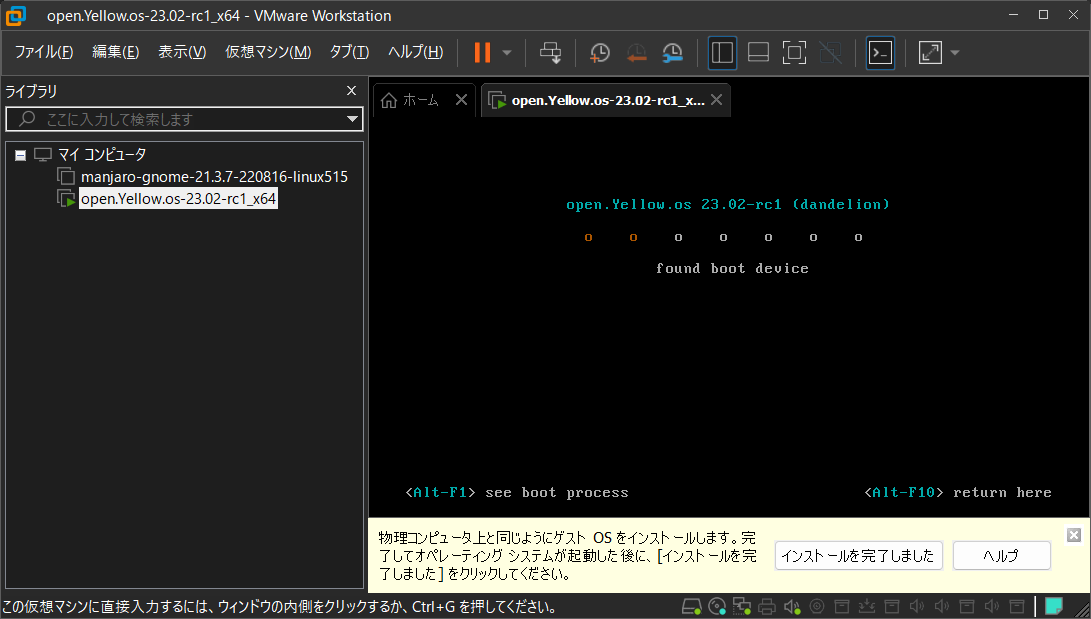
Be still, be patient. Oh, you can go to the bathroom.
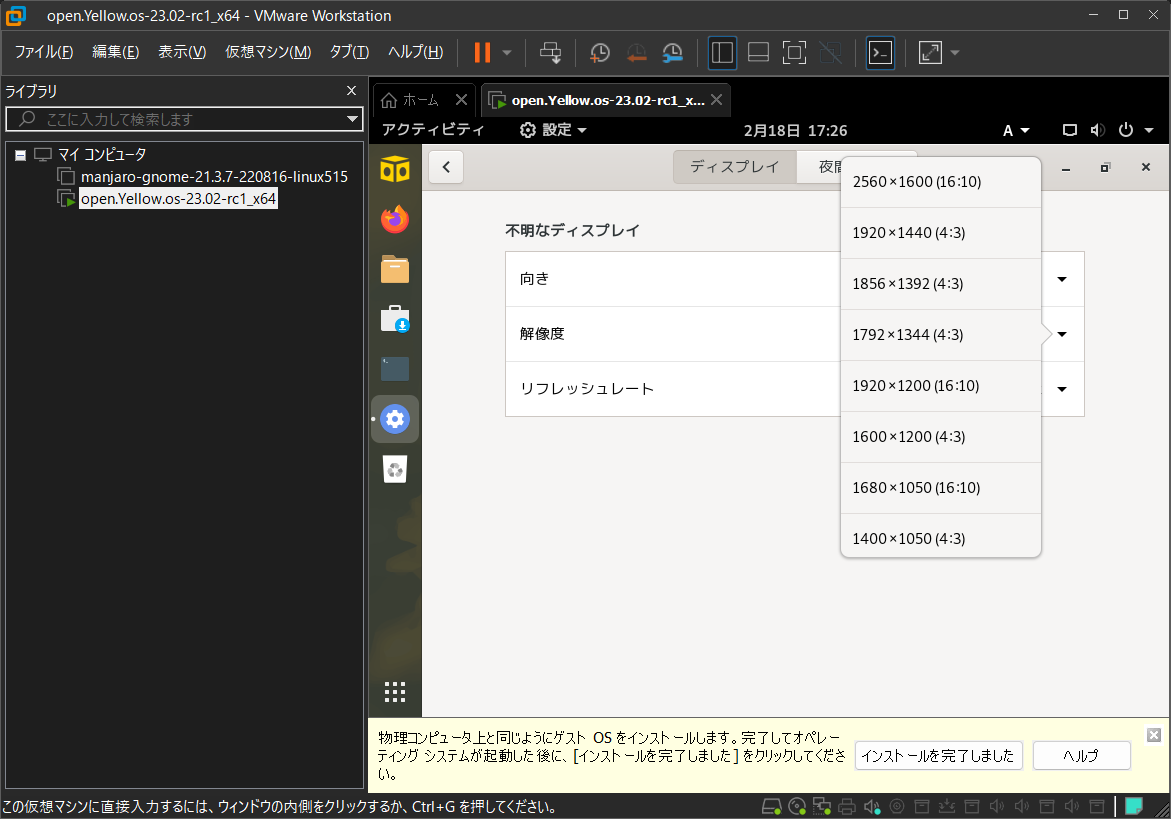
Increase the resolution to work more efficiently.
-
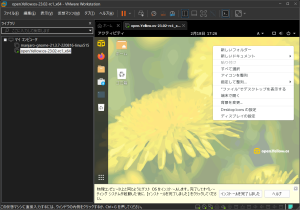
- デスクトップで右クリック「

-
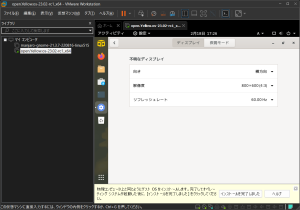
- ディスプレイを選んで

-
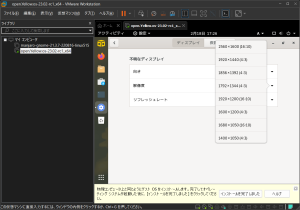
- 解像度を1920X1024くらいにしましょうか
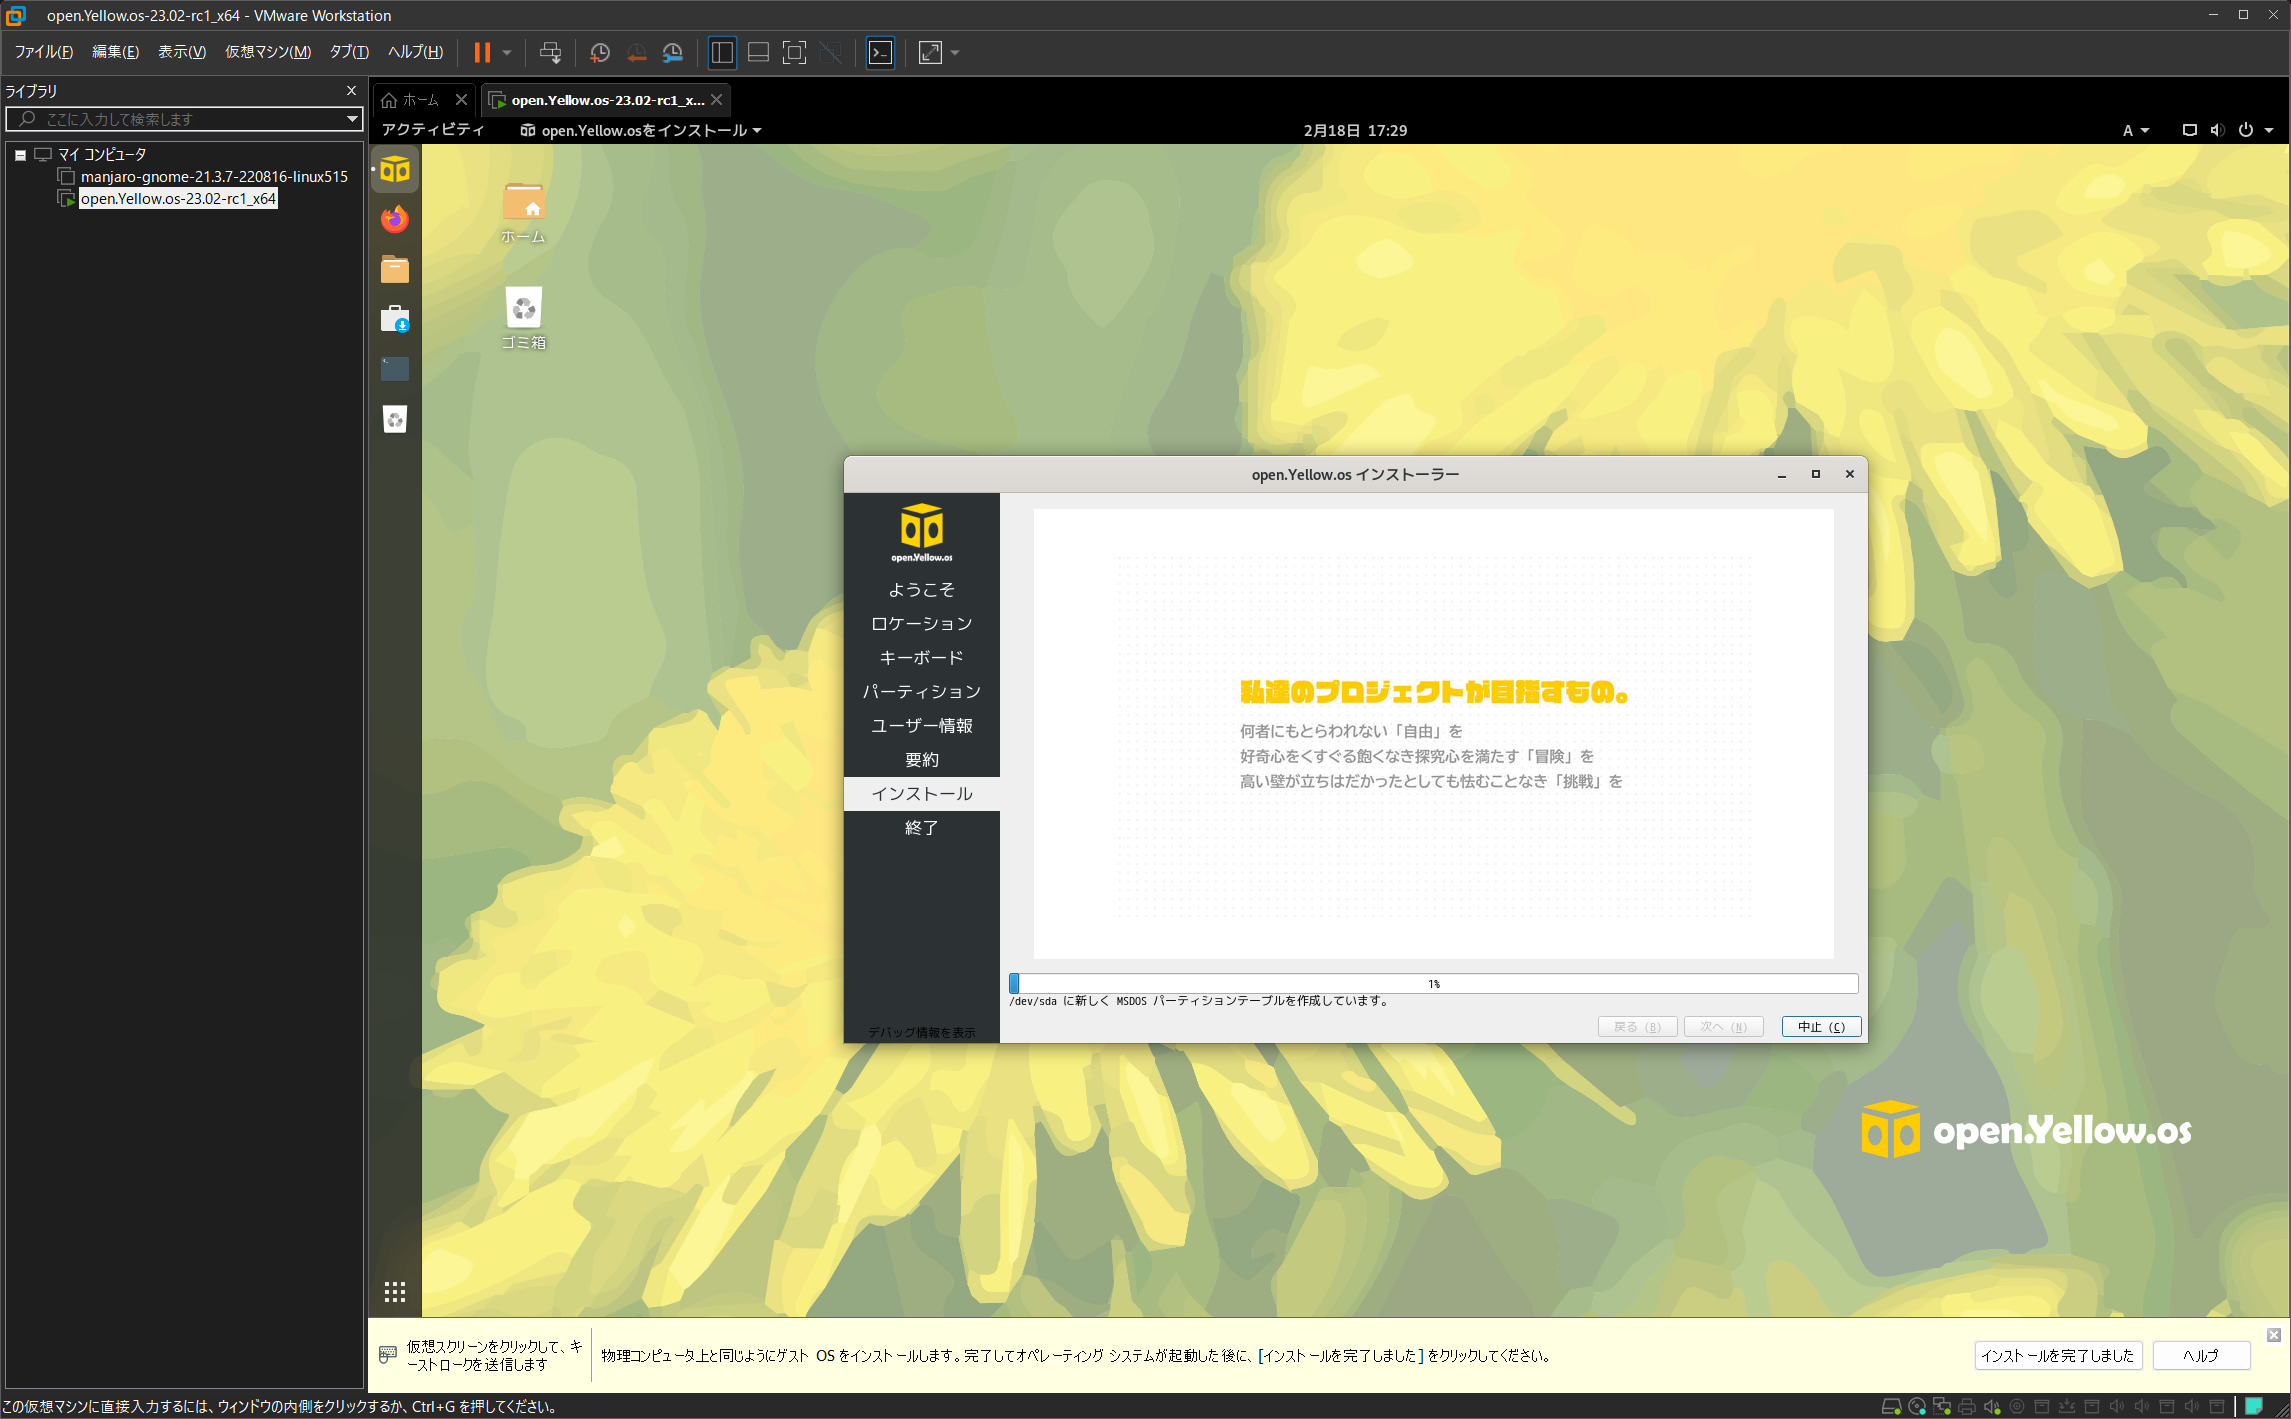
Installation Process
-
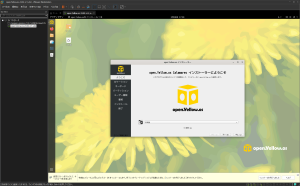
- 左上のロゴマークをクリックでインストールスタート

-
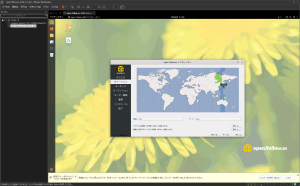
- 地域はすでに日本ですので、そのまま進みます

-
- キーボードレイアウトも日本語ですので進みます

-

- VMですので、ディスクを全部使います

-
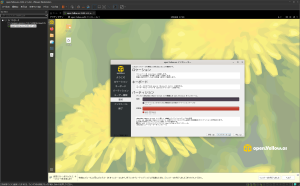
- 確認画面です

-

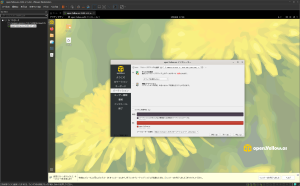
- ユーザー名とスワードを記述します

-

- 単純なパスワードは蹴られます


-
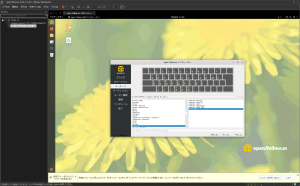
- 最後の確認画面です

-

- 少し時間がかかります
-

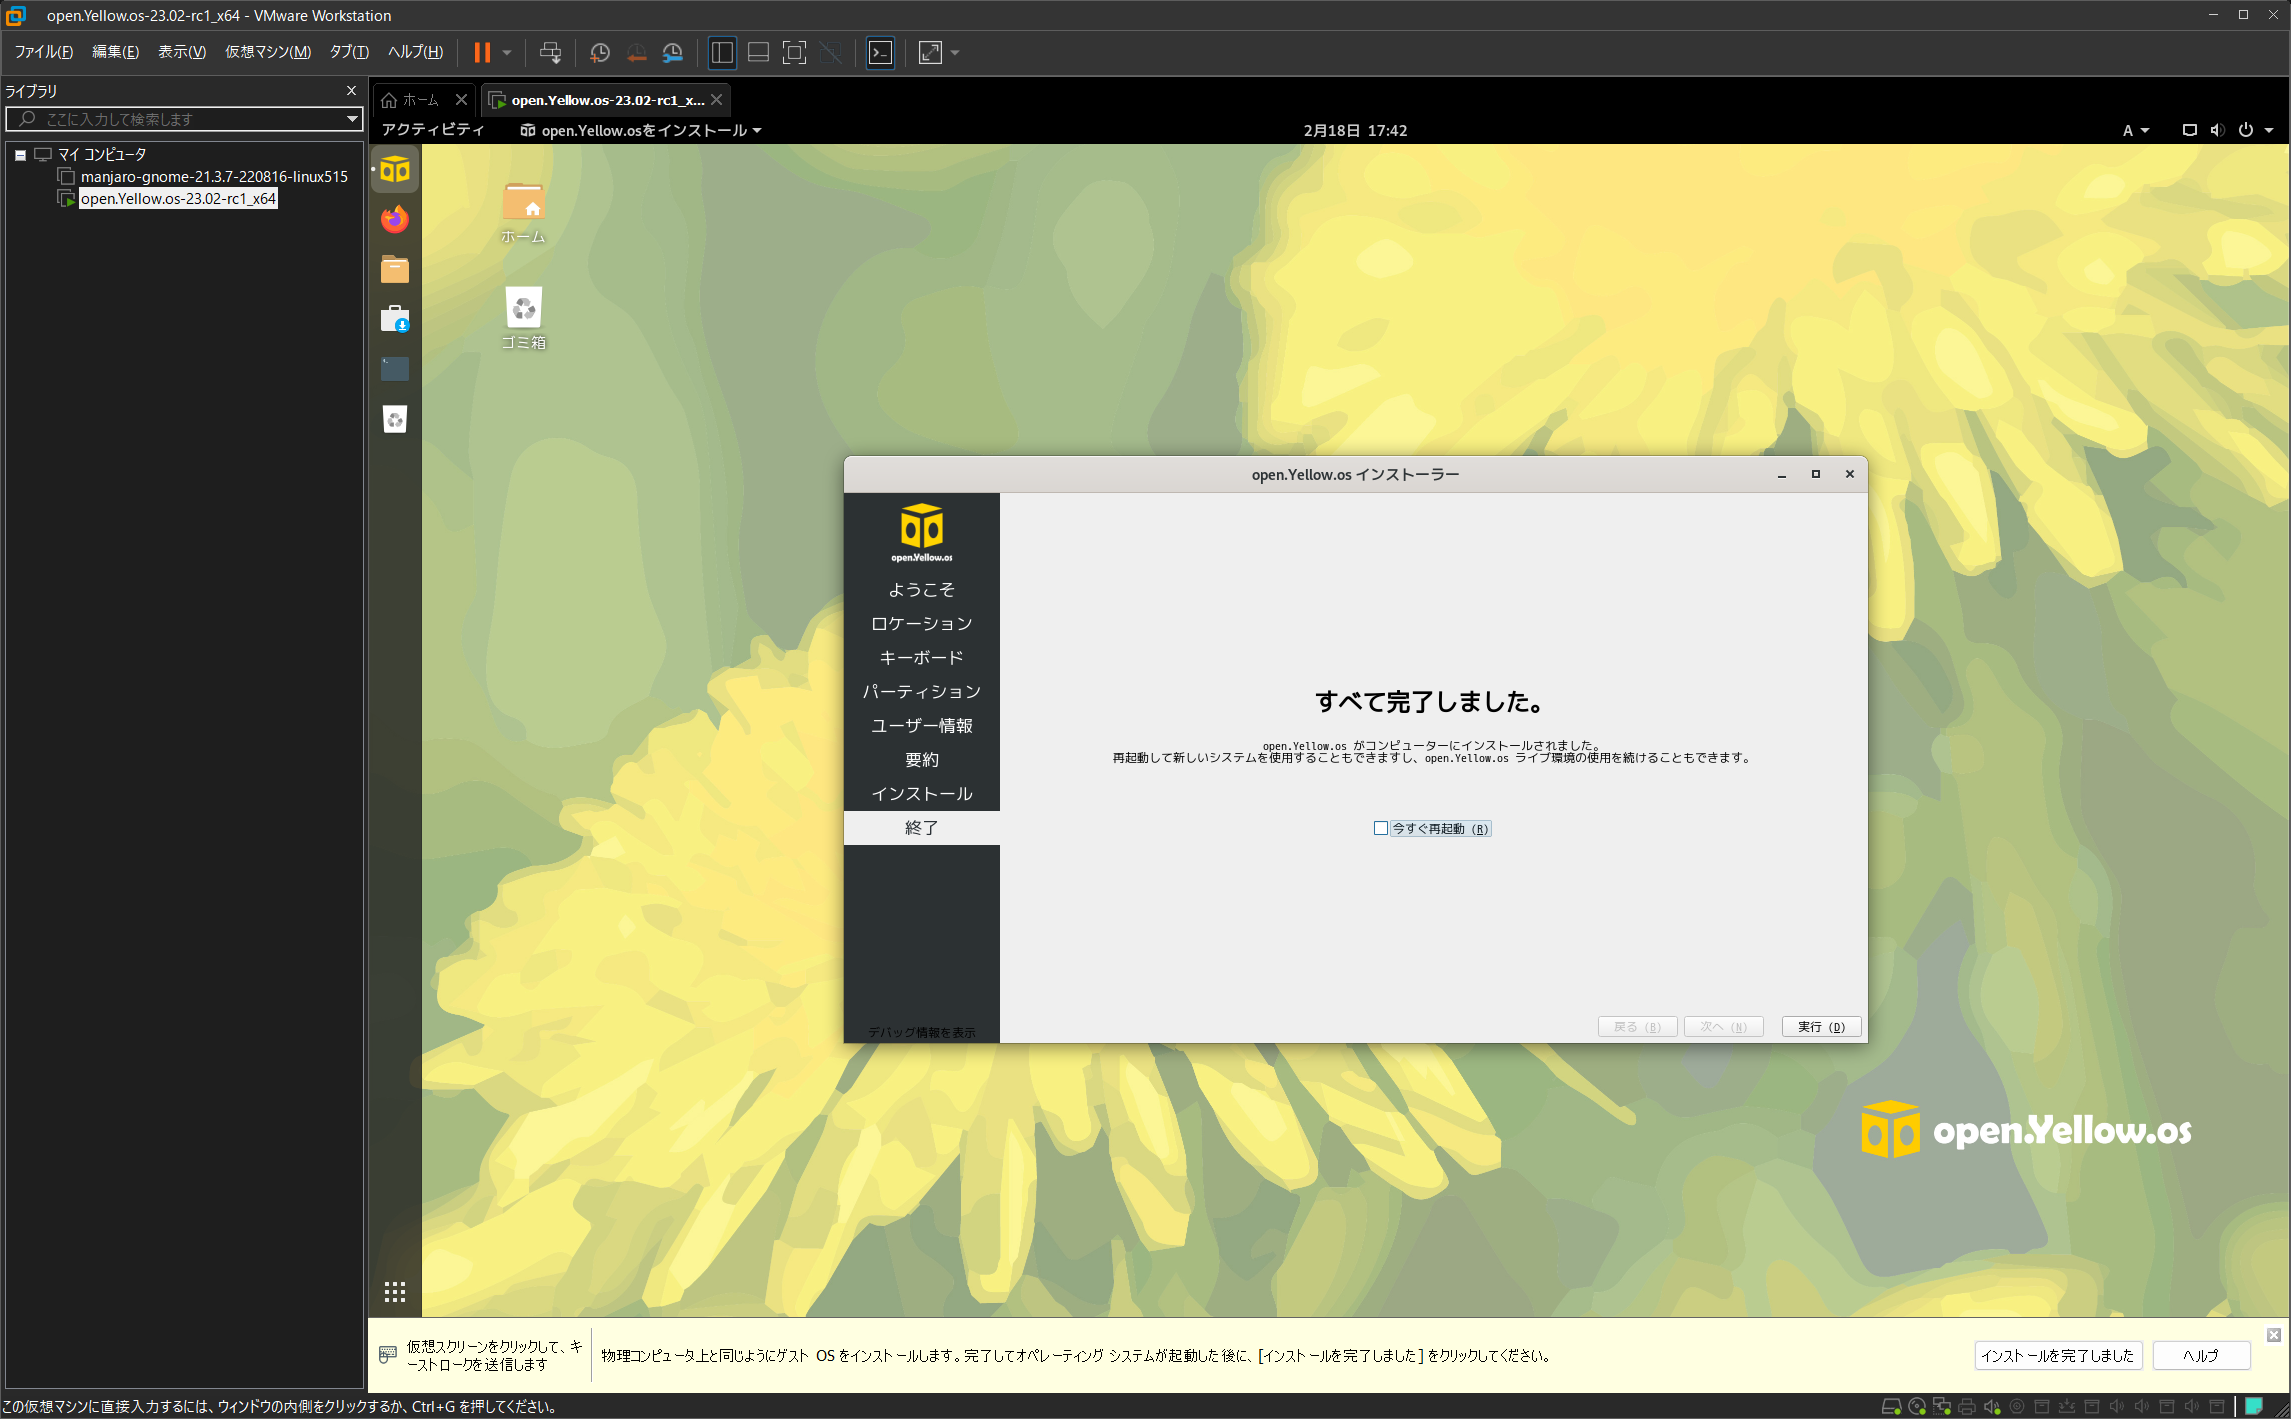
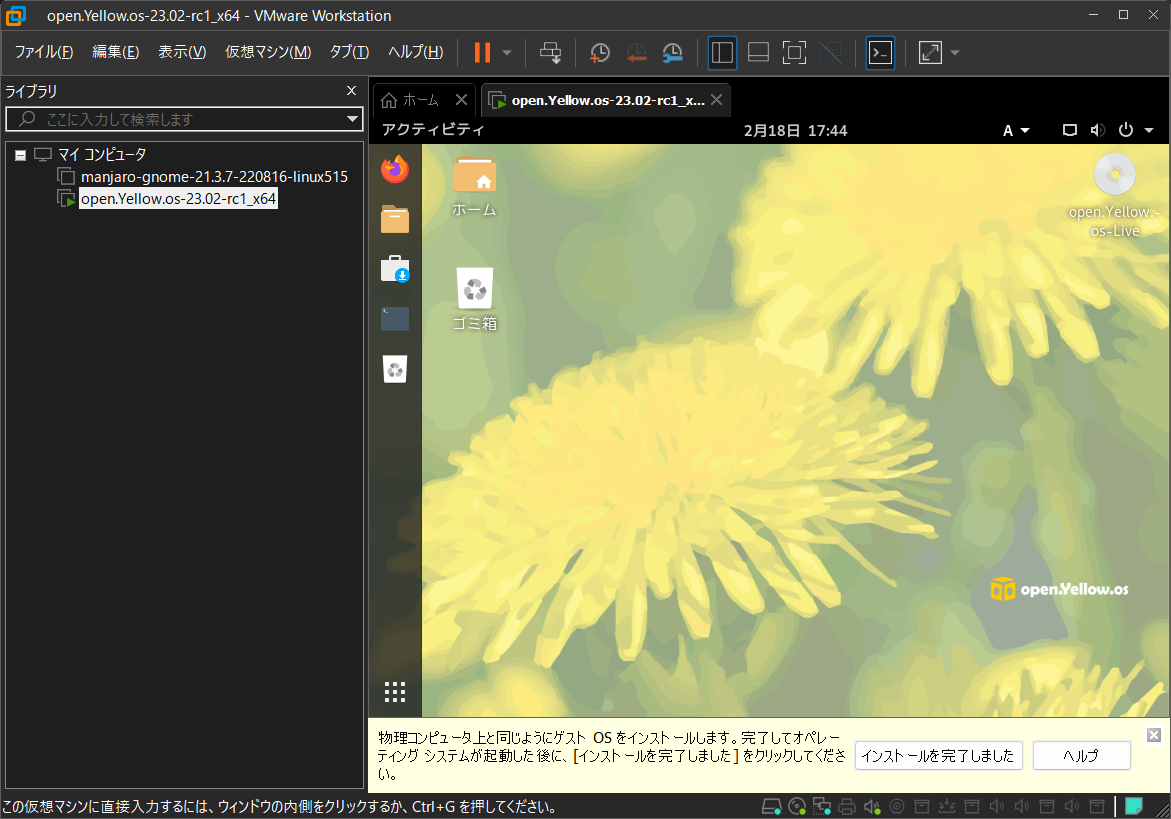
- 完了画面です
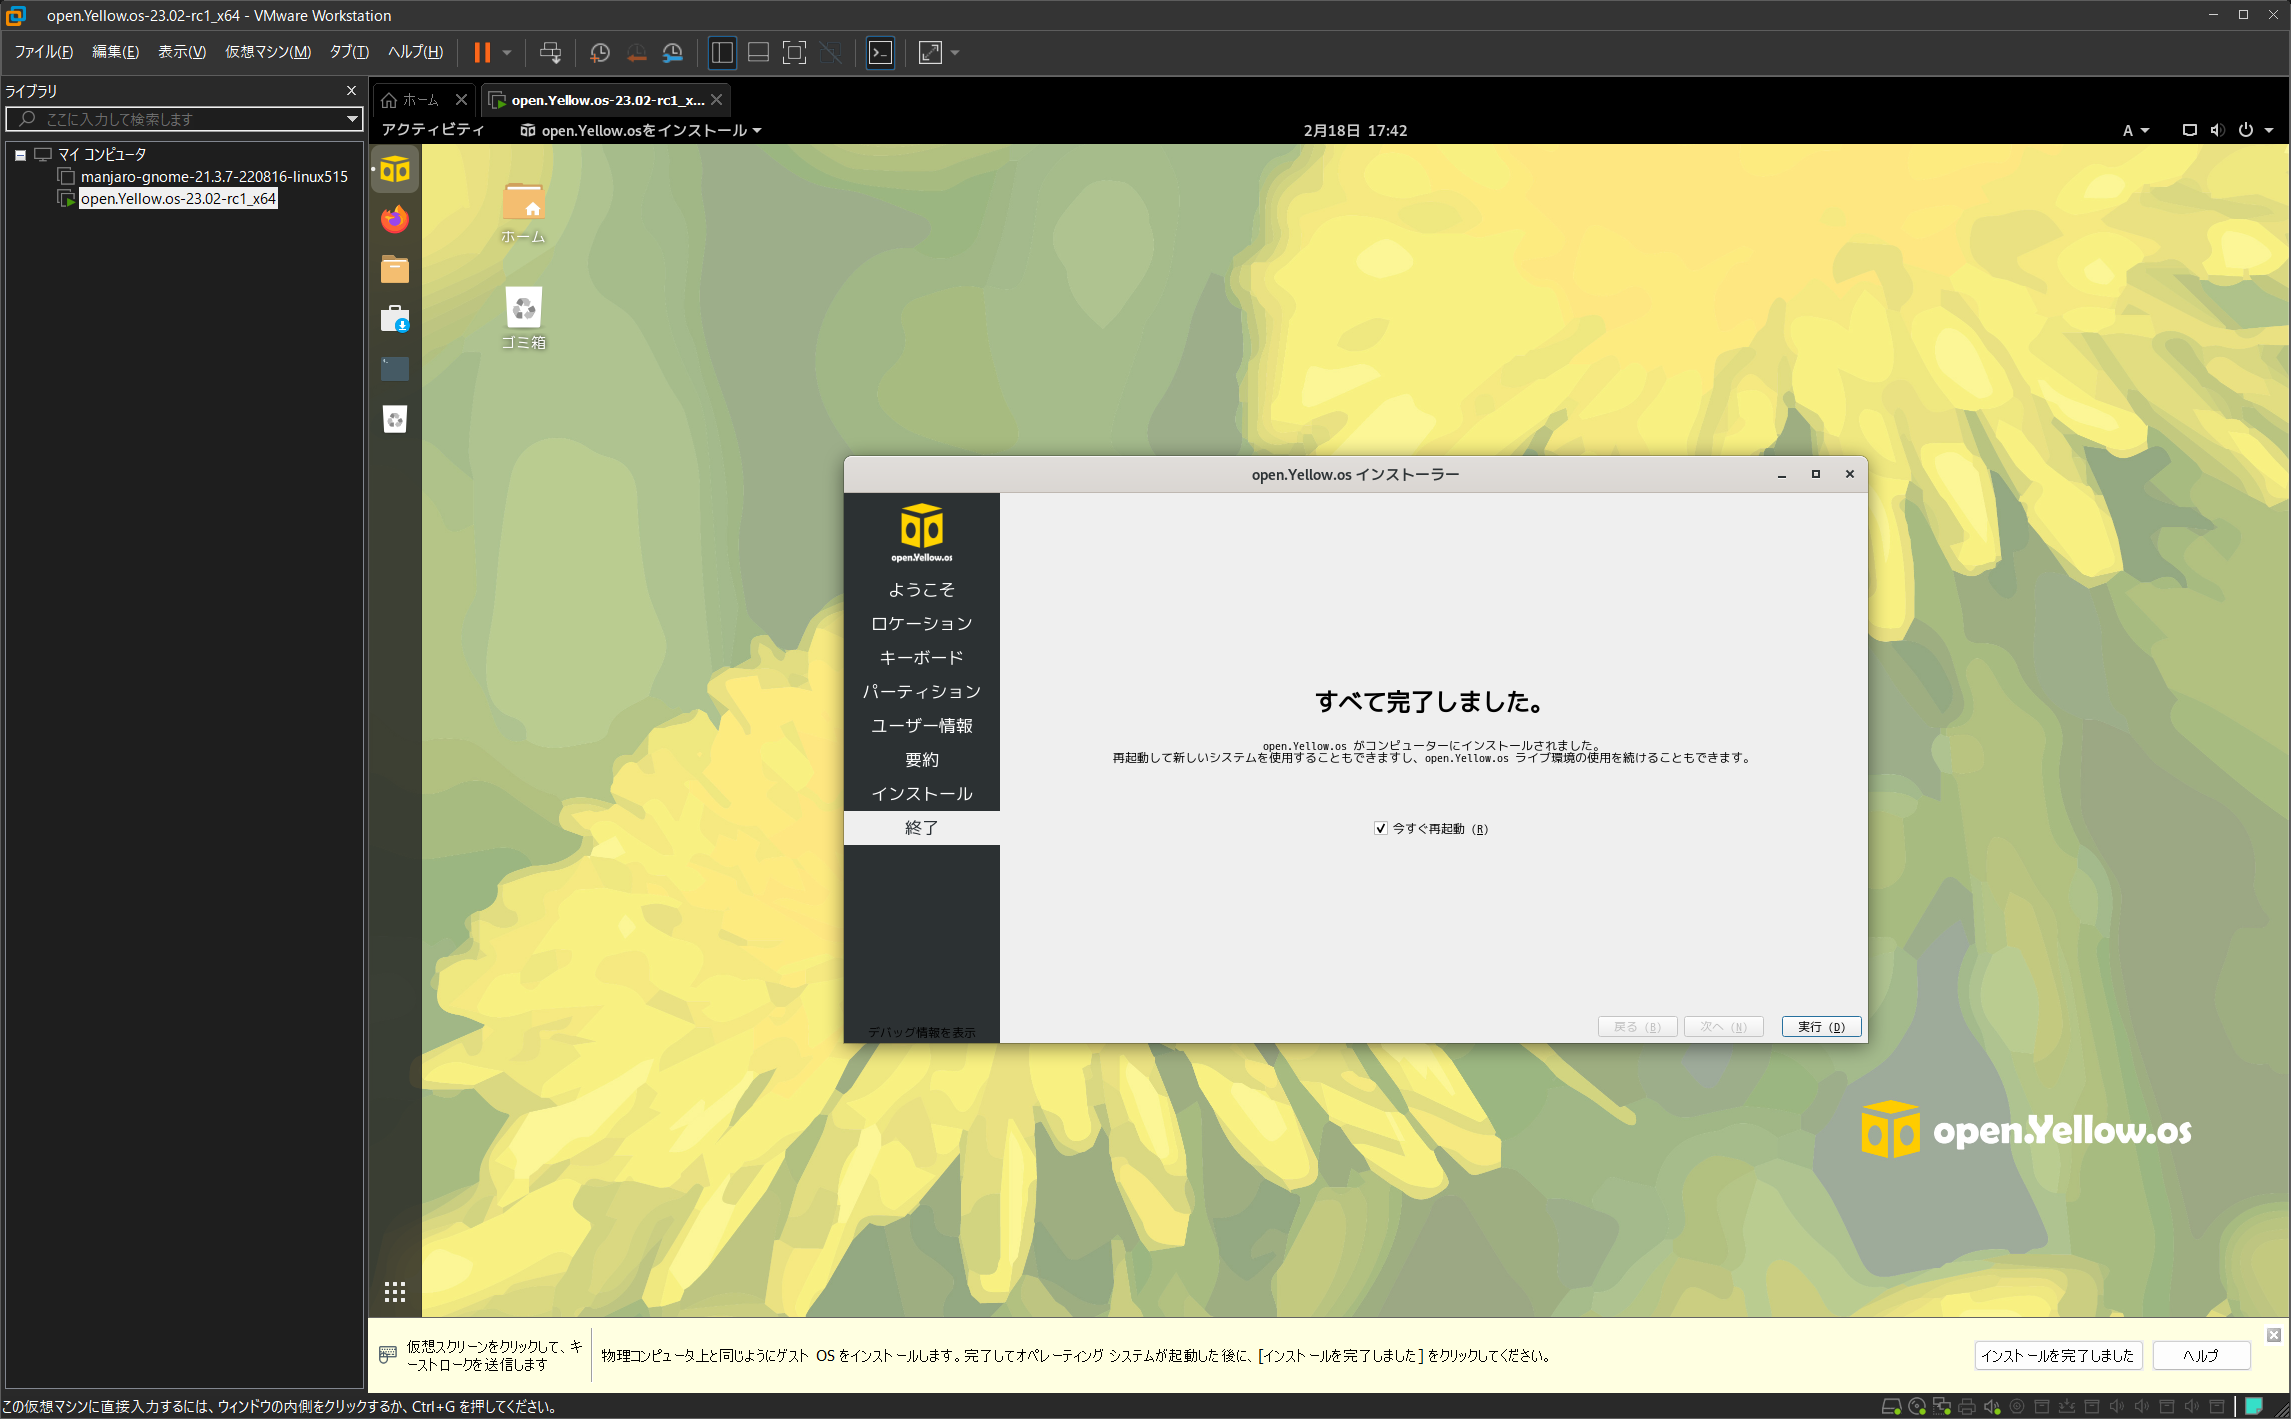
-

- ここでは慌てず、再起動のチェックを外して完了します
-

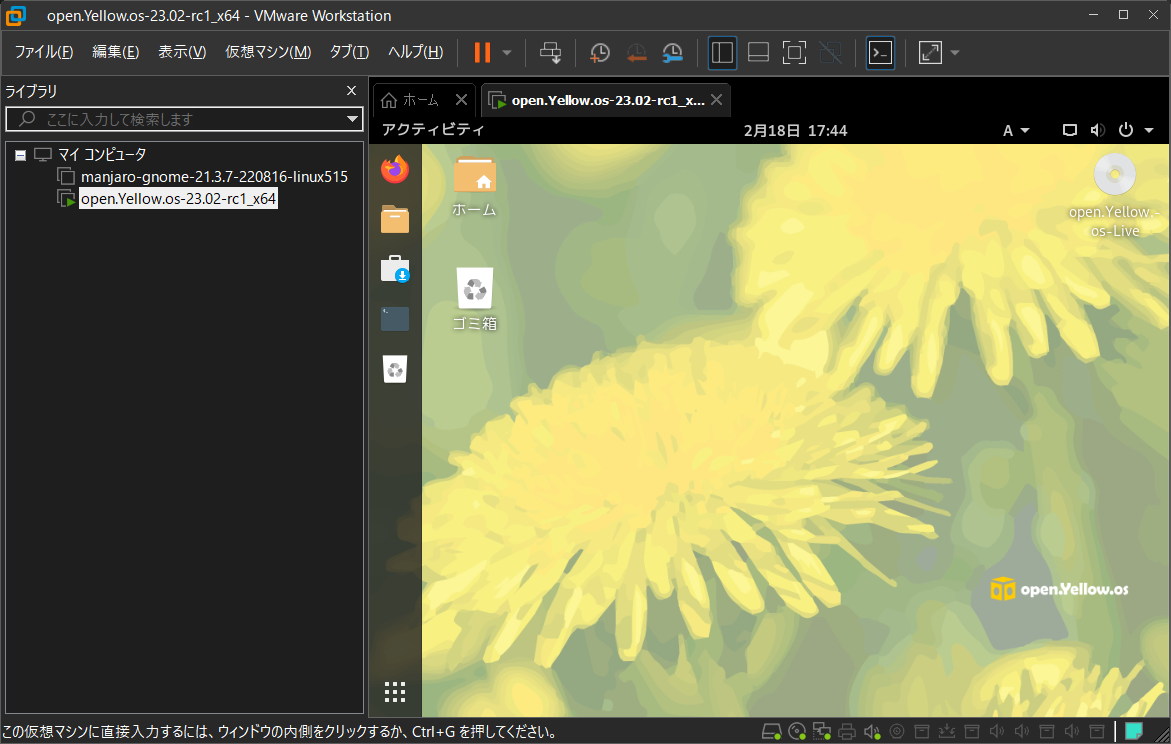
- 一旦、デスクトップに戻ります

-
- 右上の電源マークより電源オフを選びます

Remove the iso file from the VMware edit screen and boot again, just to be sure.
-
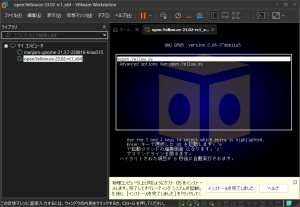
- ブート画面でopen.Yellow.osを選びます

-
- 暫く待つと、

-

- 登録したユーザーが表示されます
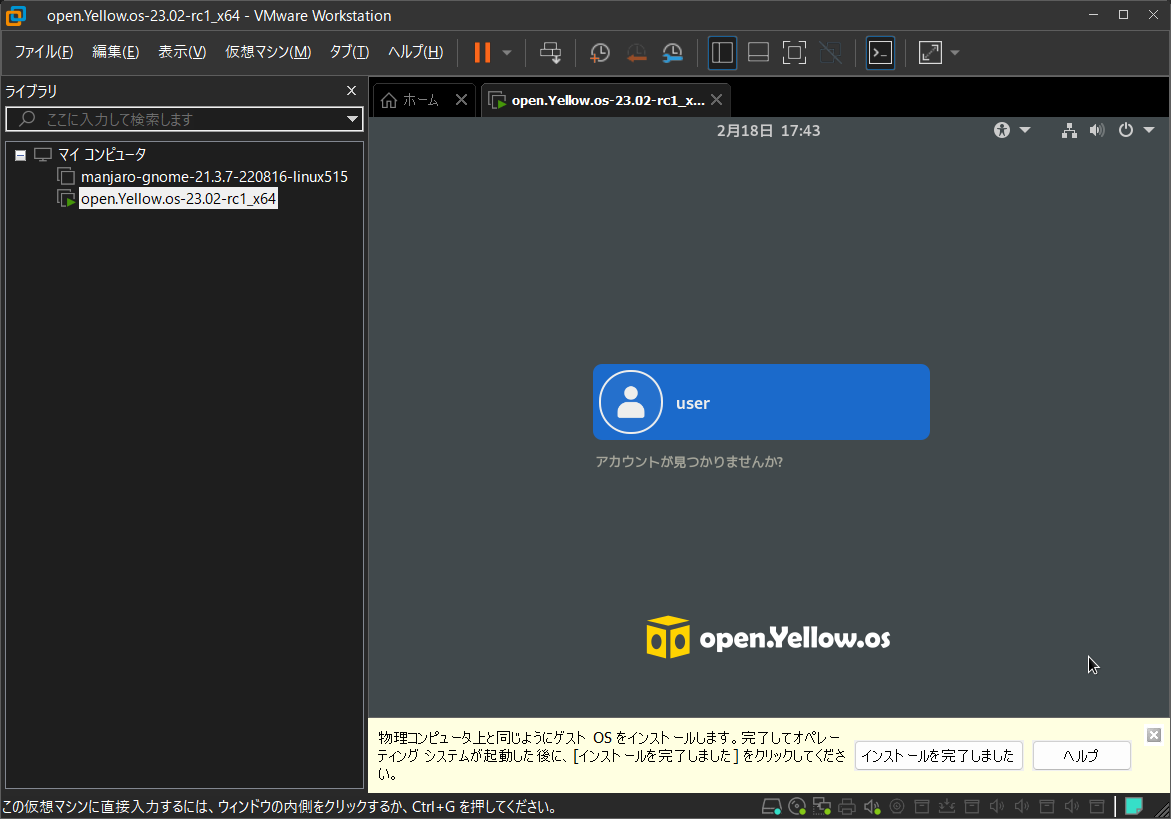
-
- パスワードを入力

-

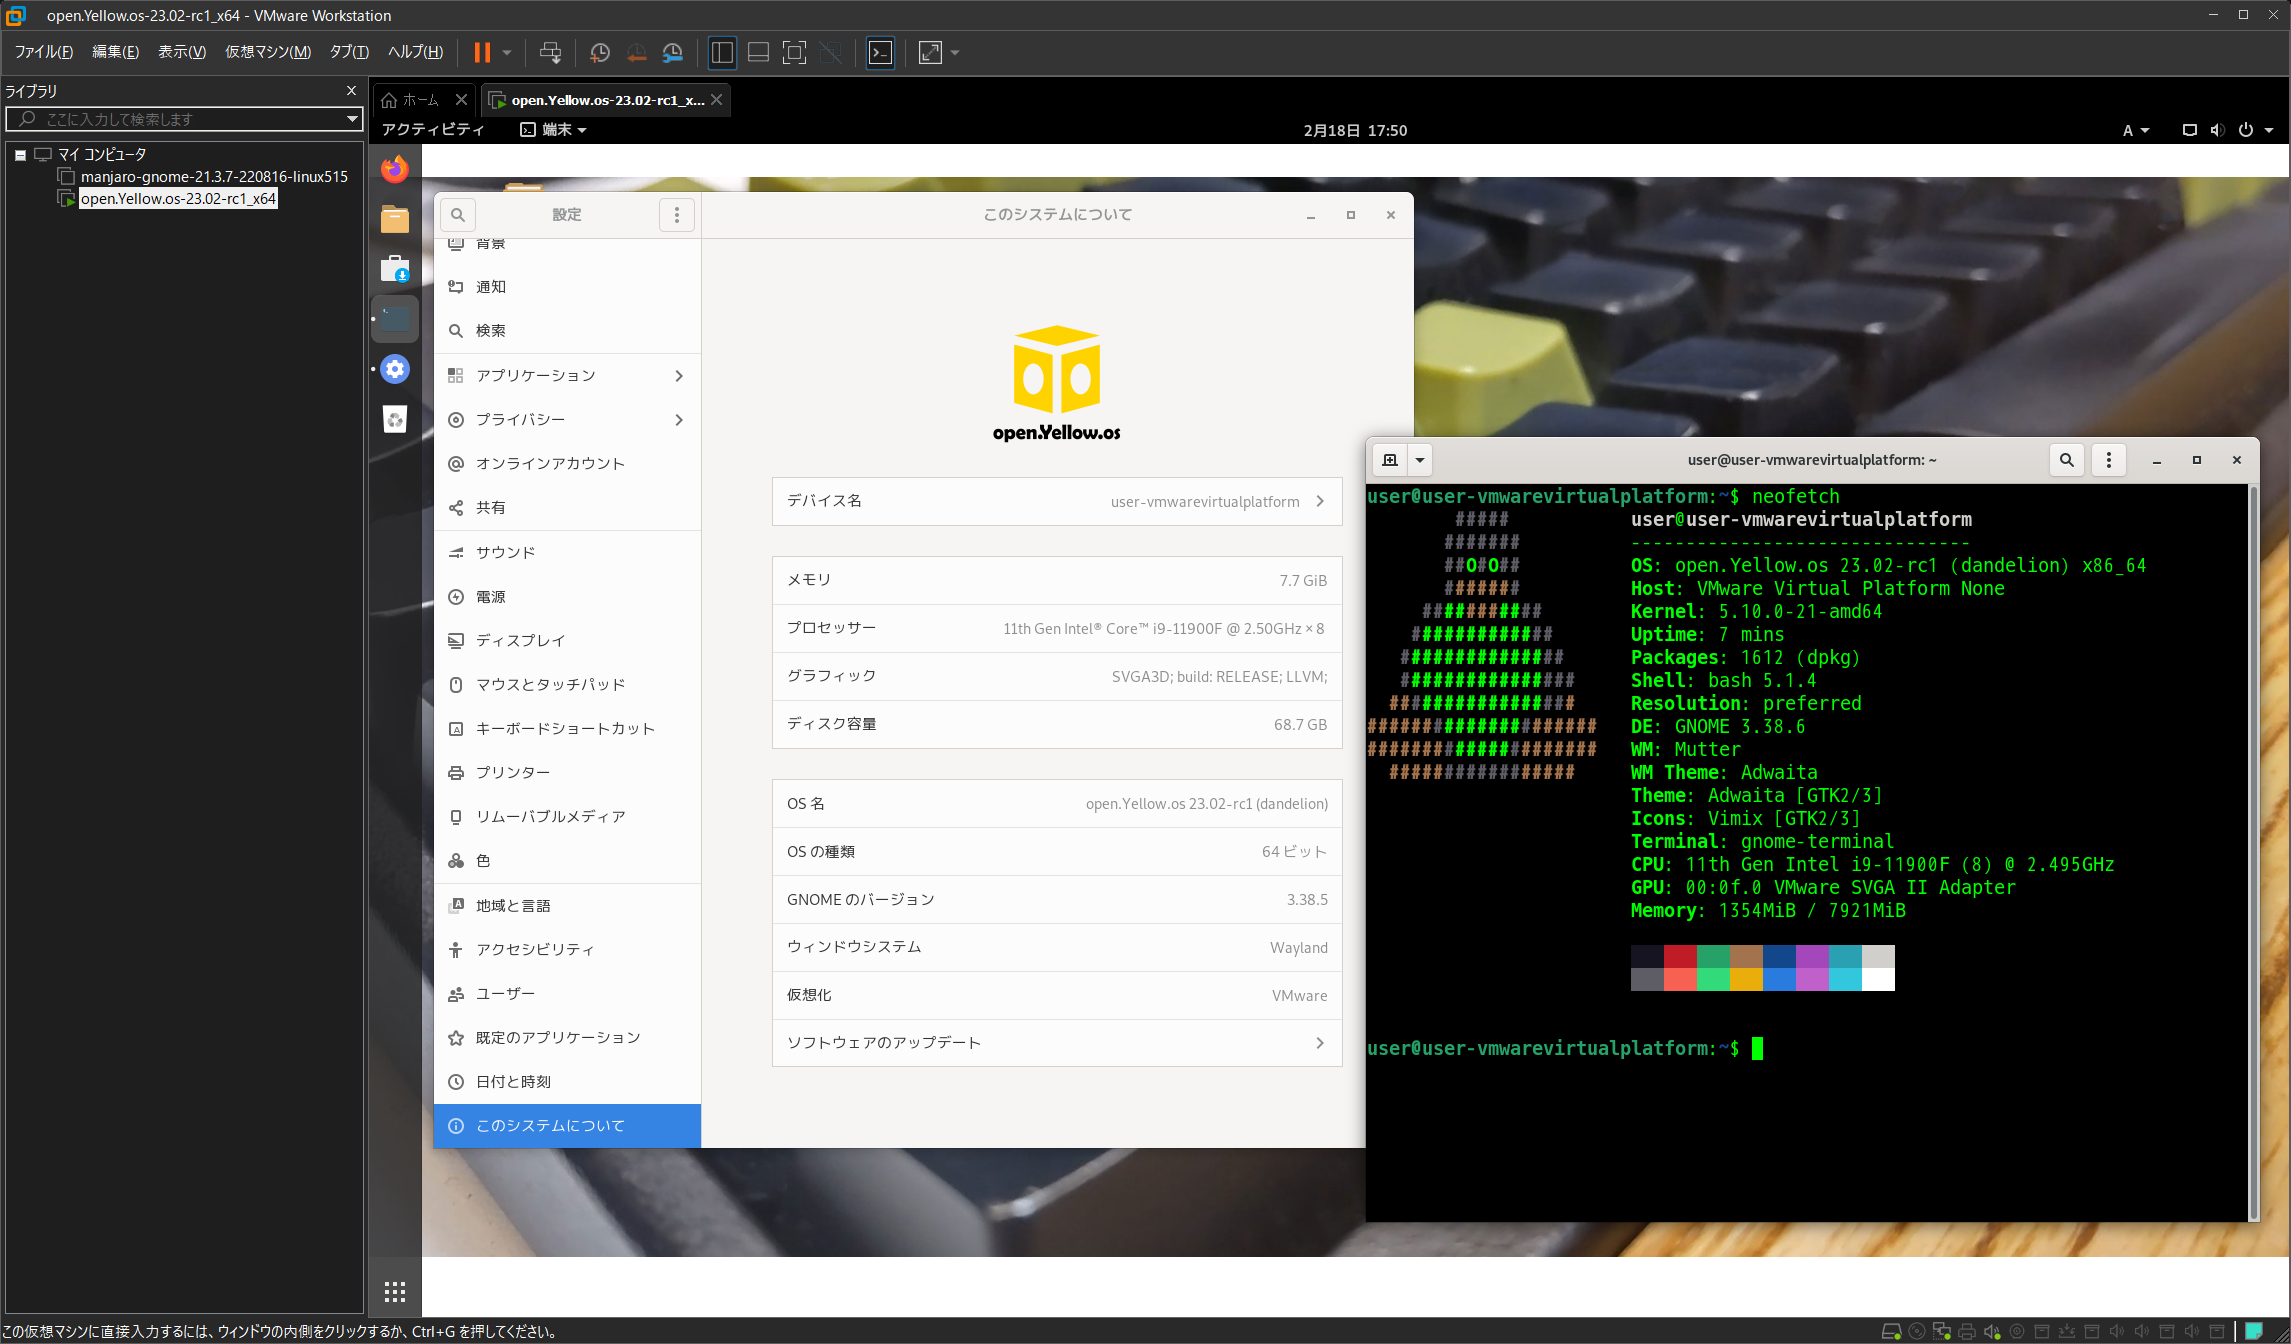
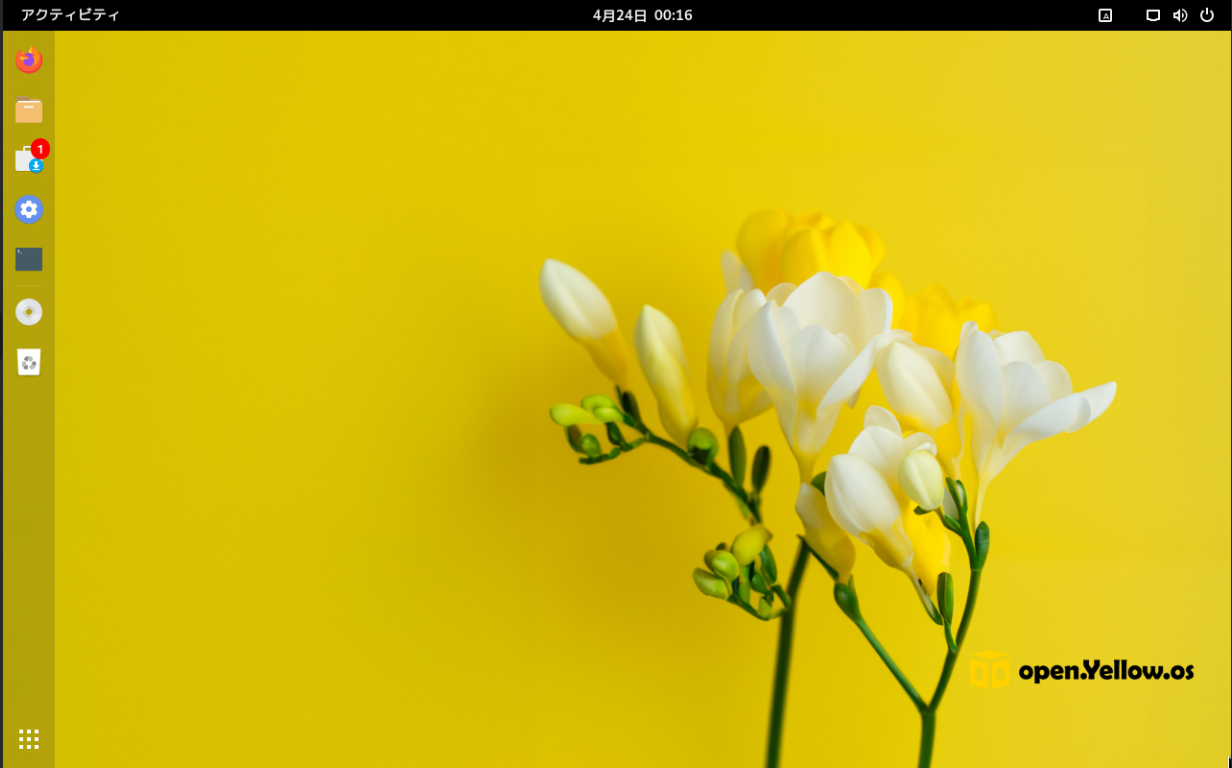
- デスクトップが表示されます
-

- おめでとう!完了です
My customized video after completion
I changed icons, cursors and themes. I have also applied some extensions. People say it is heavy, but I love GNOME because the desktop has to be fun or I get bored.
P.S. Project management is difficult, isn’t it?
It’s not on the desktop, it’s person to person.
Fight!


コメント