Let’s install Manjaro. This time, since the installation is on VMware, there is nothing to worry about.
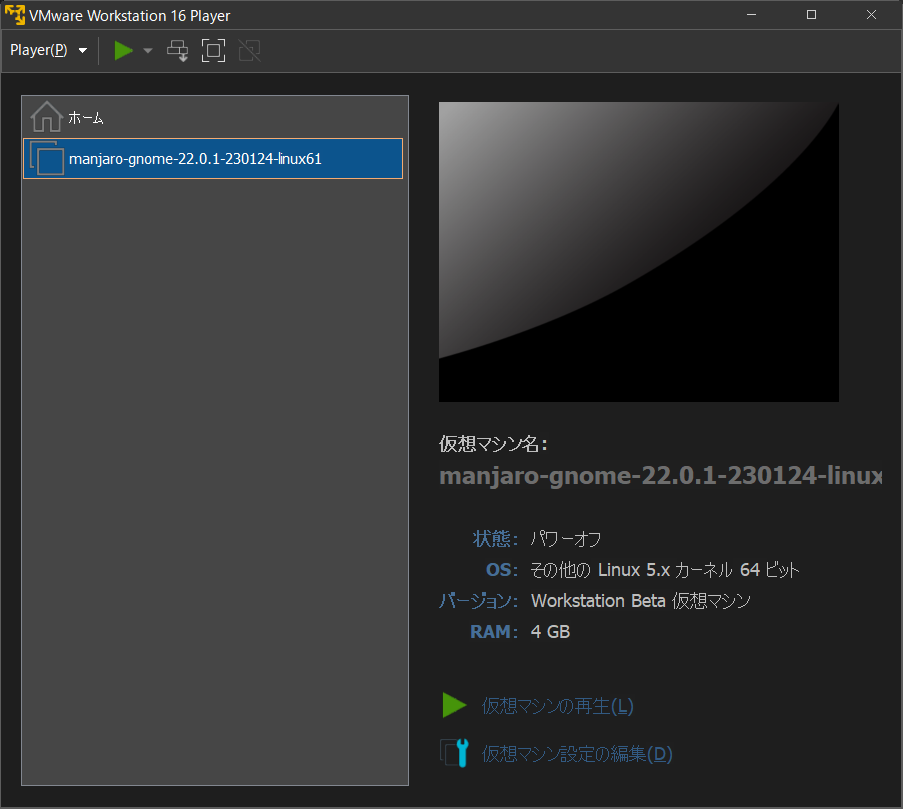
Regeneration of virtual machines
The word “regeneration” in Japanese is not quite right, but it means to turn on the virtual machine.
Since the ISO file has been set up beforehand, the Manjaro boot sequence begins.
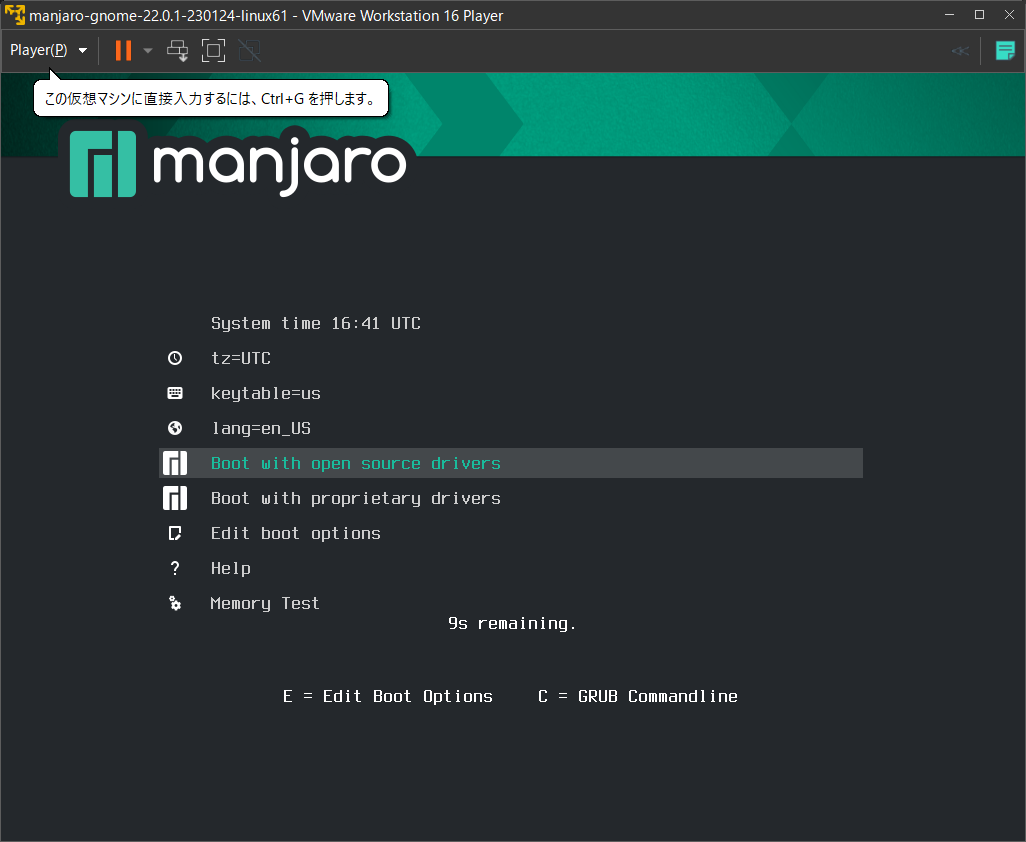
When the boot screen appears, you will be presented with several choices. First, stop the timer by pressing the cross key on the keyboard, as there is a time limit.

When the countdown display “ns remaining.” disappears, you will be able to select each item to prepare for the upcoming installation. The selections we are going to make are to set up the environment to boot as a live OS.
First, we will set the keyboard layout. Use the cross key on the keyboard to move the cursor to “keytable=us” and press enter to proceed.

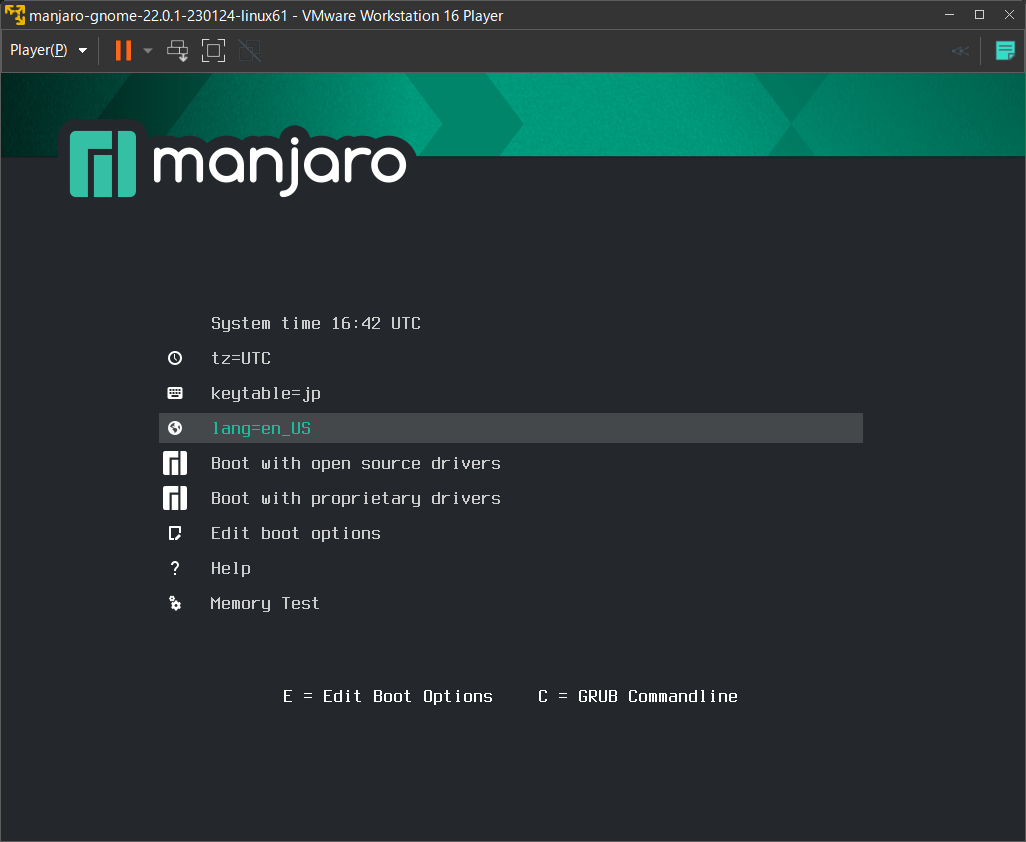
As a Japanese, I select “keytable=jp” with the cross key. Pressing the Enter key in conjunction with your connected keyboard will return you to the previous screen.

Next, select “lang=en_US” to set the language, and press enter.
In this case, select Japanese.
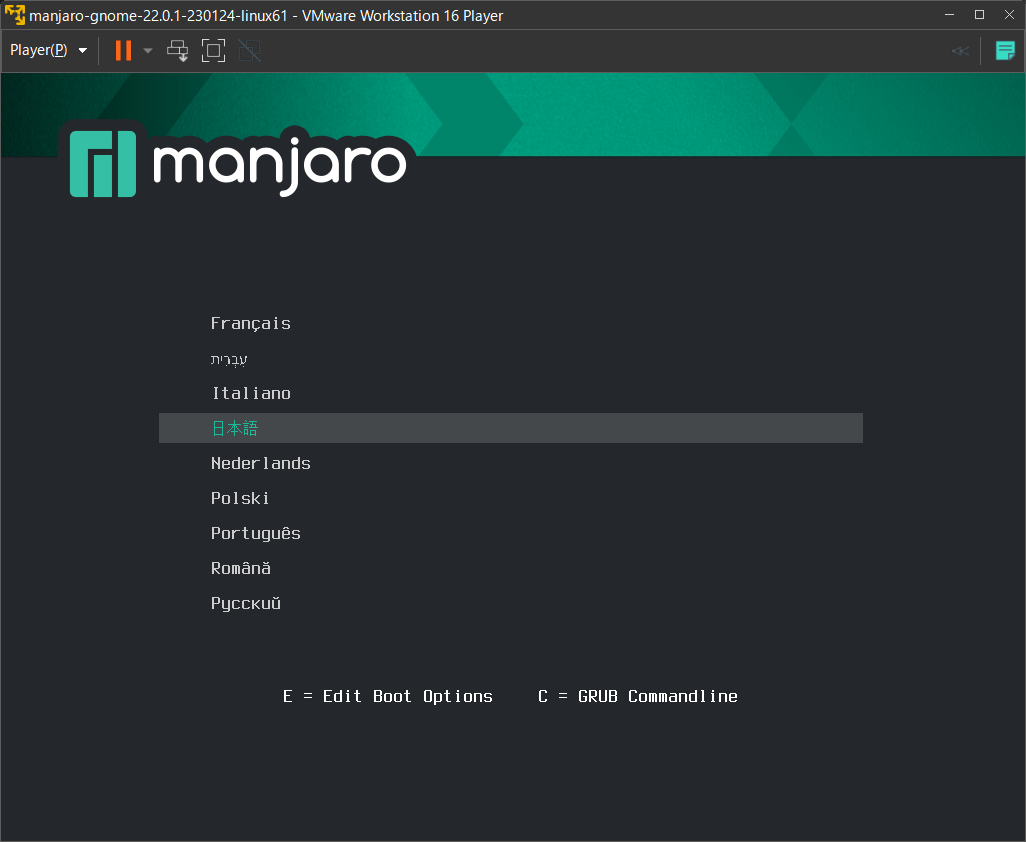
You will be returned to the first screen, and now it is time to start the Live CD.
There are two types of boot options: “Boot with open source drivers” and “Boot with proprietary drivers”.
Boot with open source drivers” is a general boot. Proprietary drivers” are used to boot on machines with Nvidia GPUs. In our experience, there is no significant difference.
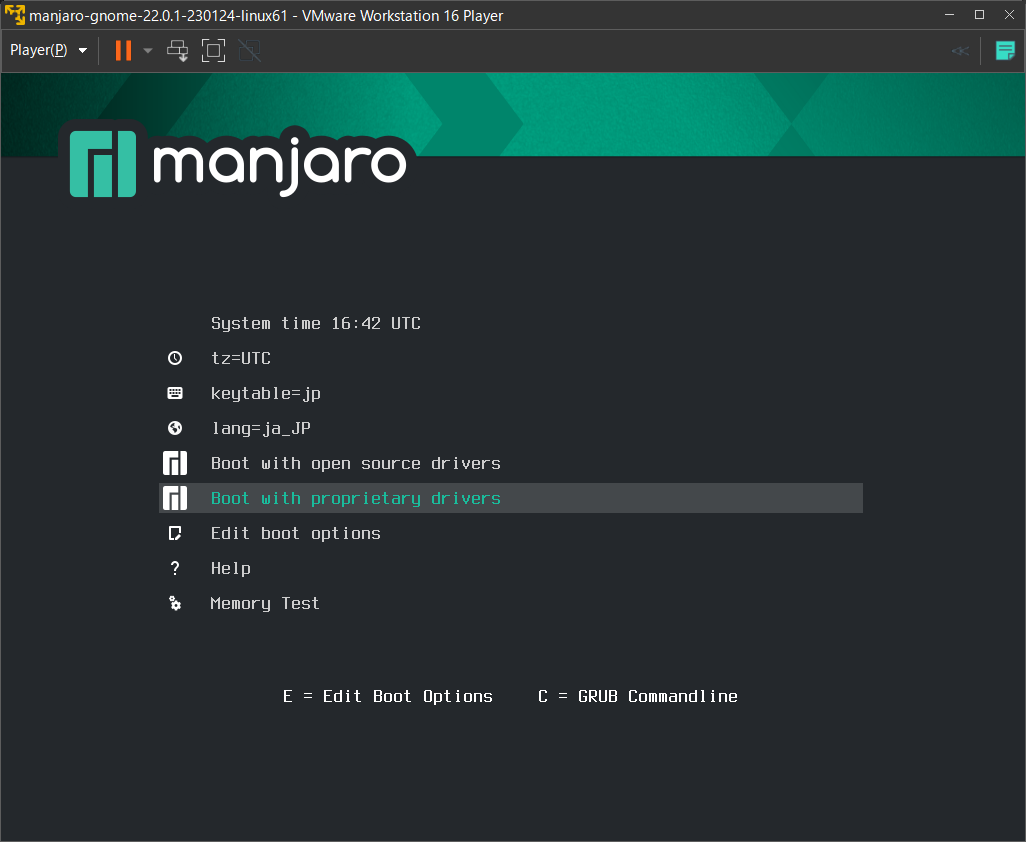
After the boot is complete, Manjaro will boot in live mode. If it does not boot properly, select “Shut Down Guest” from the VMware menu, stop the virtual machine, and review the settings.
Installing Manjaro
Now it is time to start the installation.
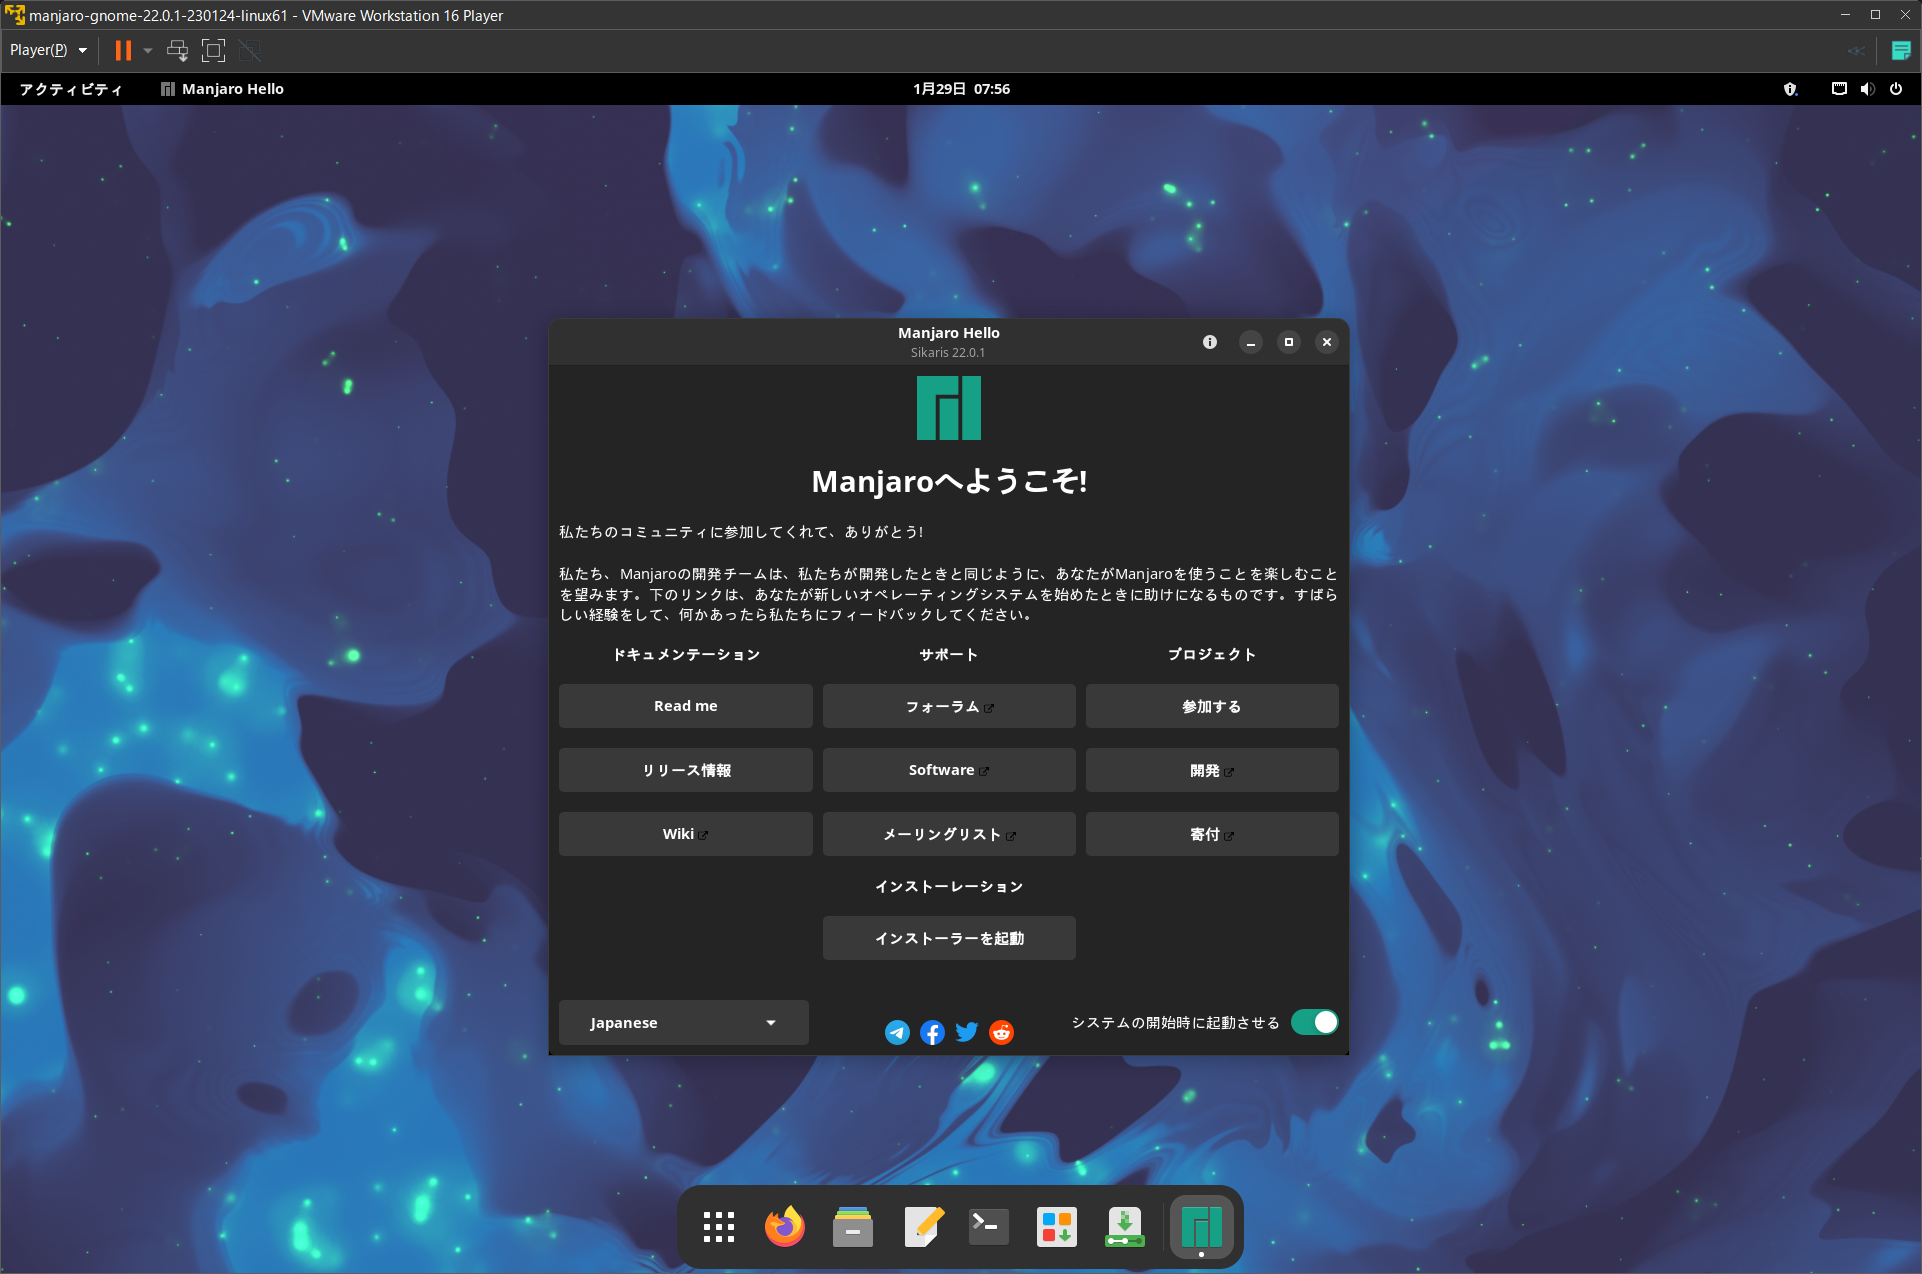
Click “Start Installer” in the Welcome Screen.
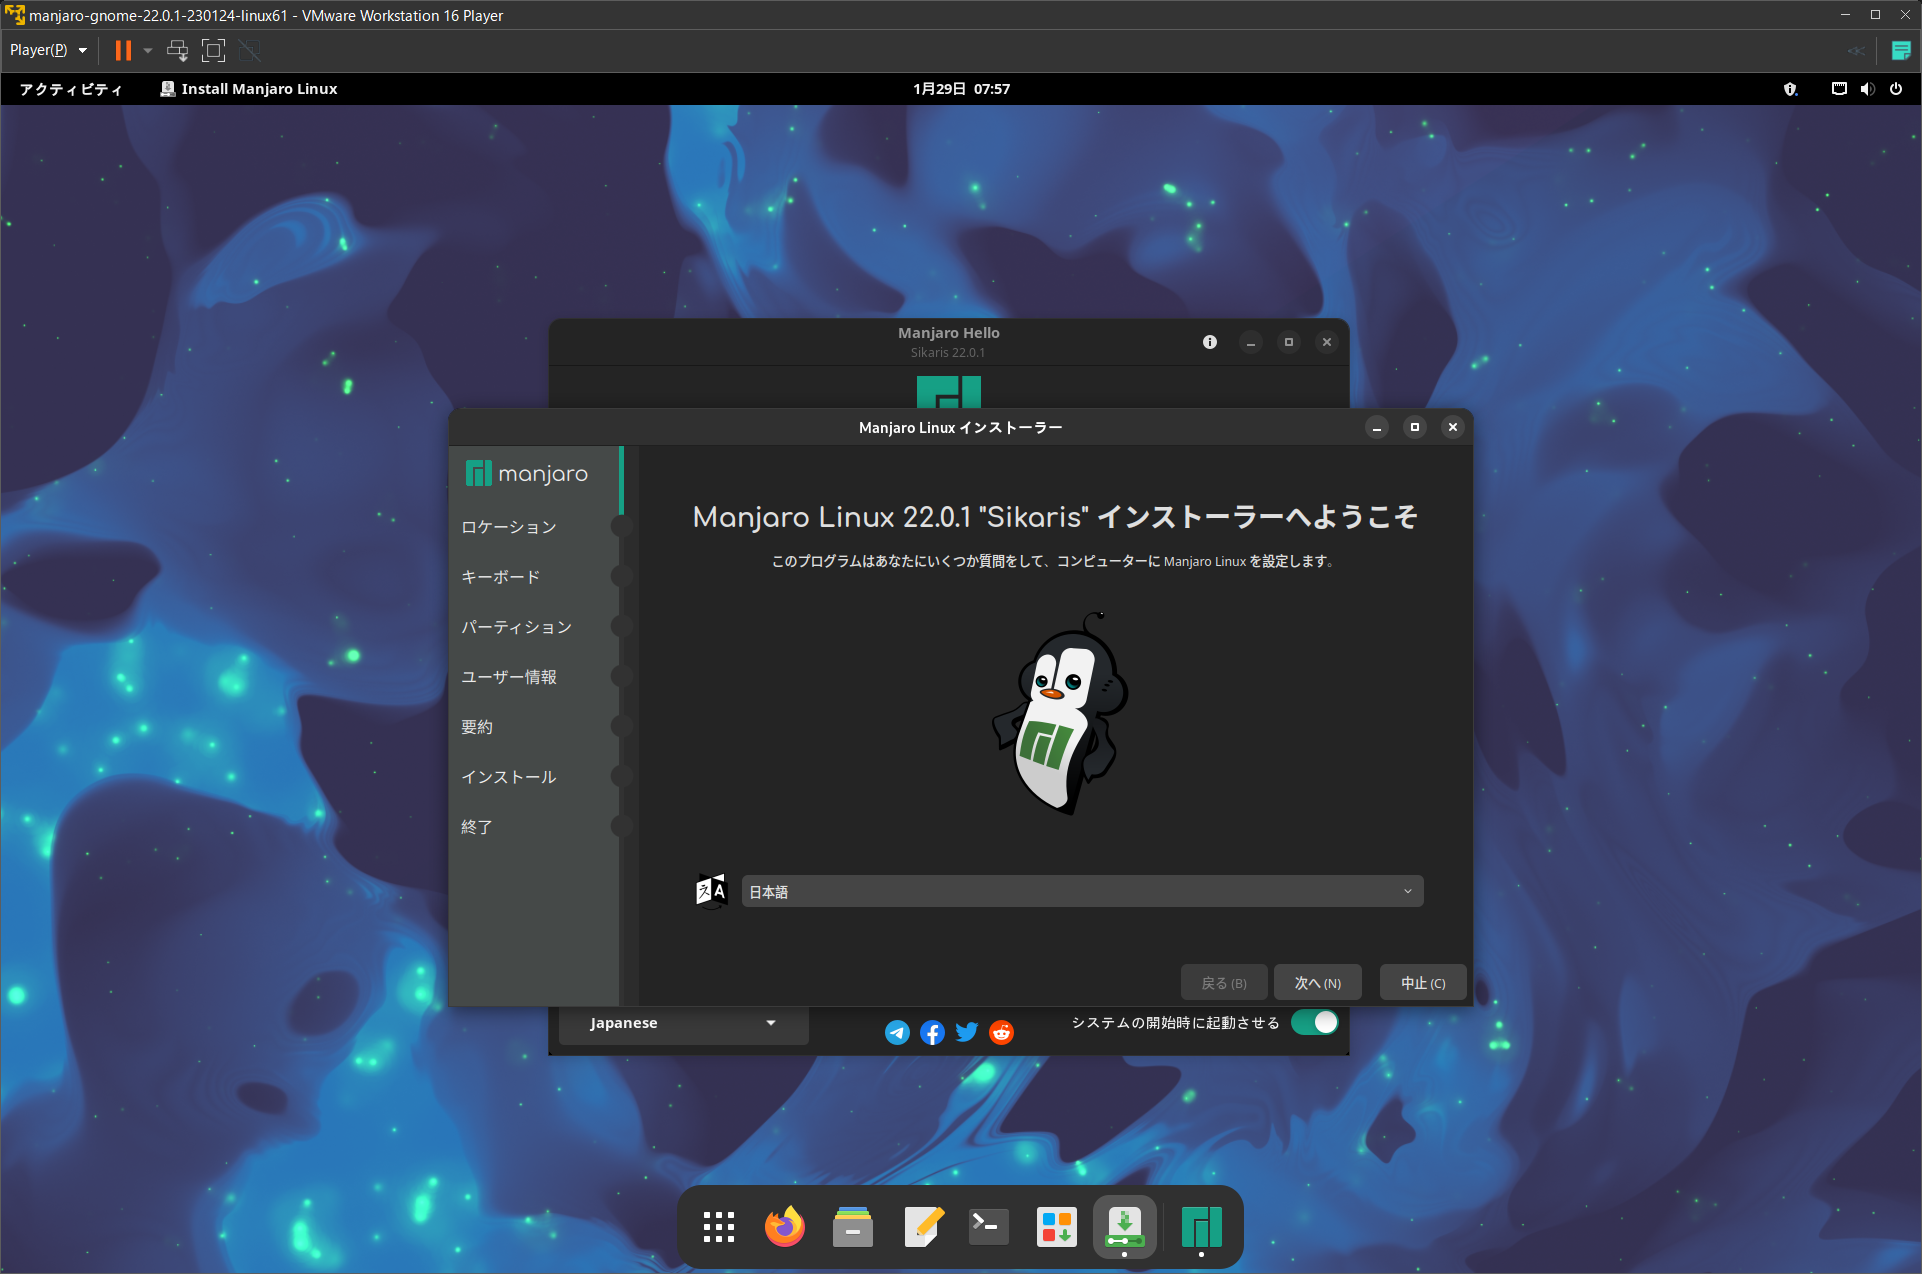
After a short pause, a language selection screen will appear.
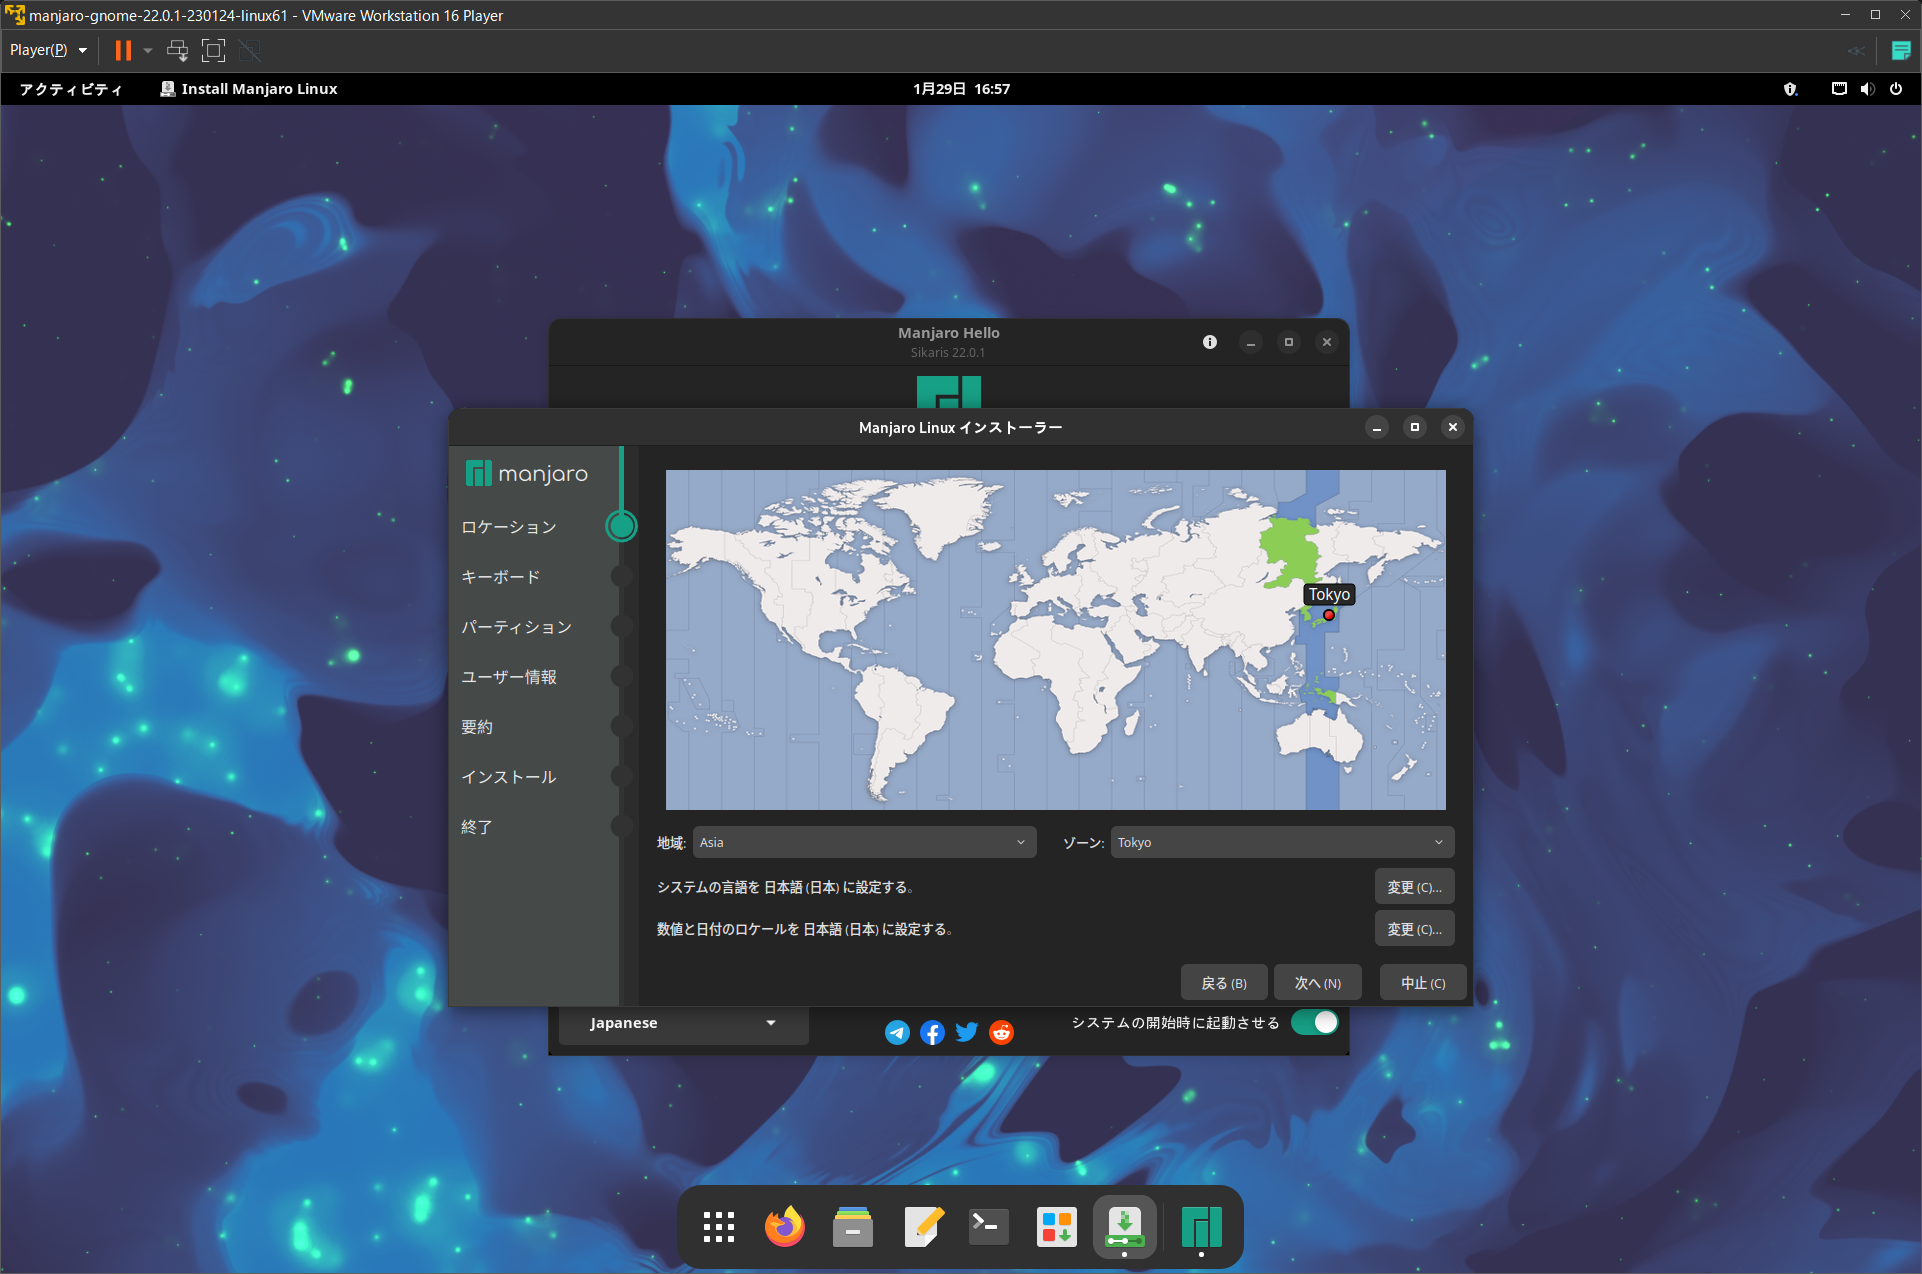
You will be taken to a page called “Location,” where you will select the region you wish to use. If there are no problems, click “Next” to proceed.
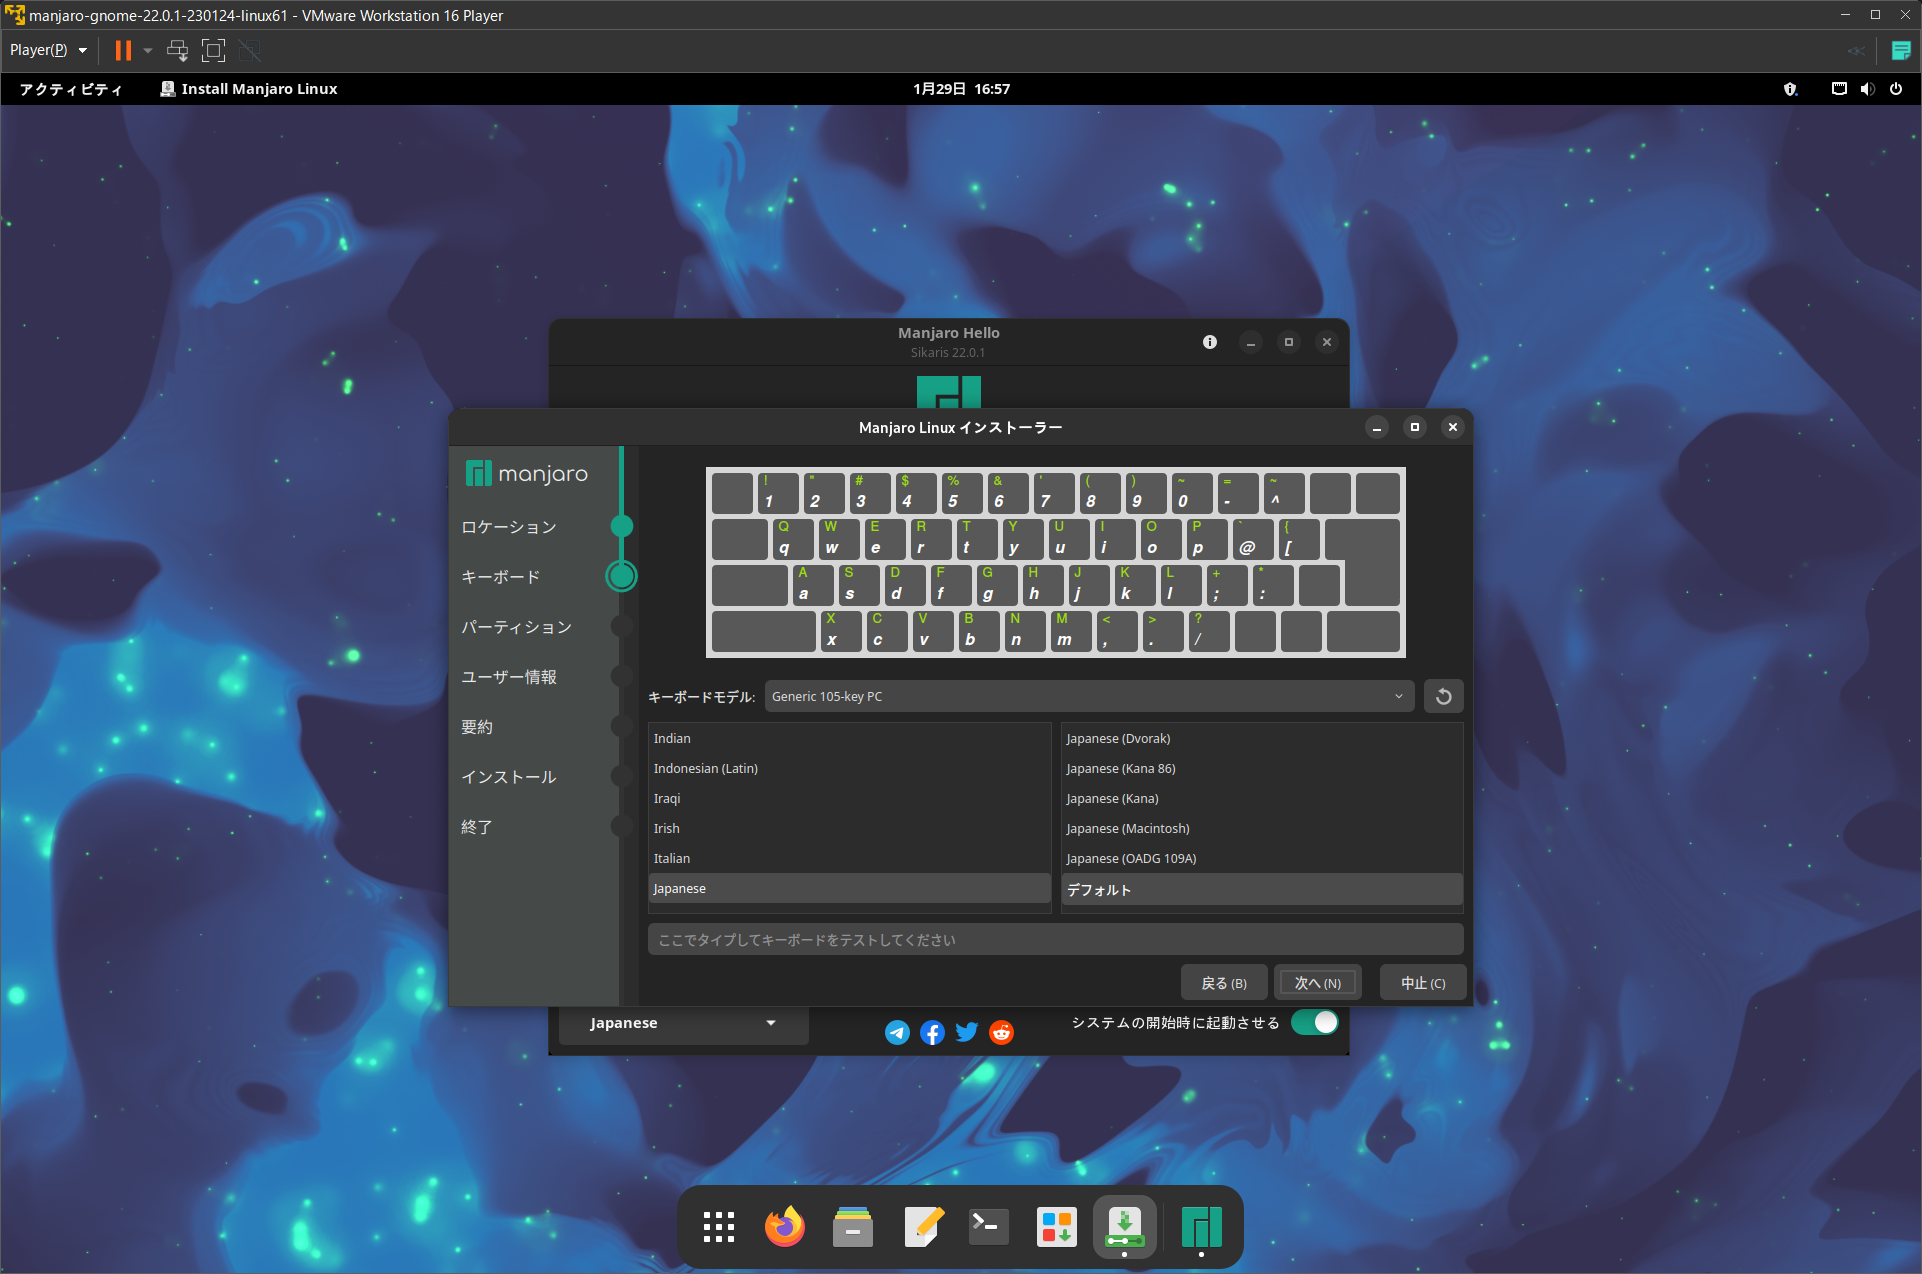
This is the keyboard layout selection page. If the layout is different from your own, please select it again.
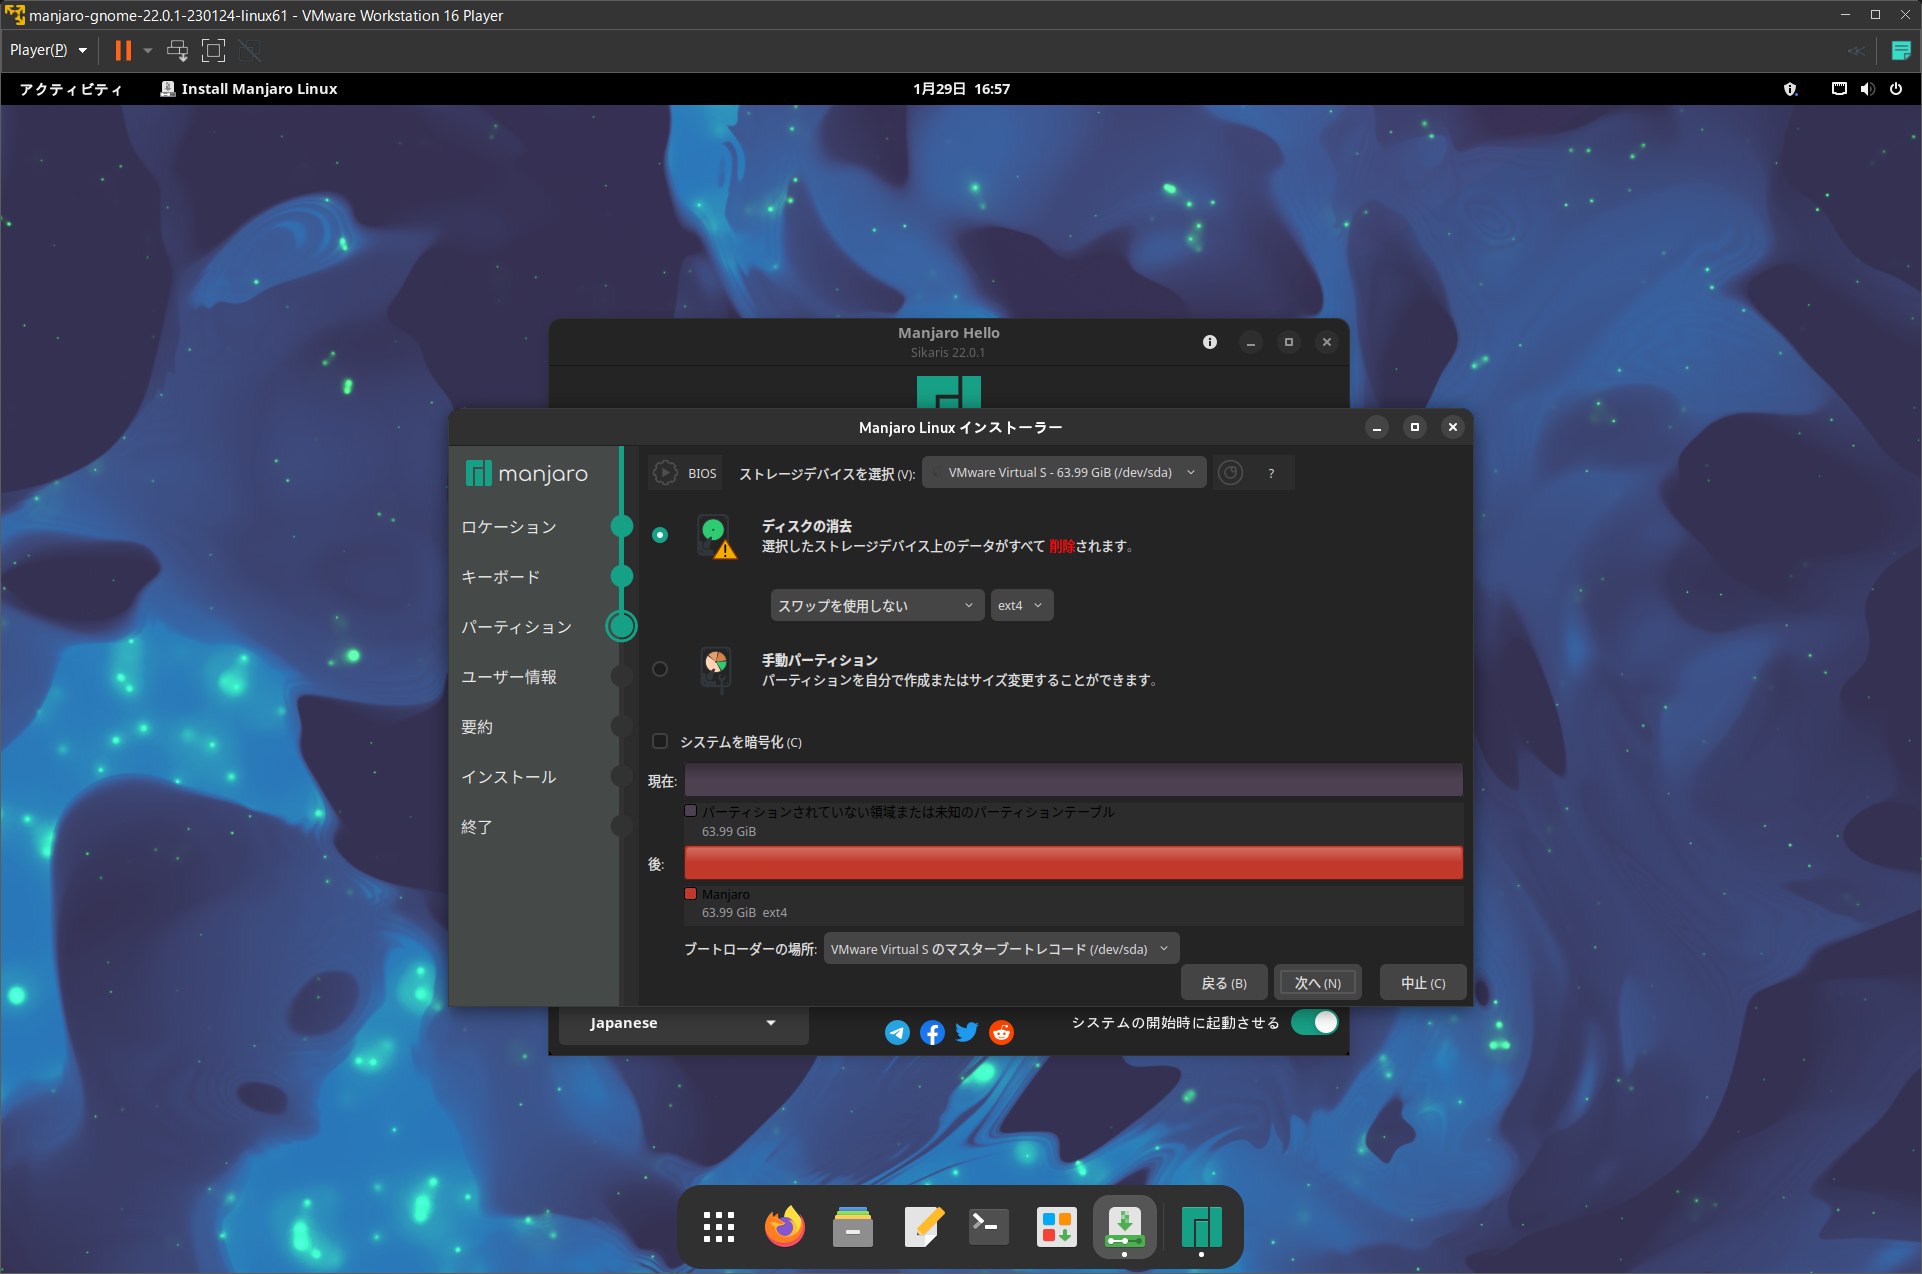
This is the partition setting screen. When installing on a real machine, there are various items to be changed depending on the usage method and the terminal to be installed, but since this is an installation on VMware, select “Erase Disk”, “Do not use swap” and leave the format as “ext4” and proceed with “Next”.
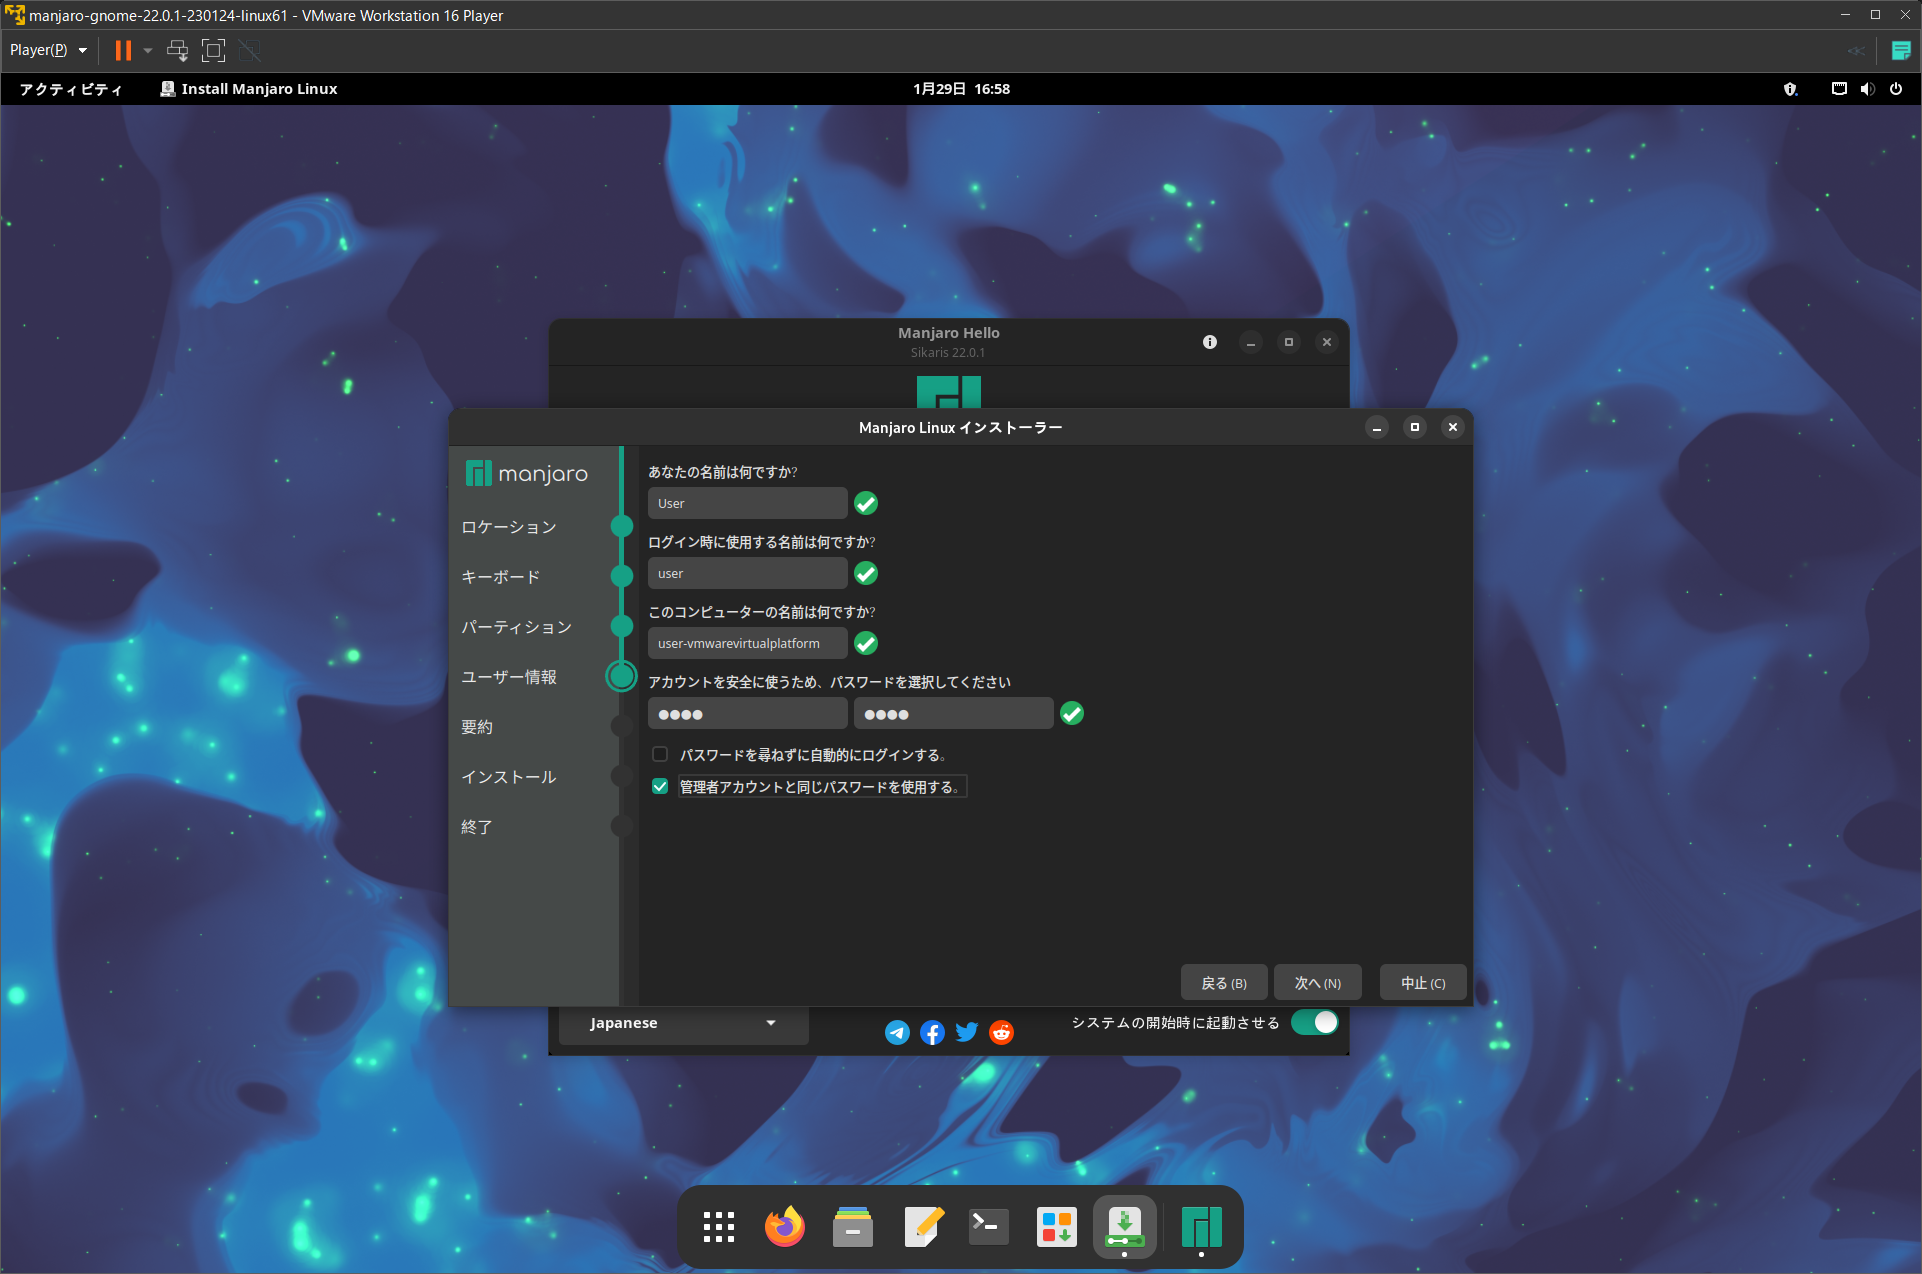
Next is the name and other settings. Fill in each item, and if necessary, set “auto-login” and “administrator password”. In this case, we did not use automatic login, but set the administrator password and the user’s password to be the same.
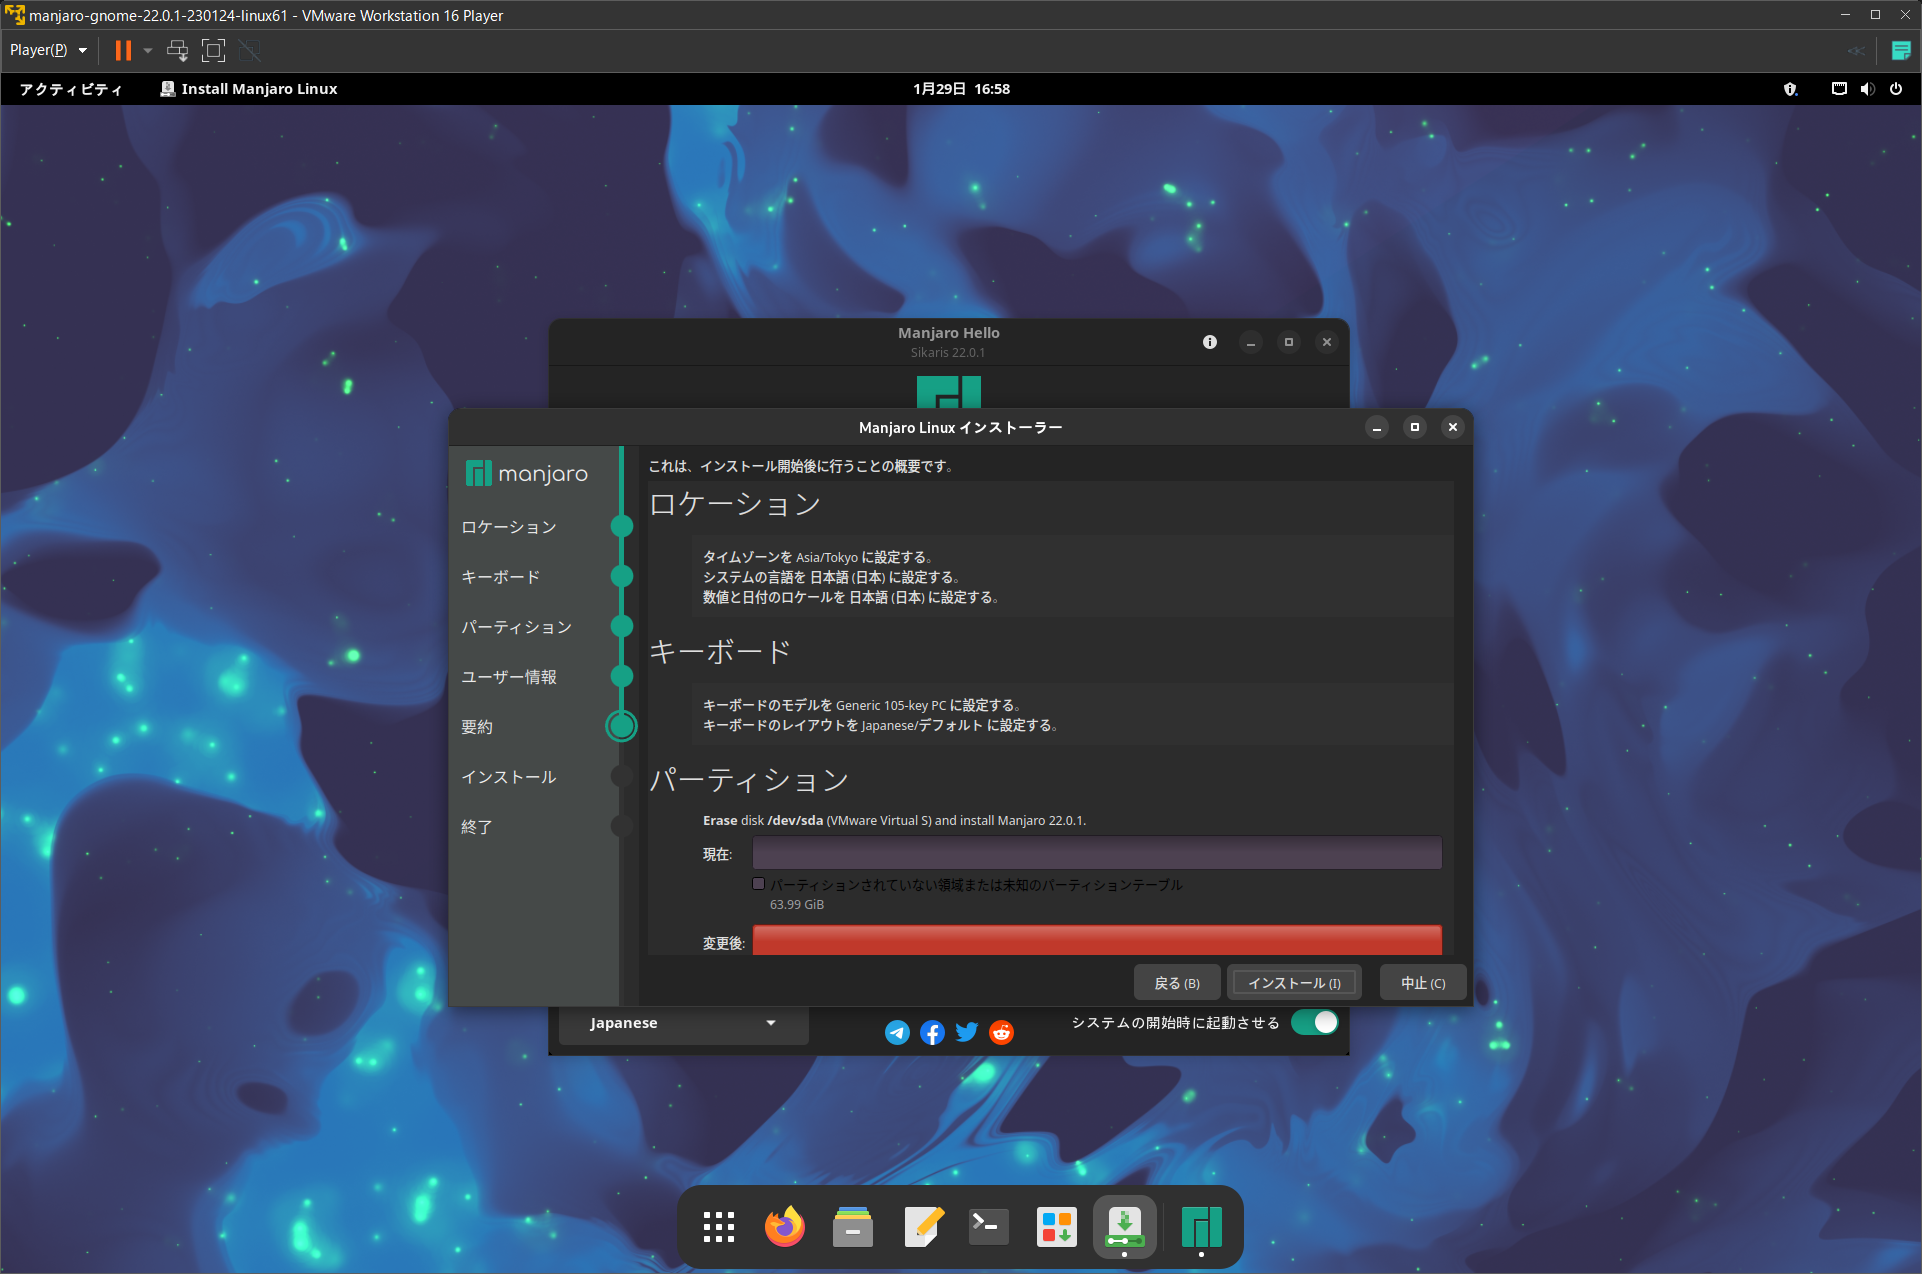
A confirmation screen for the competition up to this point will appear, so check it carefully. If all is well, click “Install.
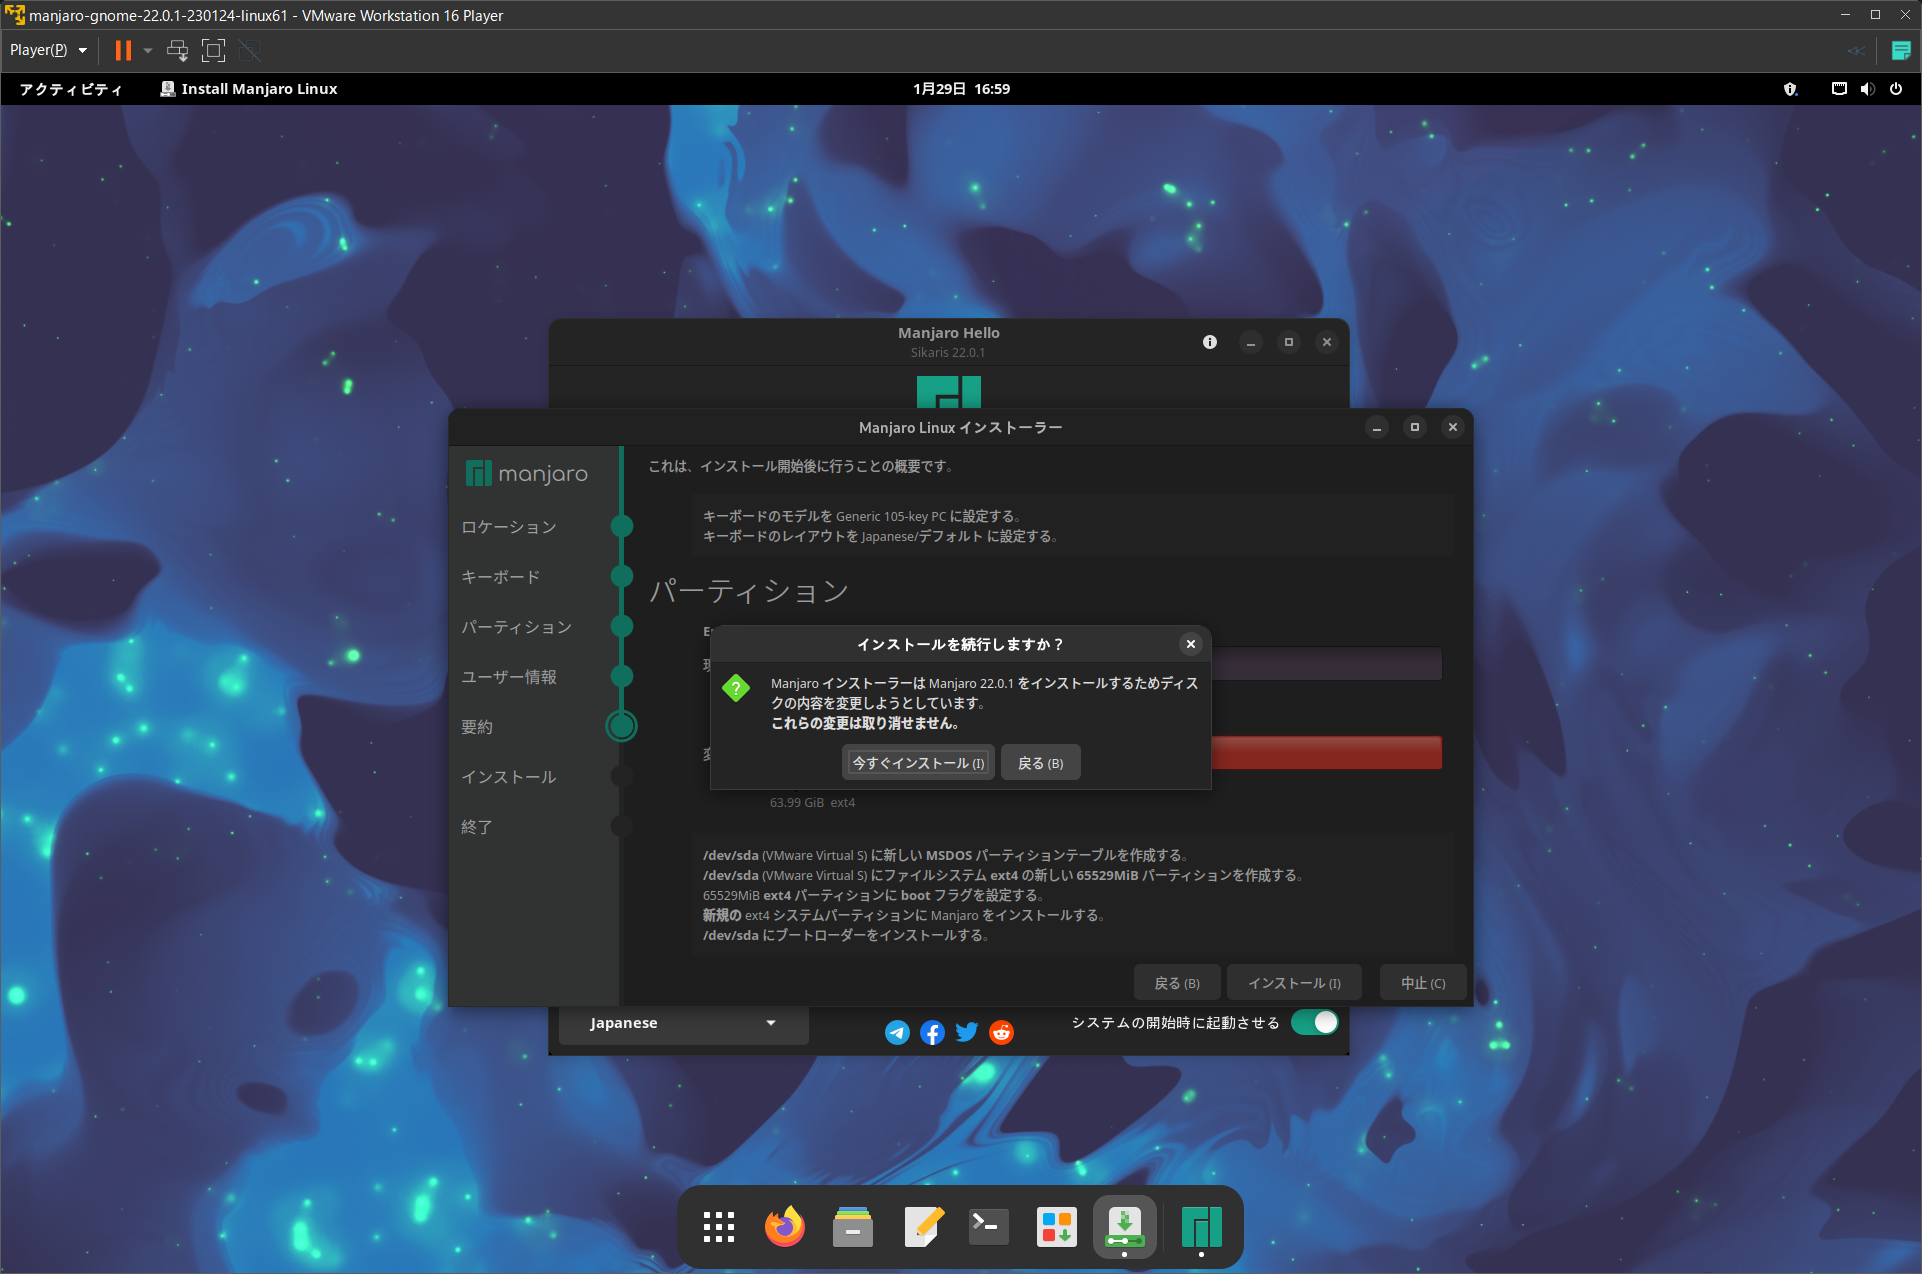
This is the last confirmation. After this, you cannot go back. If you are satisfied, click “Install Now.
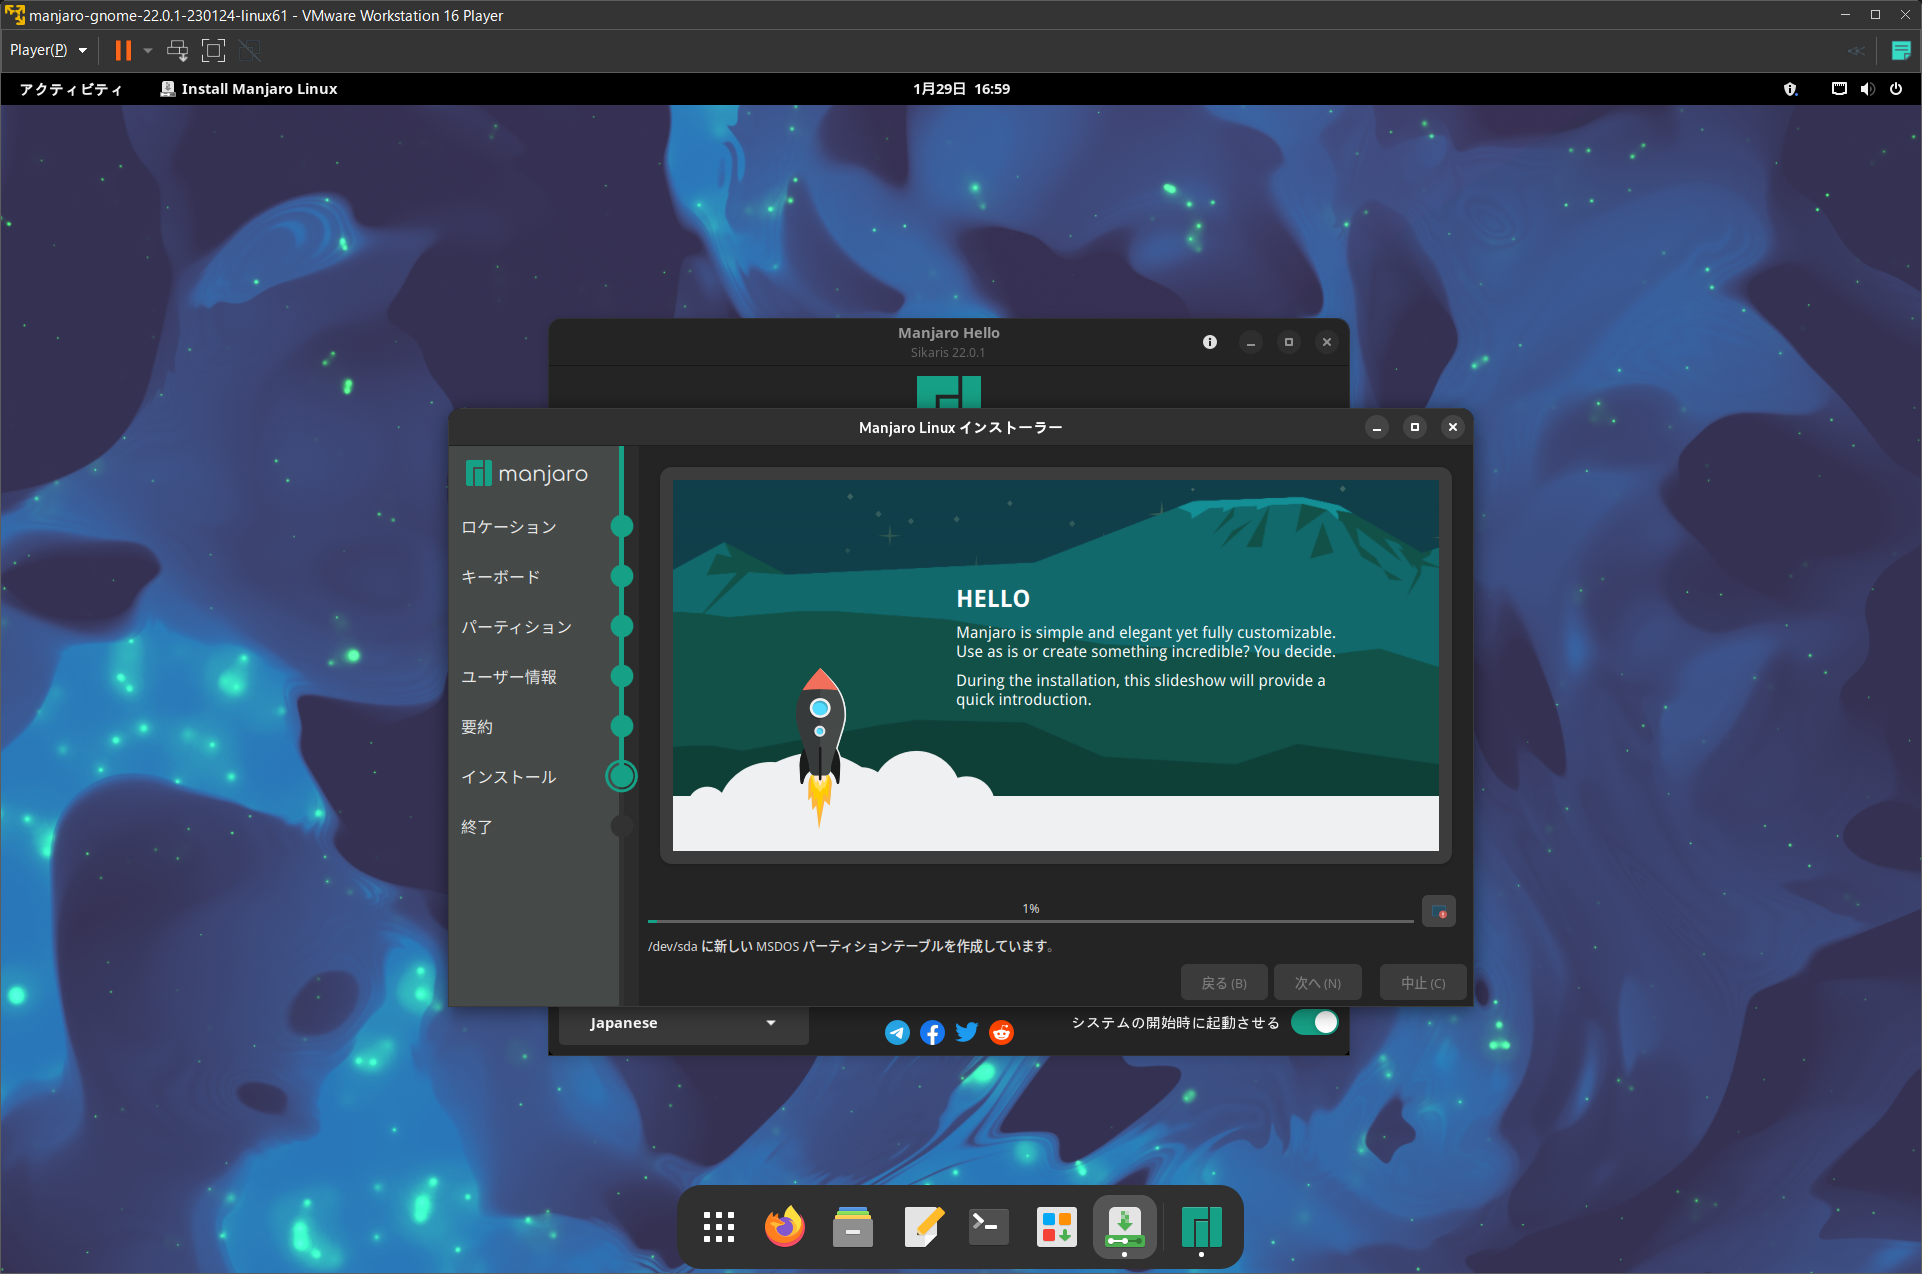
Wait as the installation process proceeds, repeating the graphical image. Depending on your machine specs, this may take some time.
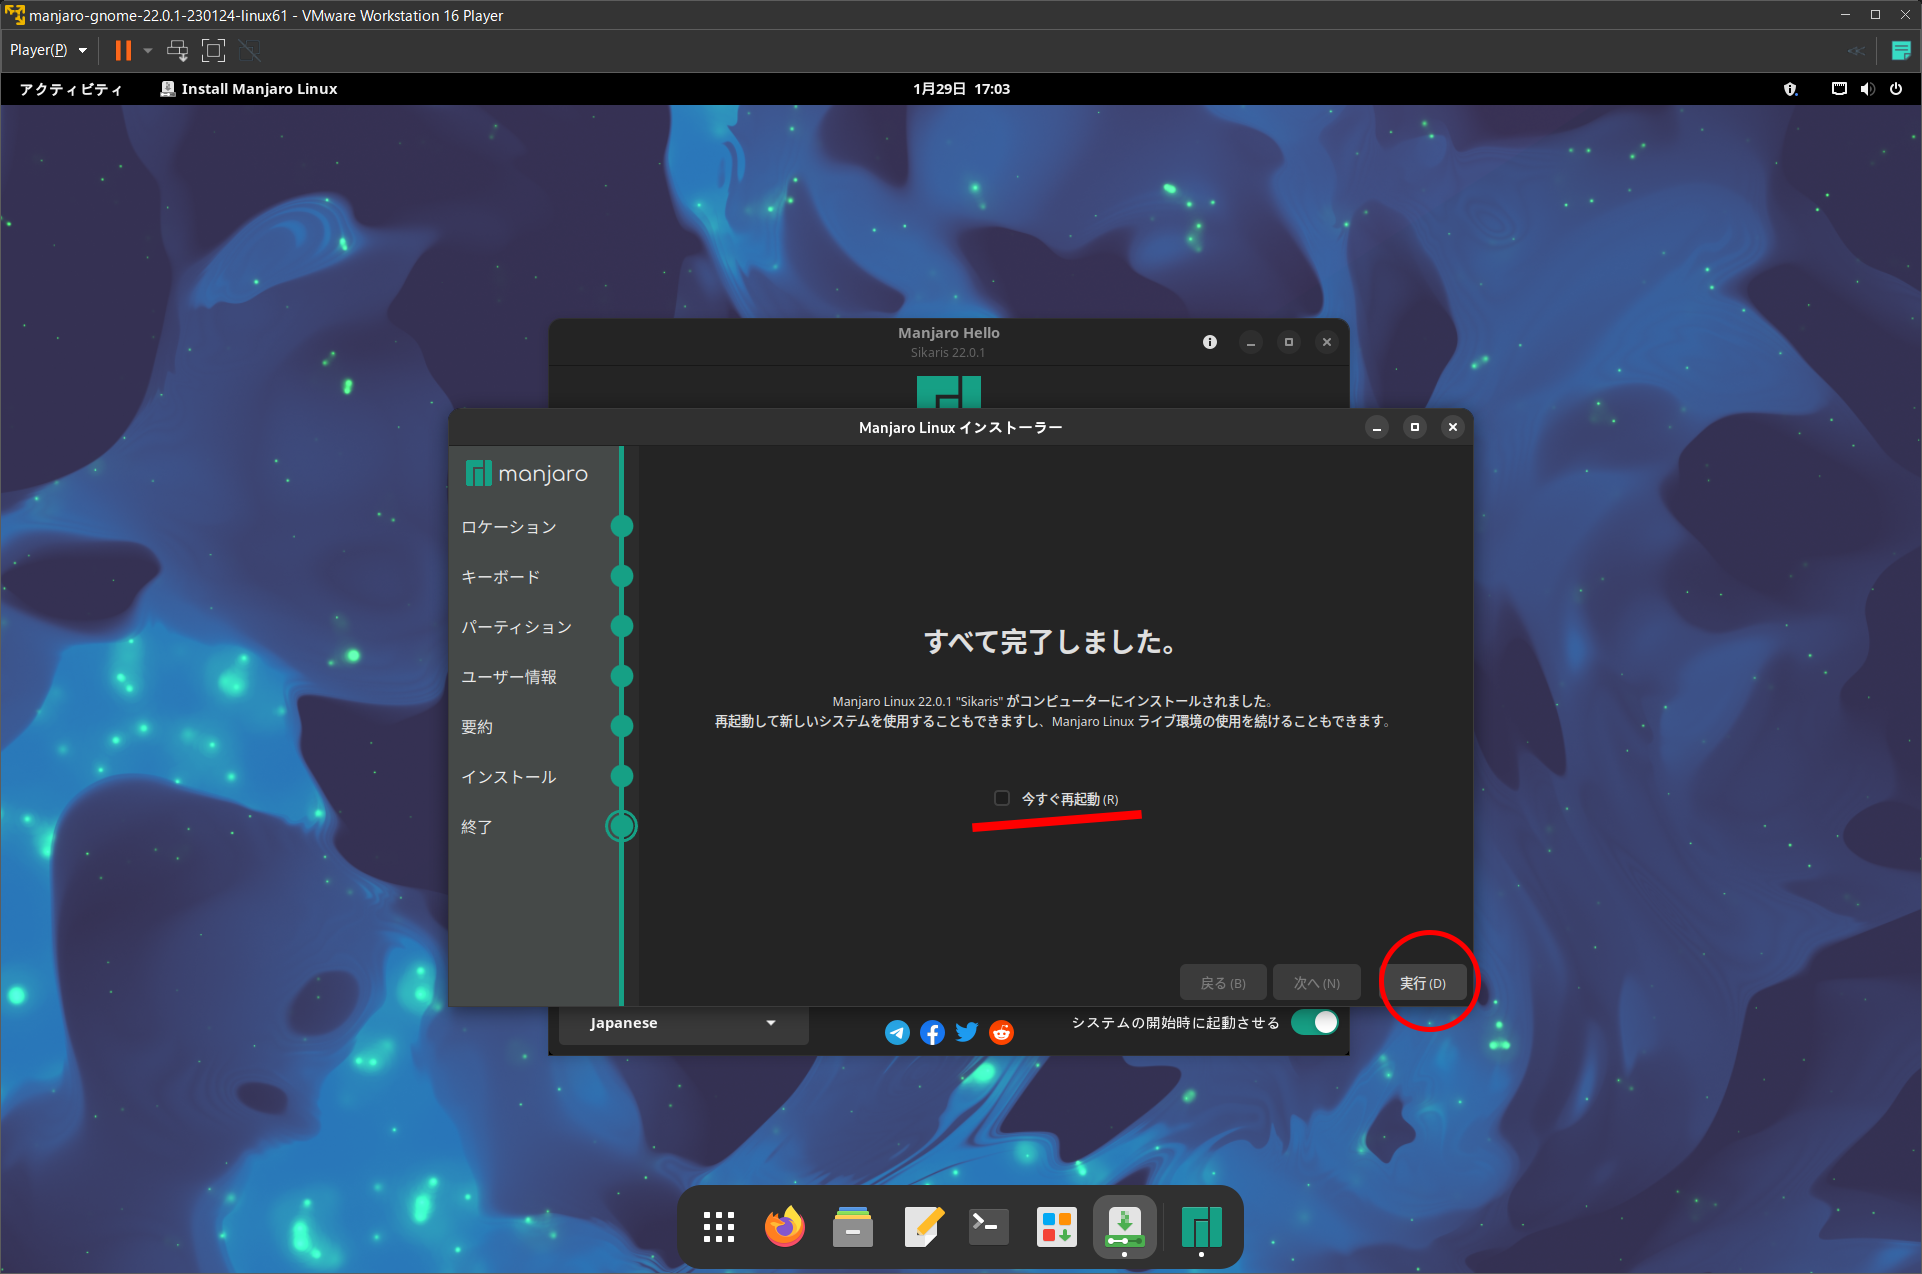
When you see the “All done. screen, the installation is complete.
At this point, the option “Reboot now” will appear, but since it is better to extract the ISO file for the VMware setup, do not check this box and click “Run”.
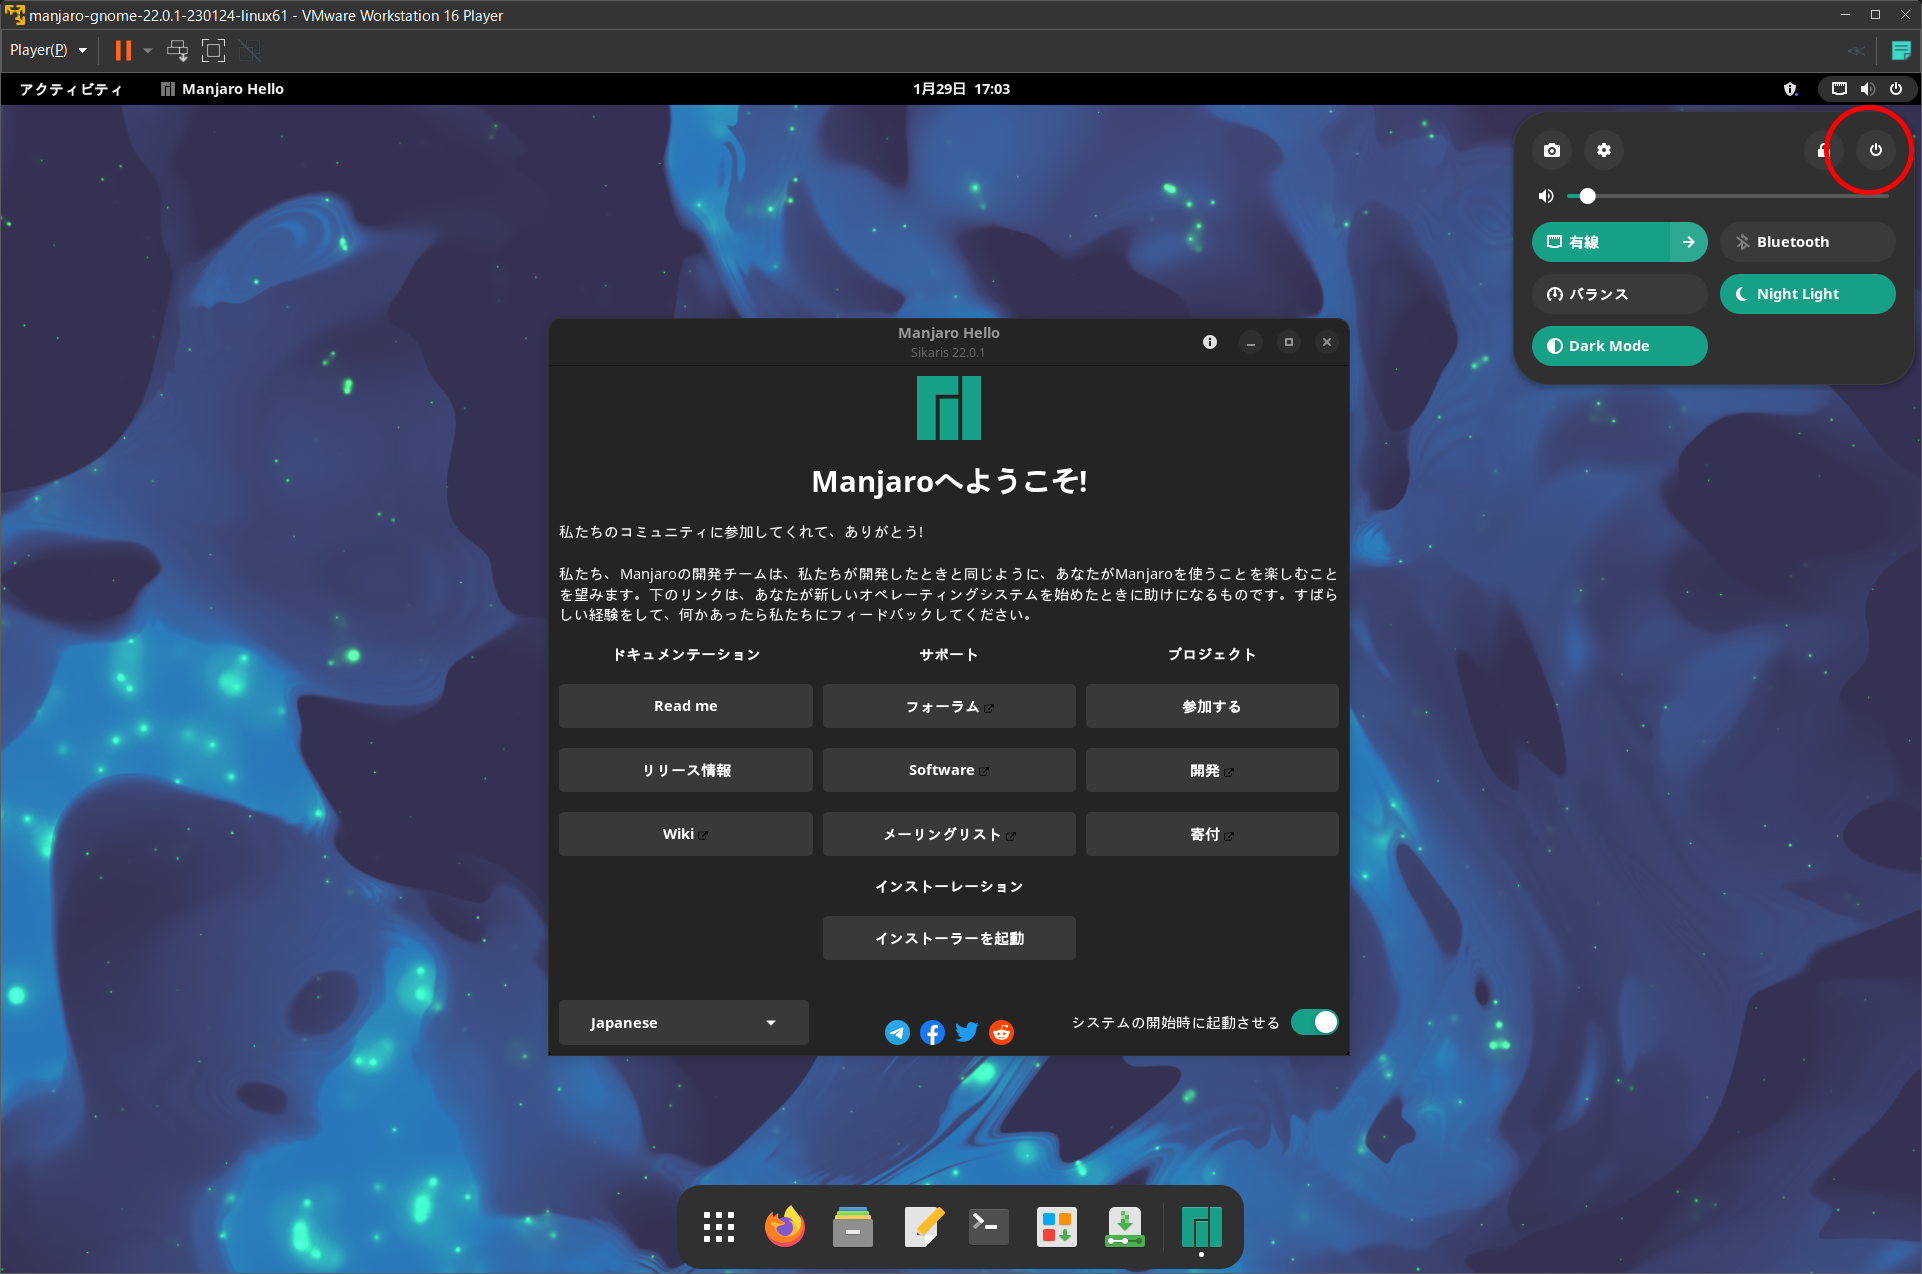
You will then be returned to the same screen as when you booted, so click on the power button symbol in the upper right corner.
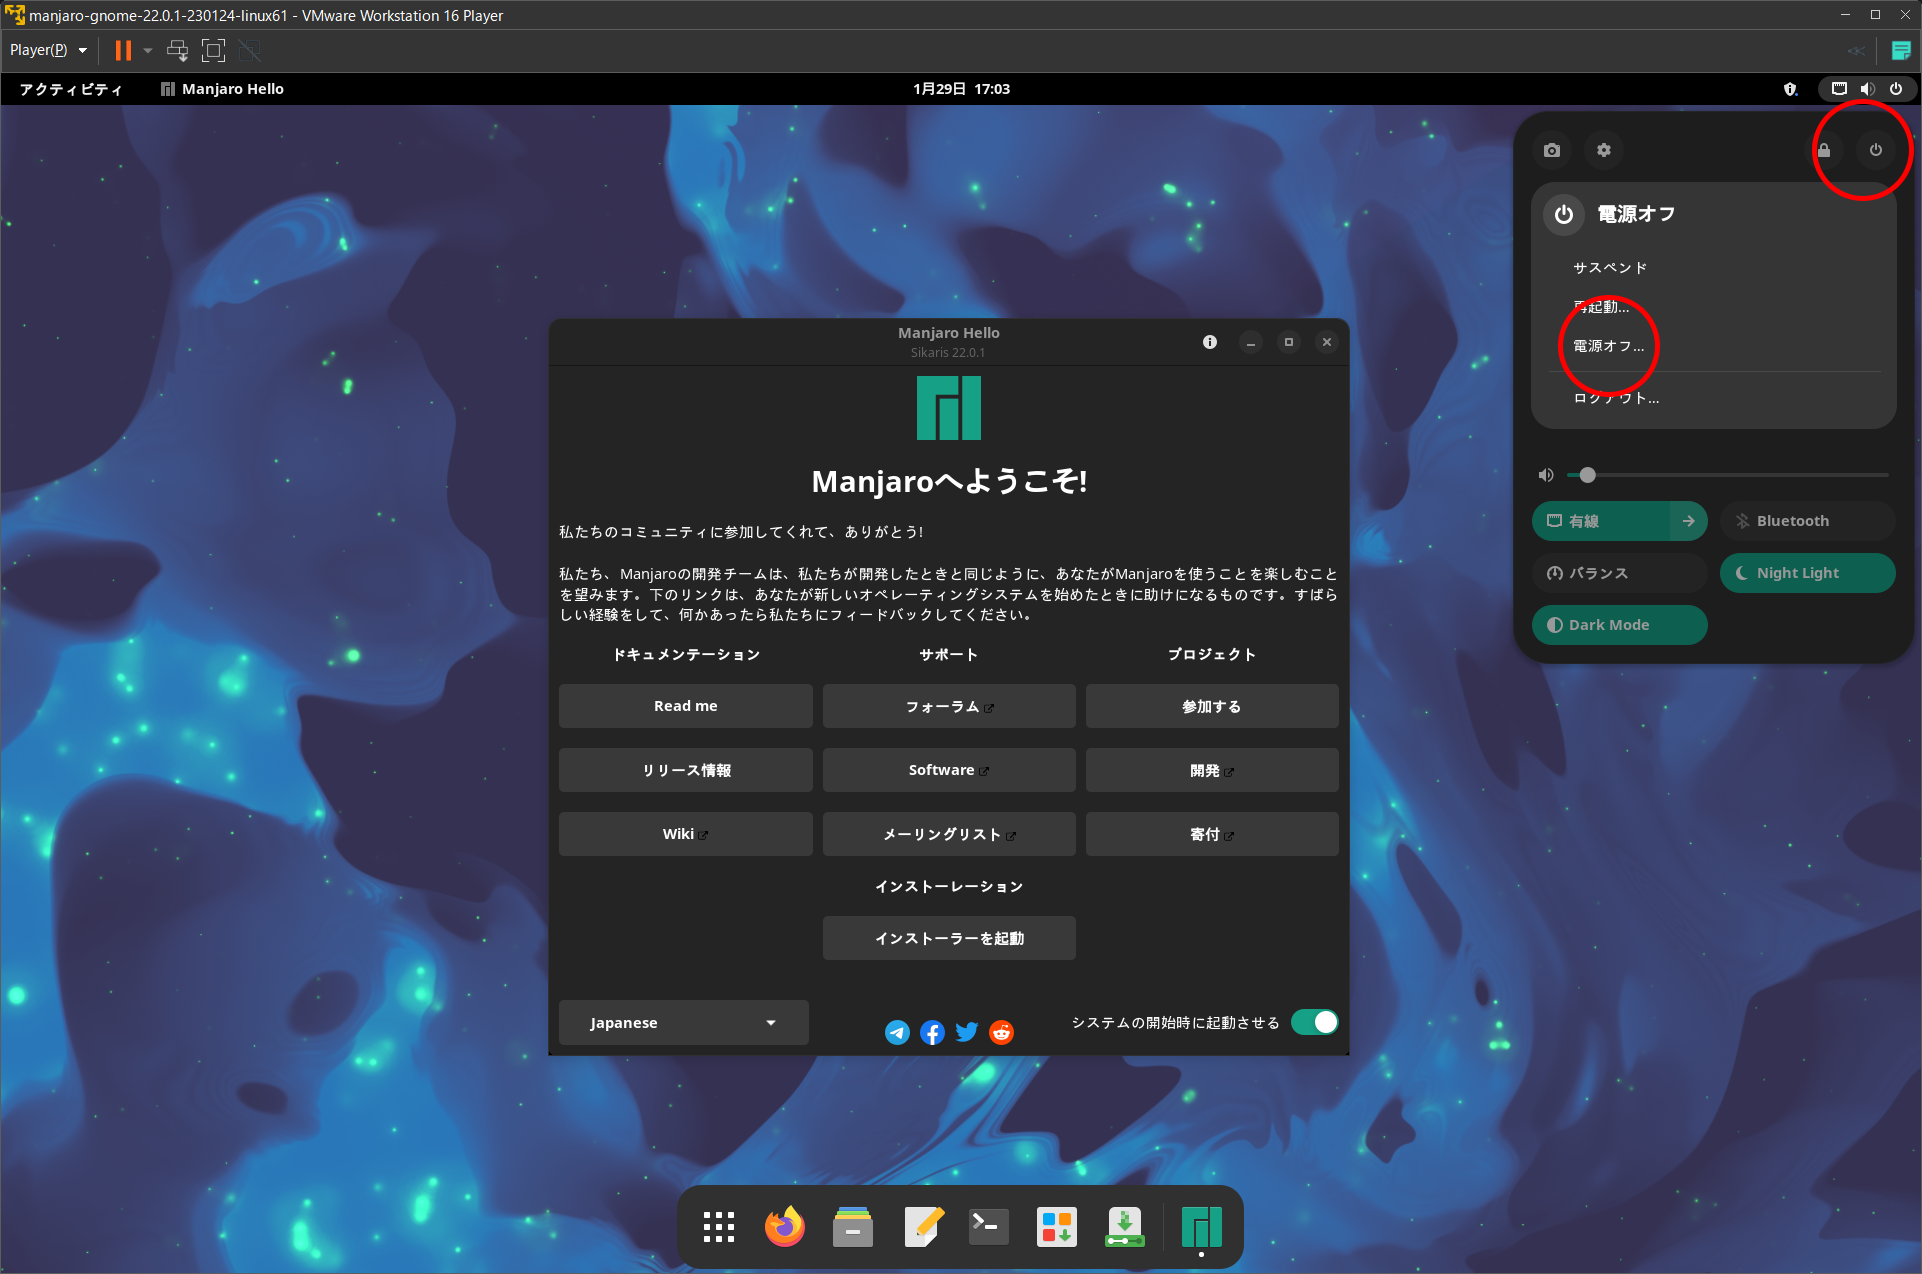
Click the power button again from the pull-down menu, and the “Power Off” item will expand, so click “Power Off…”.
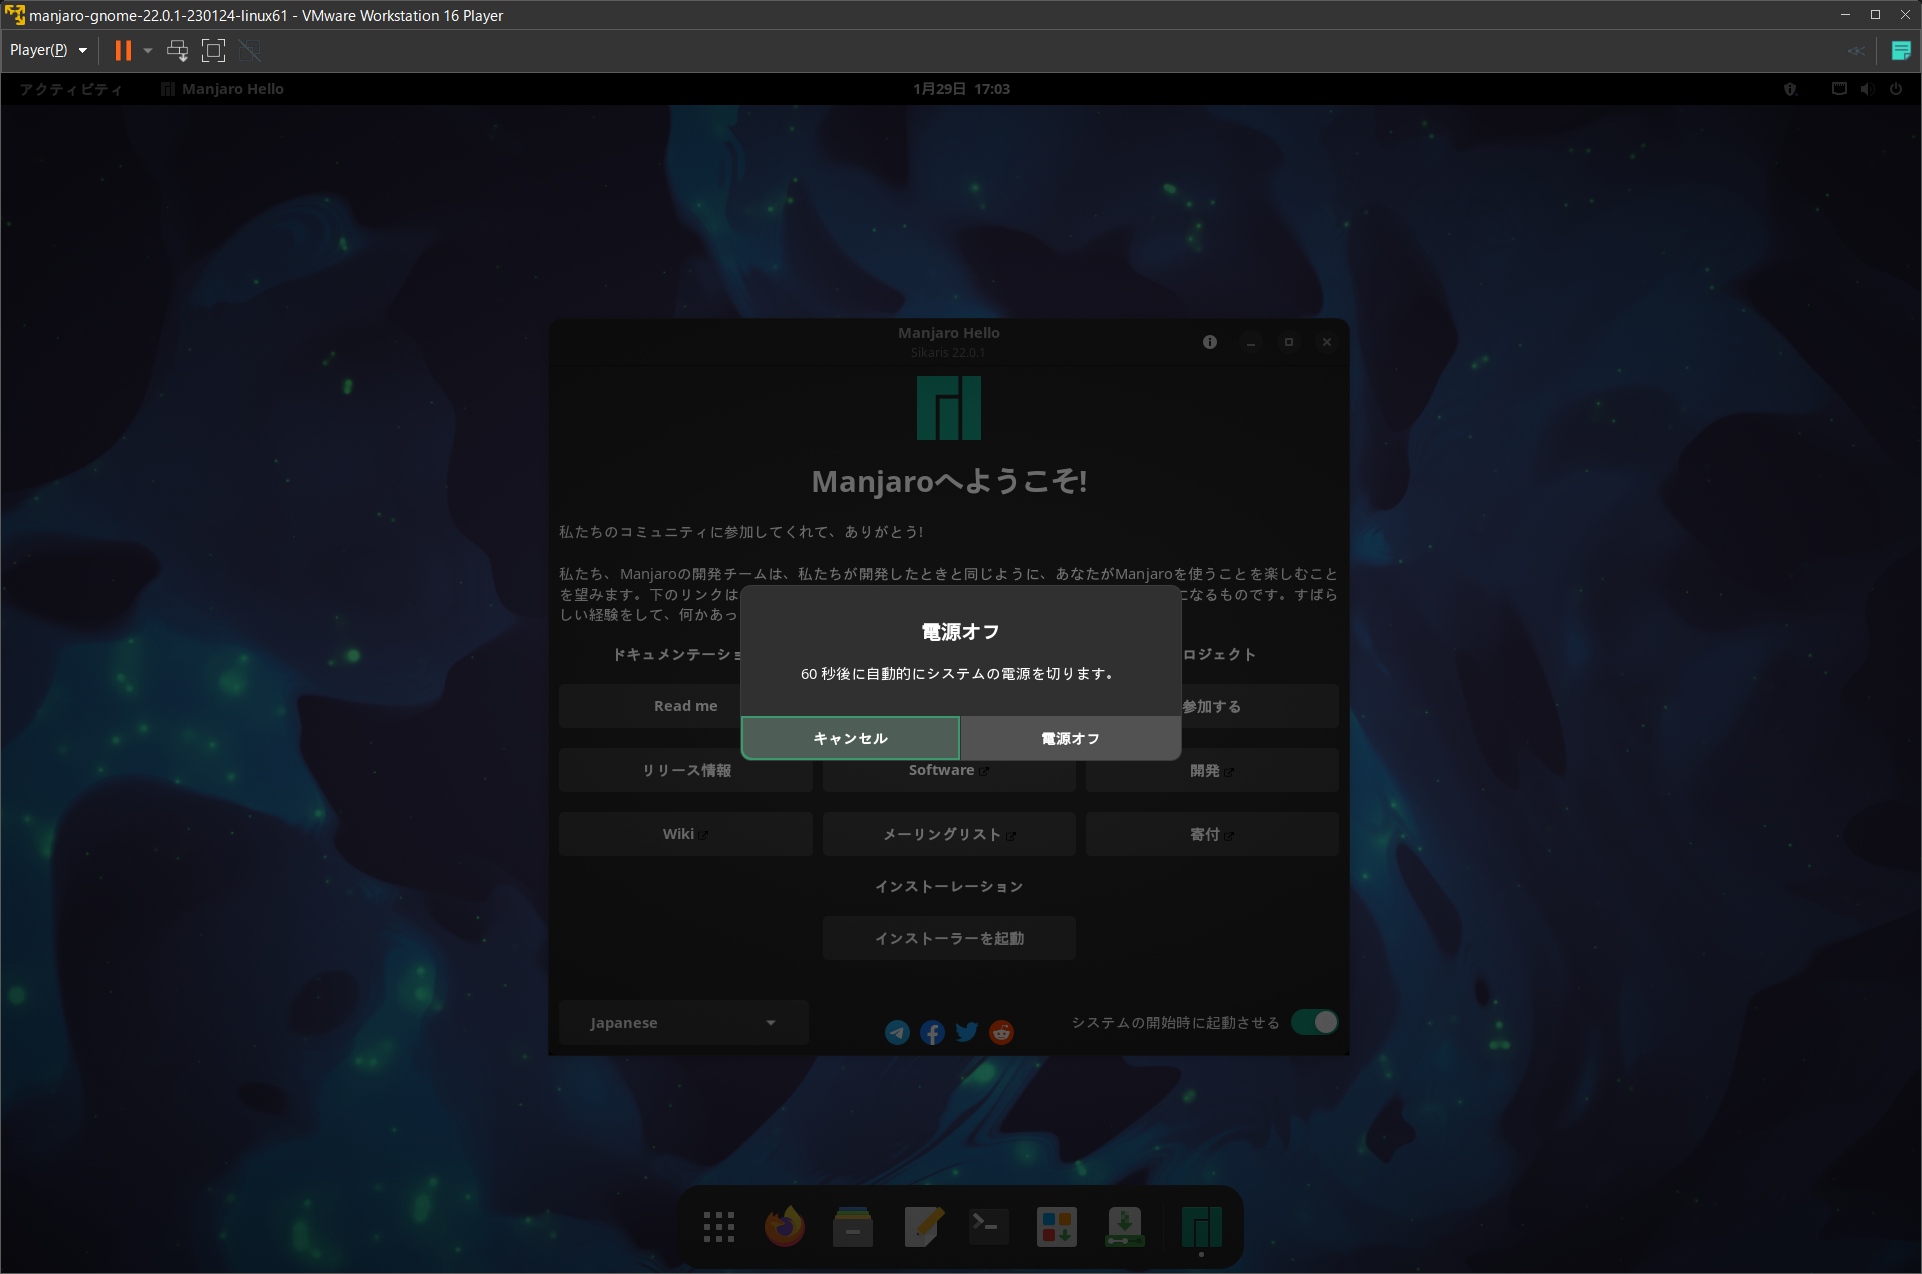
On the confirmation screen, click “Power Off” to exit.
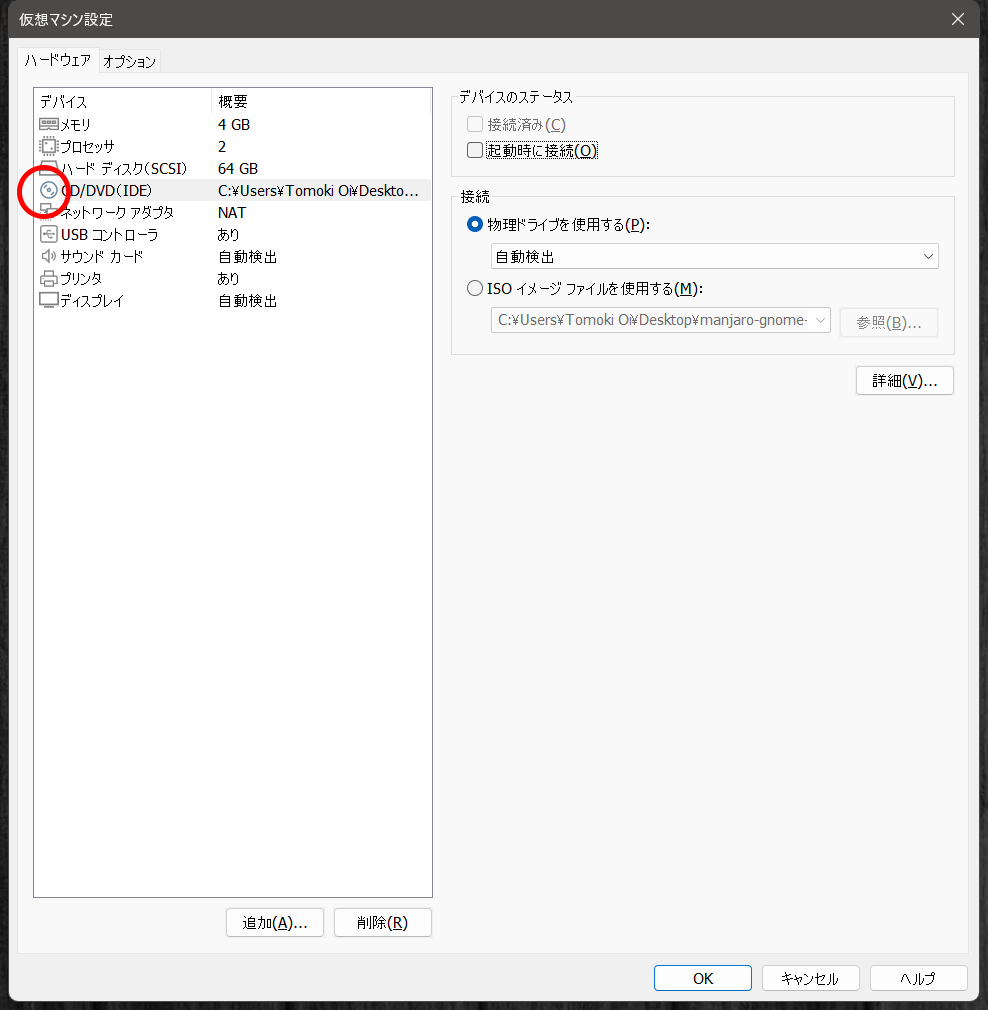
Start VMware again and open “Edit Virtual Machine Settings”.
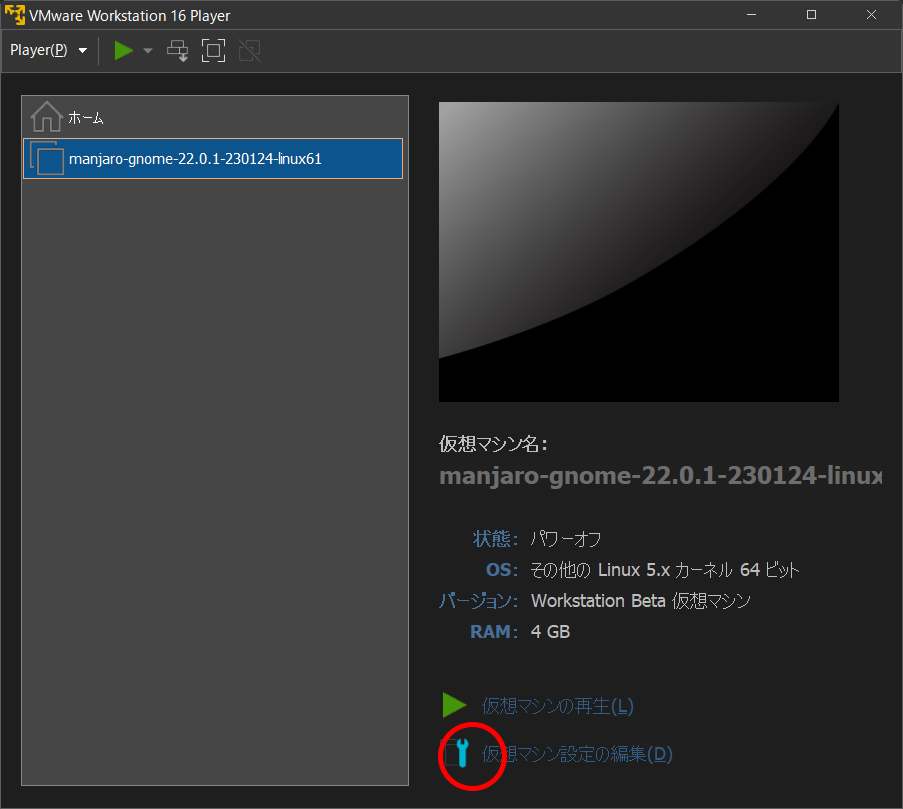
In order to remove the ISO image file used for installation, in “CD/DVD (IDE)”, uncheck “Connect at boot” and select “Use physical drive” for the connection, so that the ISO image file will not be loaded when Manjaro starts. This may not be necessary, but just to be safe, remove the ISO image file.
Restart the virtual machine
When this operation is complete, try booting Manjaro.
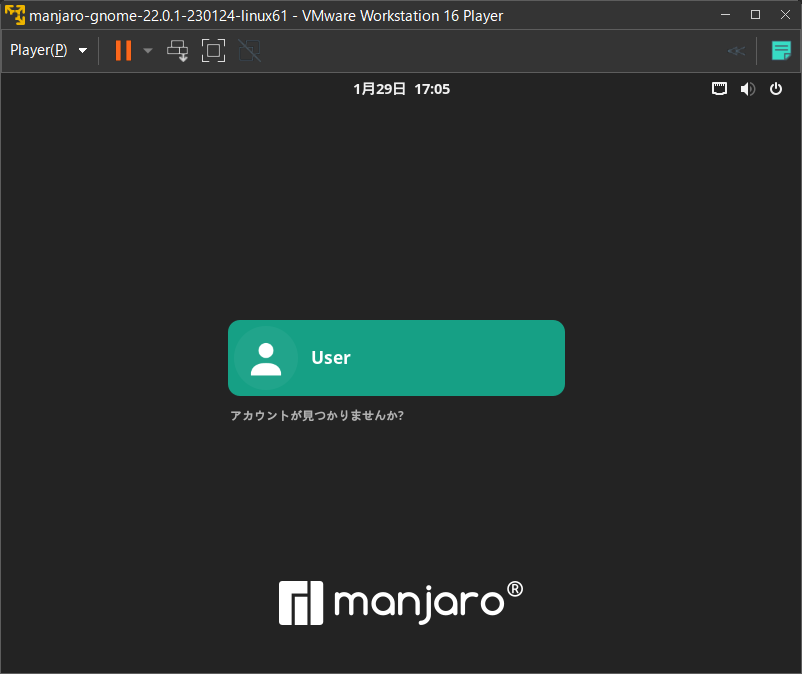
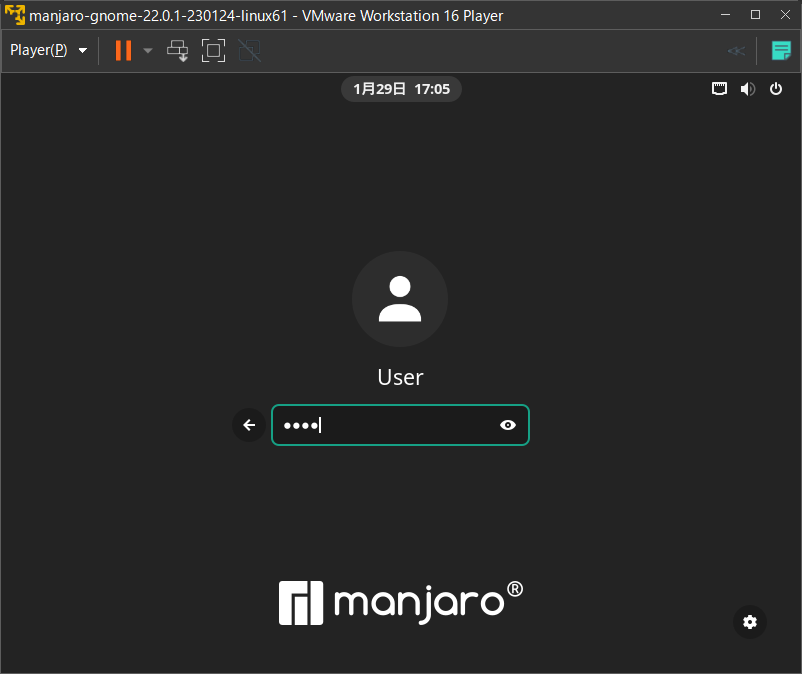
Enter the password you set during installation.
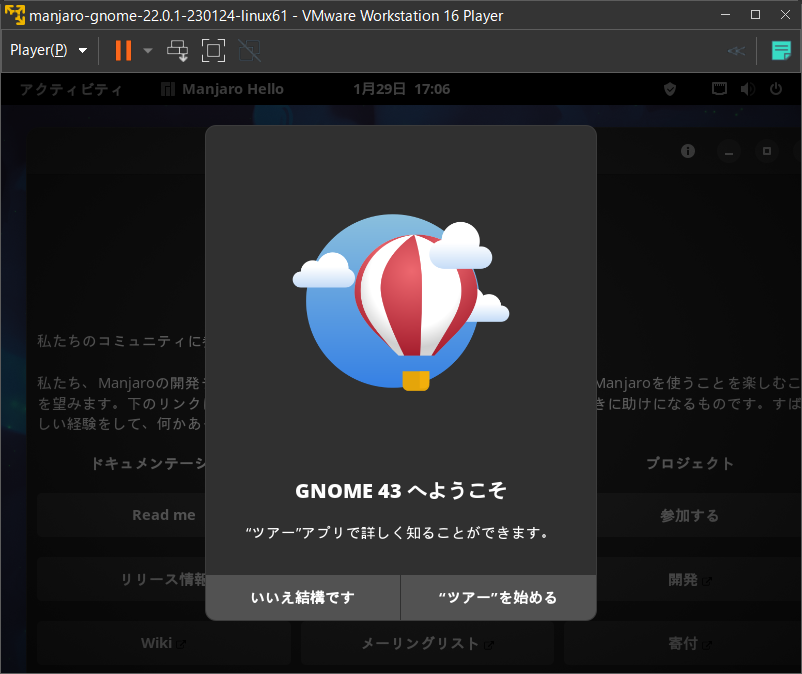
Then, a welcome tour will start, albeit on a small screen, which you may watch or skip.
However, this is too small a screen, so we will change the resolution of Manjaro.
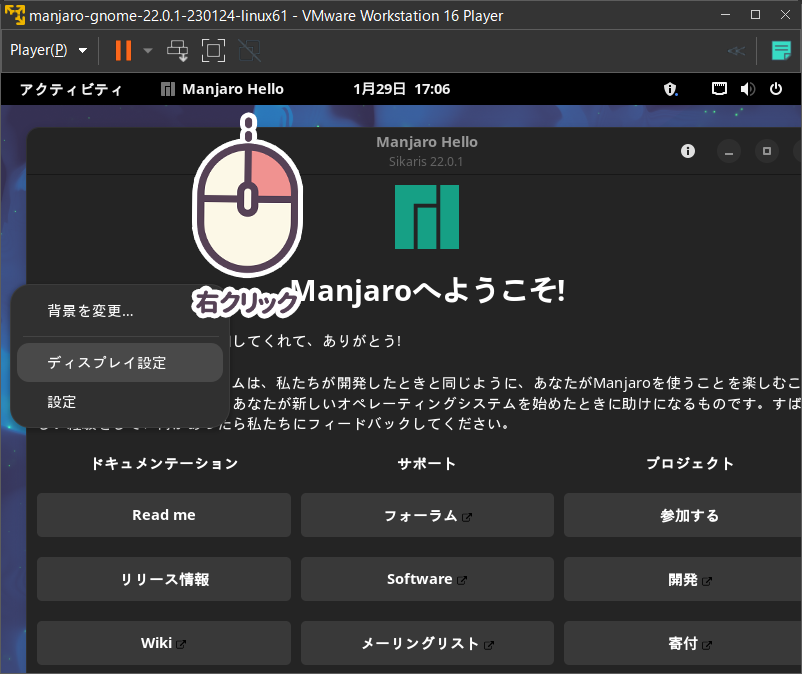
Right-click on the desktop area, a pop-up menu sub appears, and select “Display Settings”.
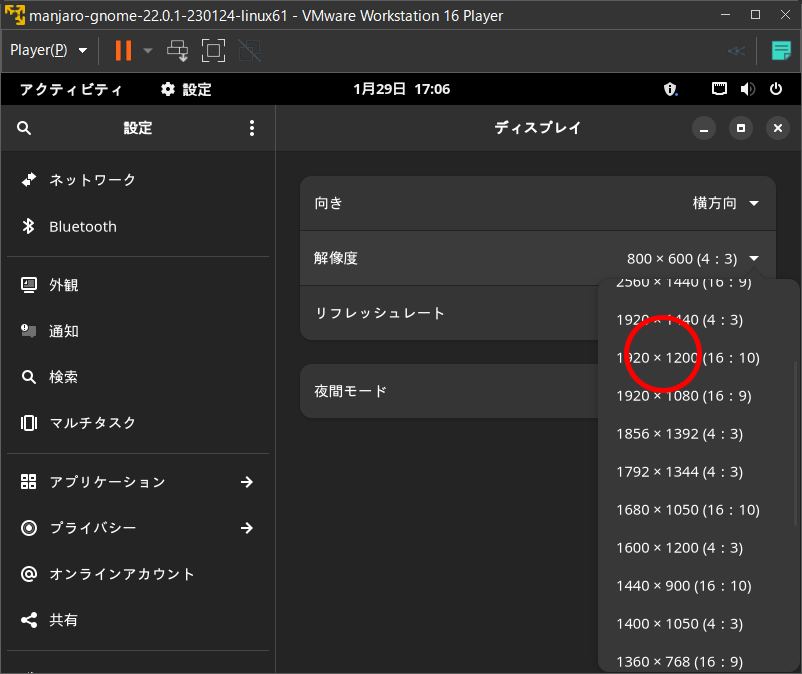
The settings screen will appear, and here we will choose “1920 x 1200” as a trial. Please consult with your environment before deciding this.
Then click the “Apply” button in the upper right corner, and the window itself will be enlarged for normal use.
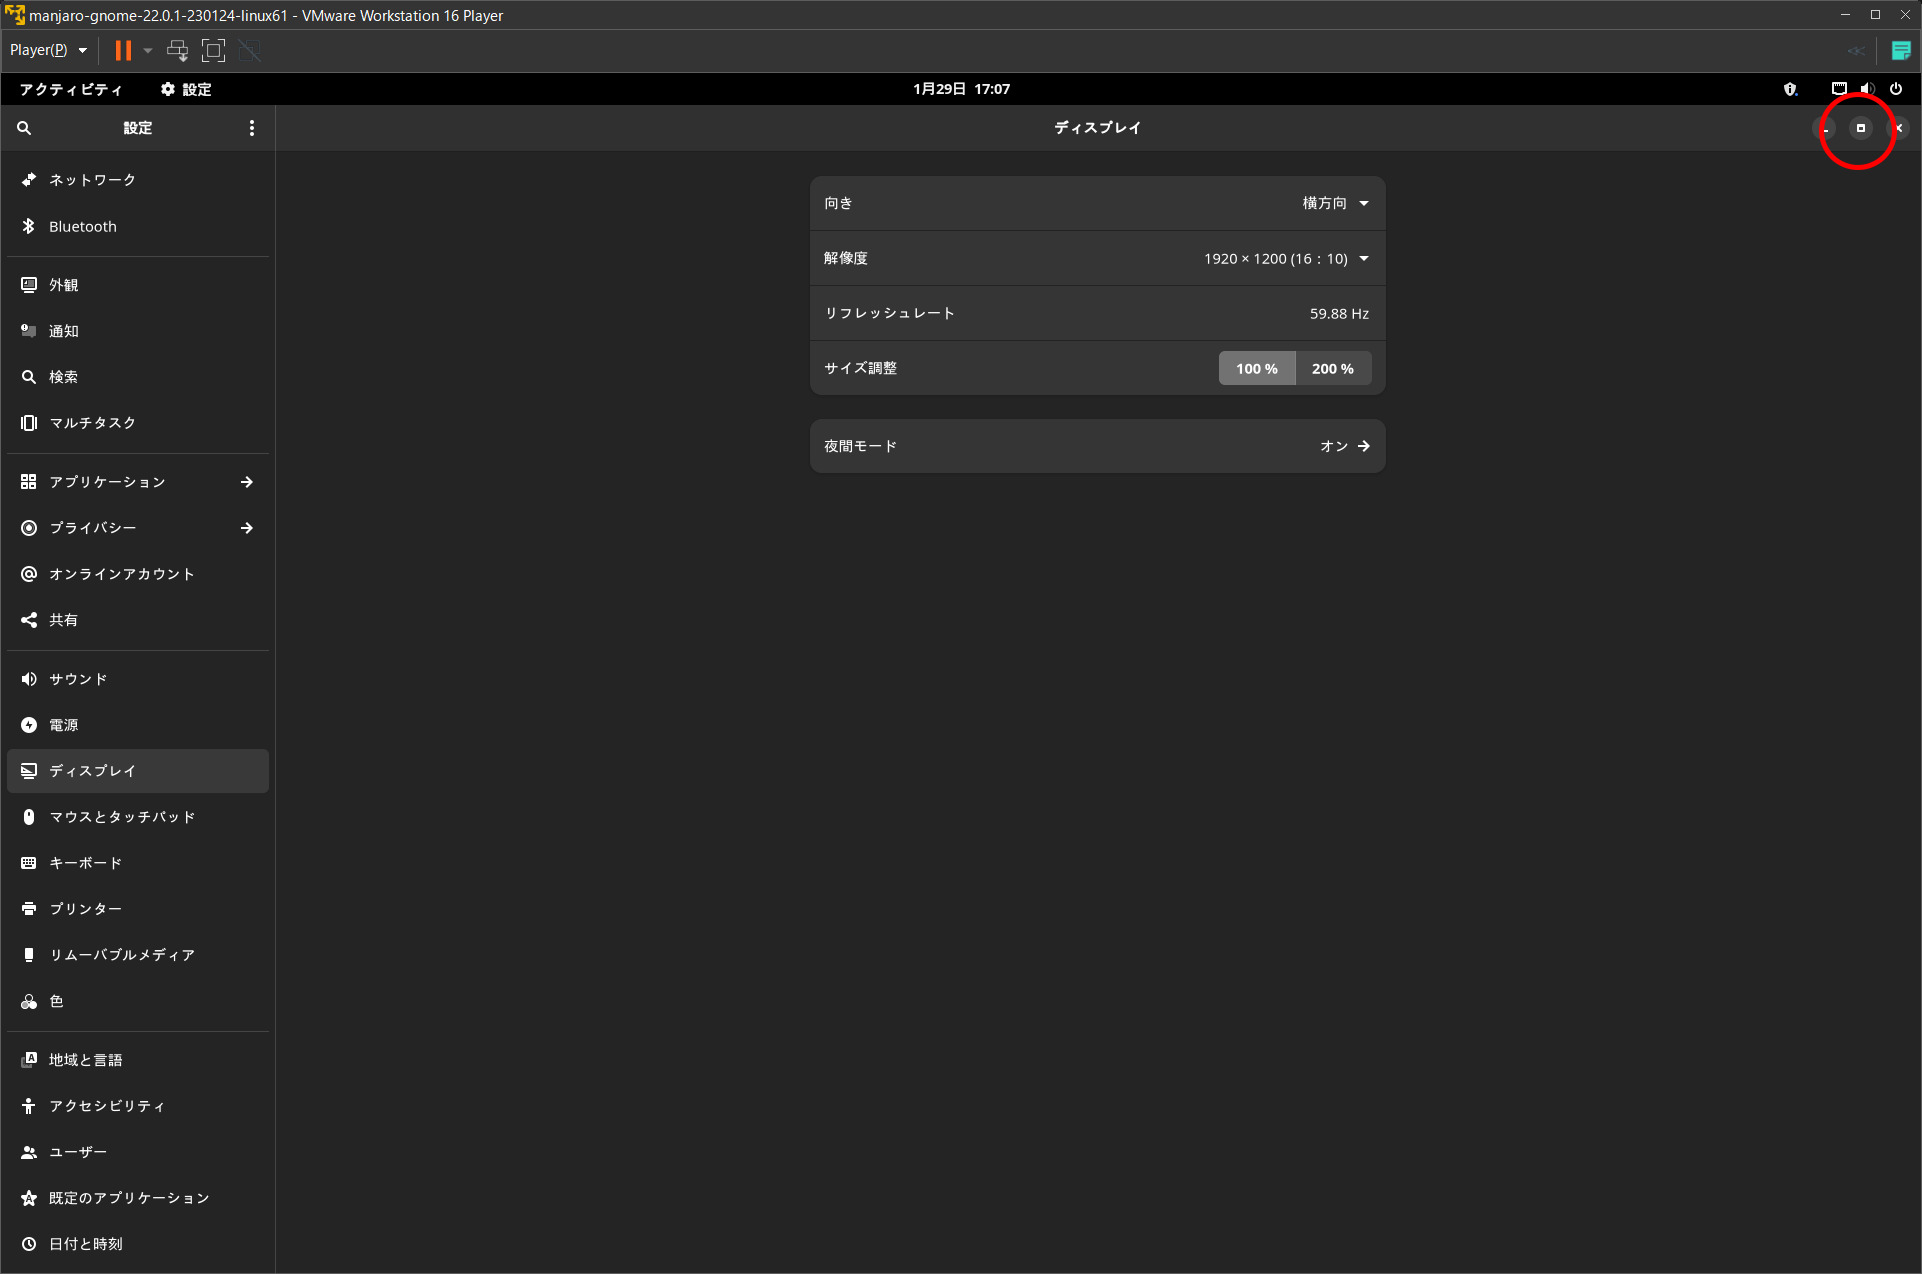
Click the “Unmaximize” button in the settings window to display the enlarged desktop.

Japanese input environment settings
Even if you complete the installation of Manjaro in Japanese, you will be able to display Japanese, but not input Japanese.
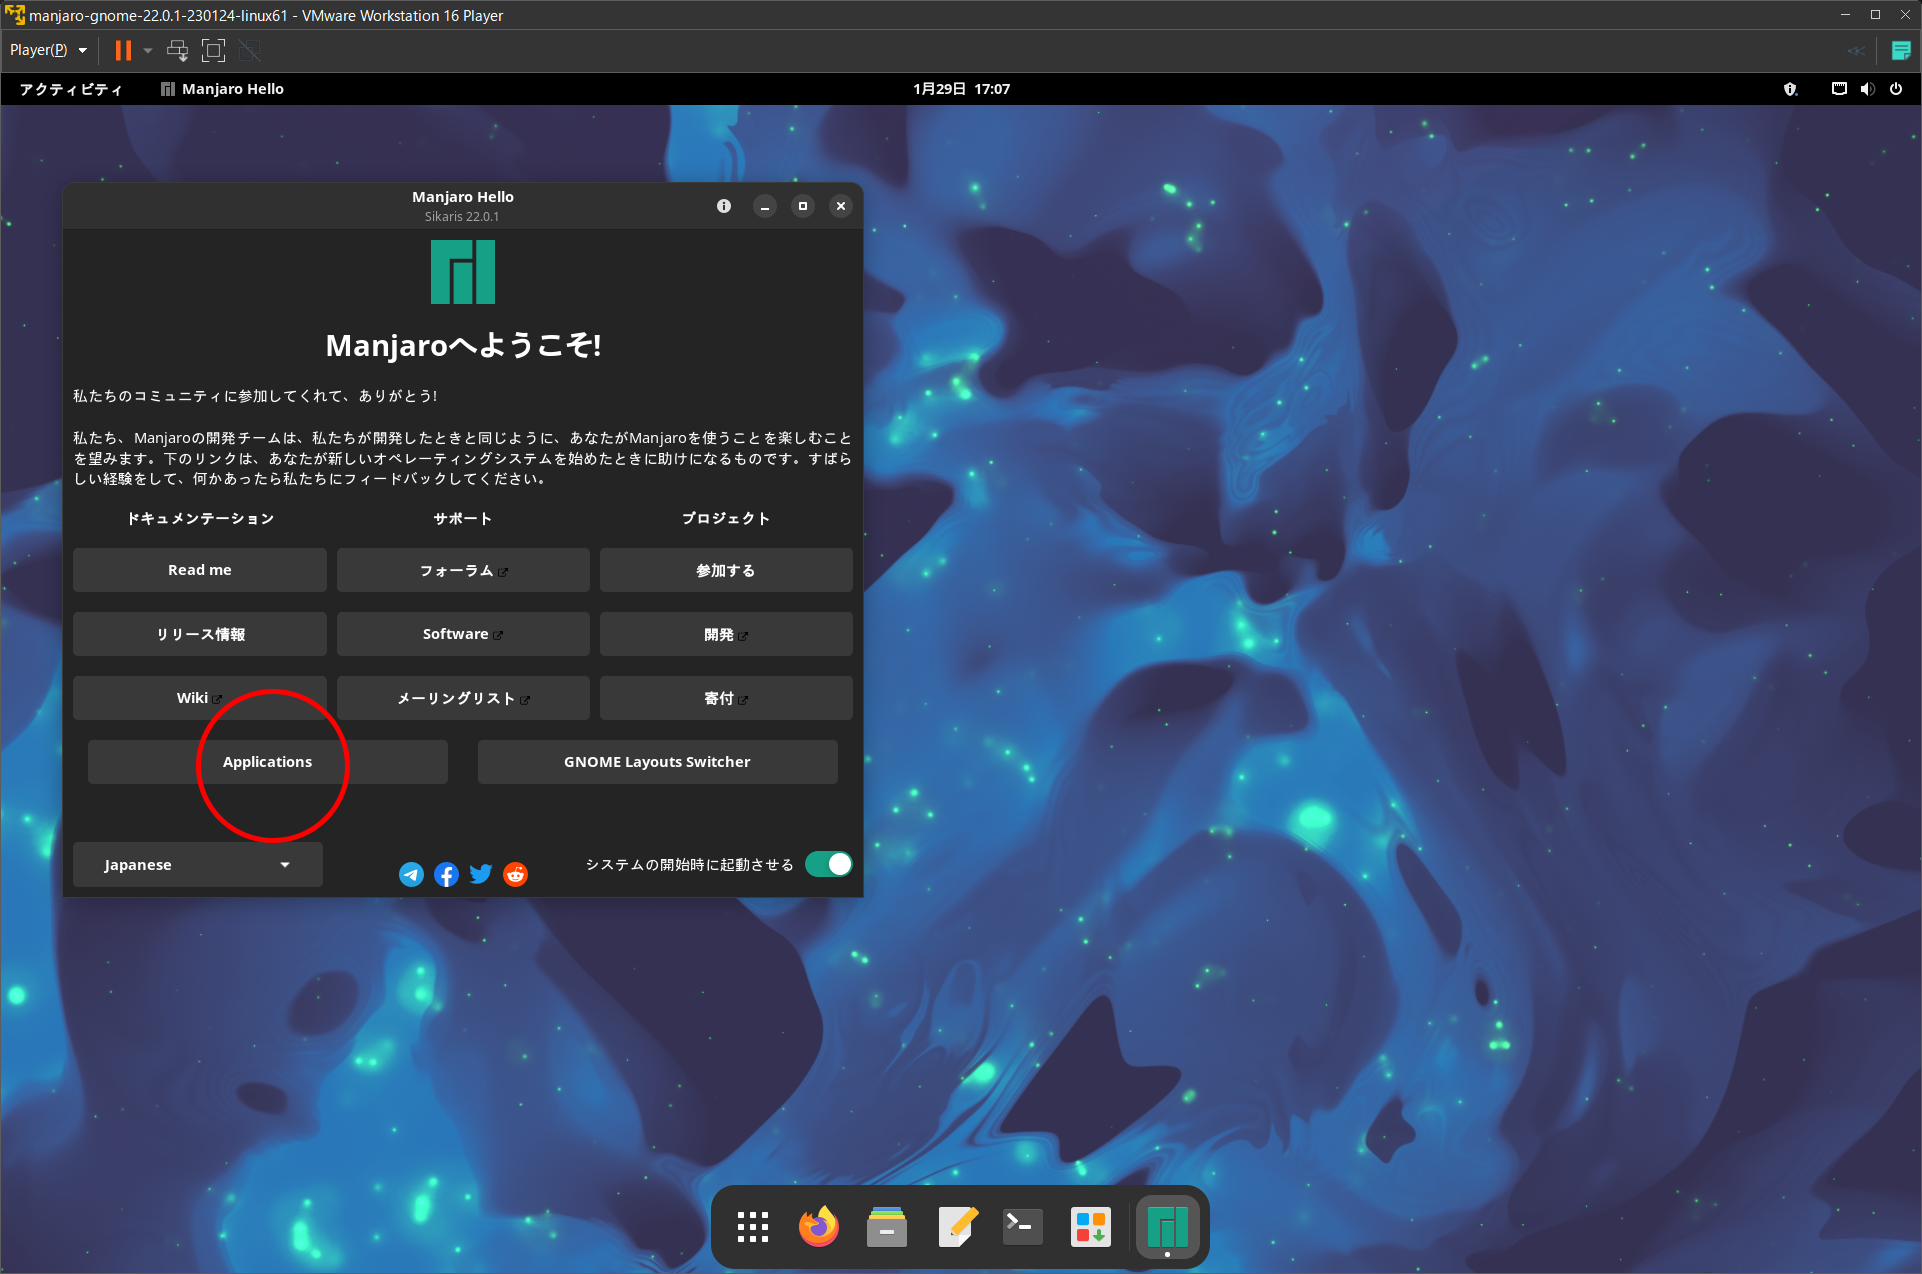
So, click on the “Welcome to Manjaro!” screen, click on “Applocations”.
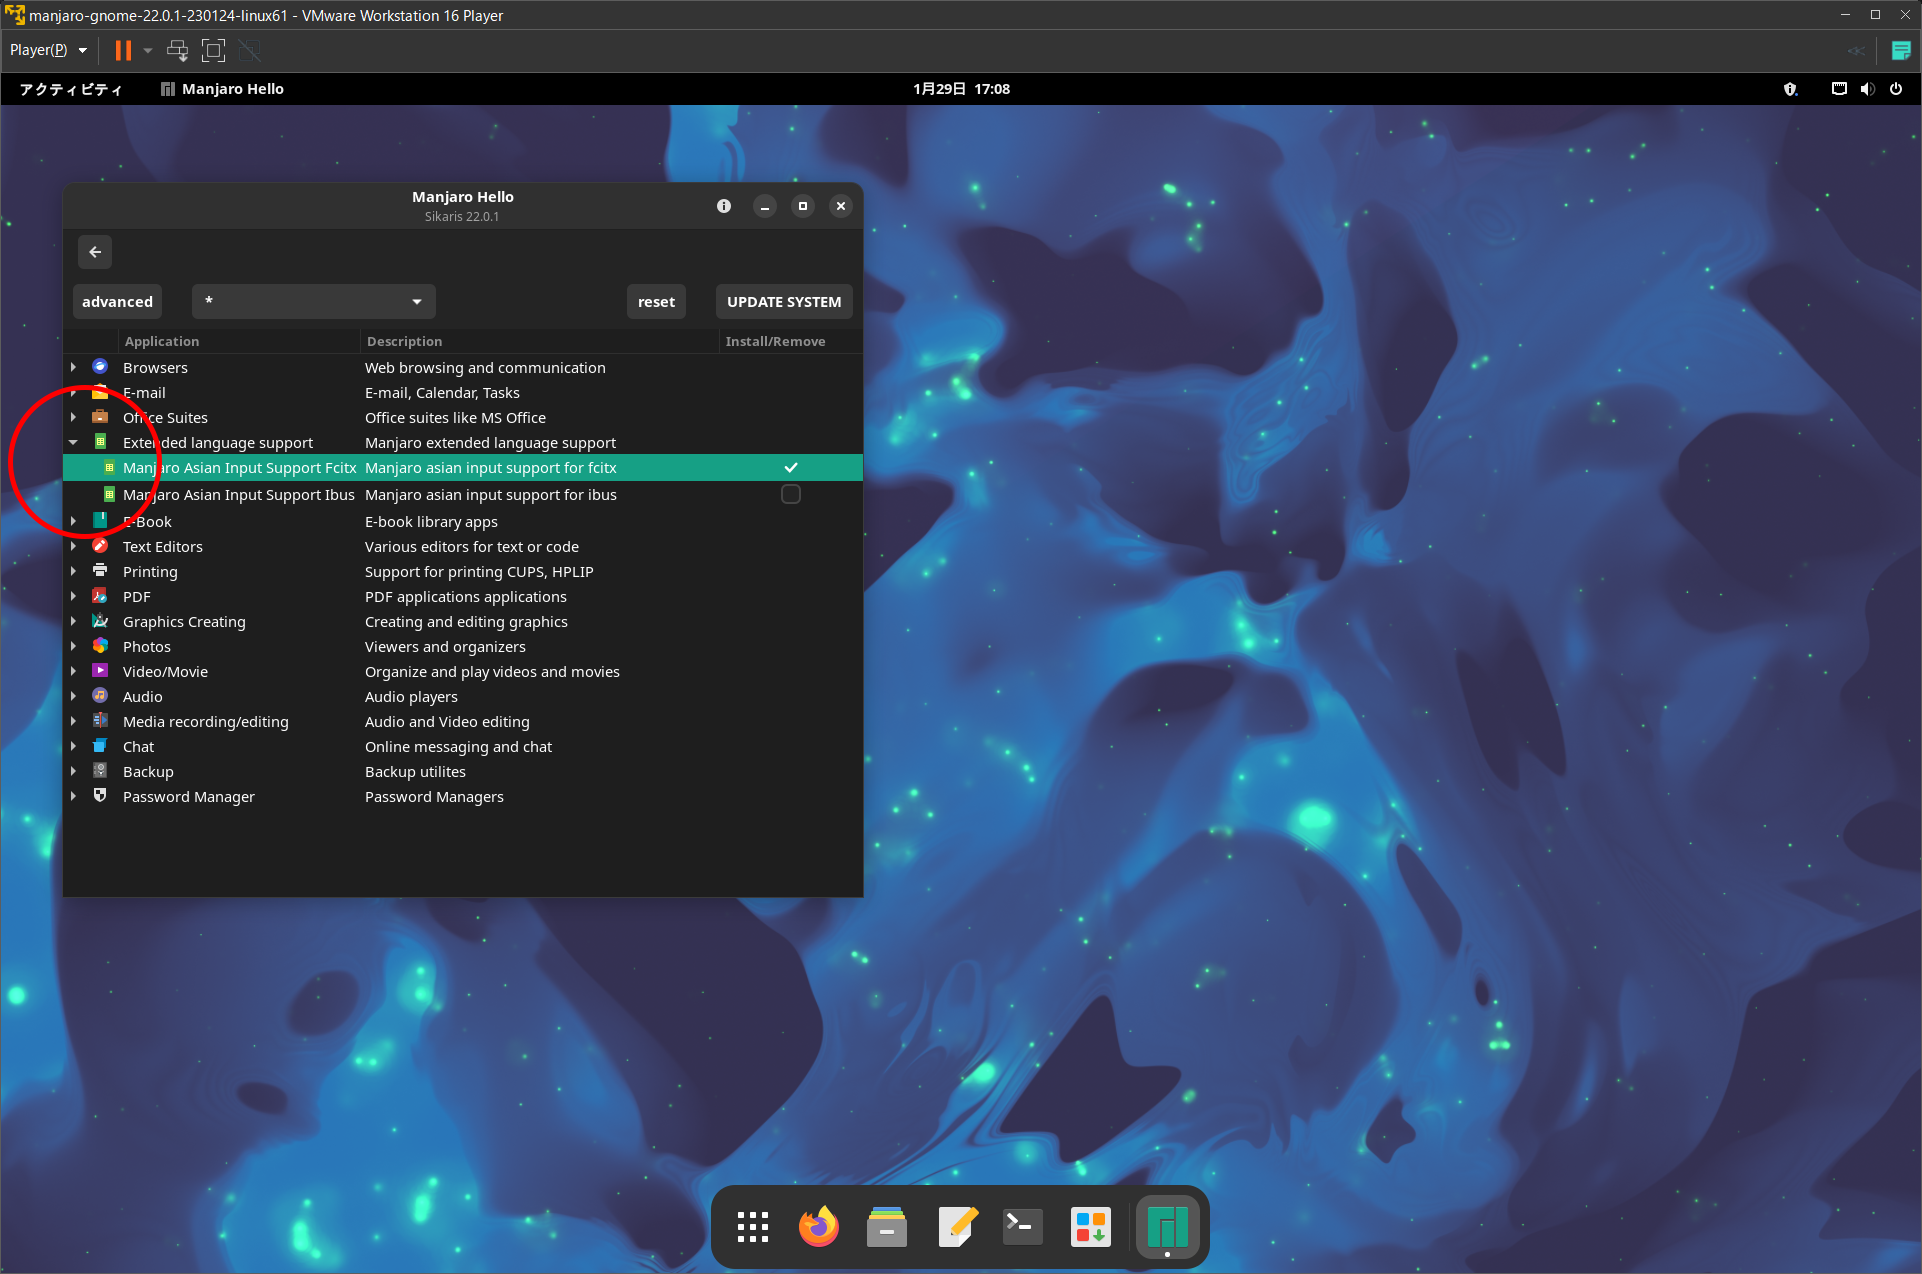
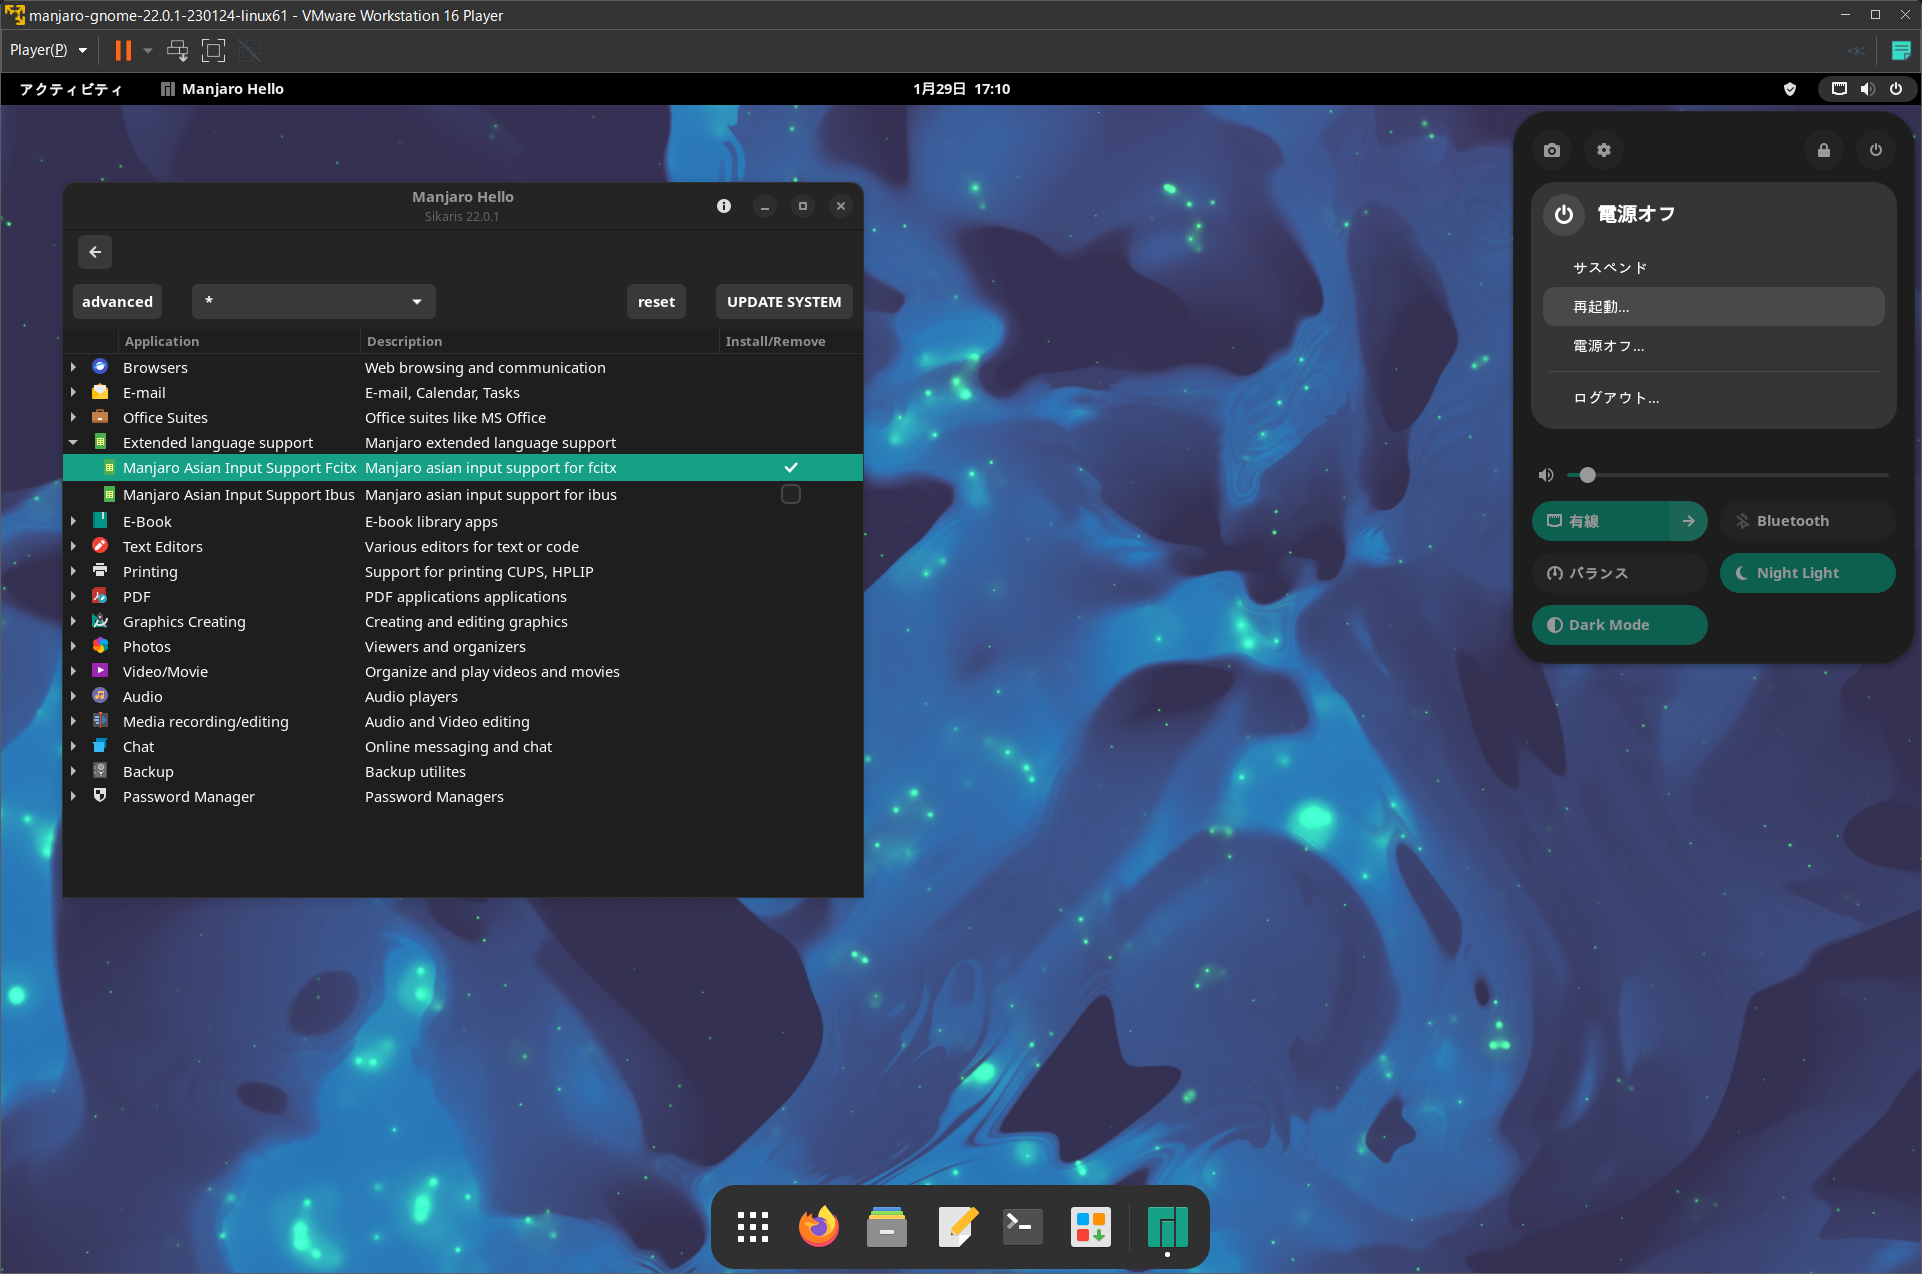
A list of applications that can be installed will appear. To install the Japanese input environment, click on the triangle to the left of “Extended language support” to expand it.
Two items will appear. Select “Manjaro asian input support for fcitx” and click “UPDATE SYSTEM” in the upper right corner.
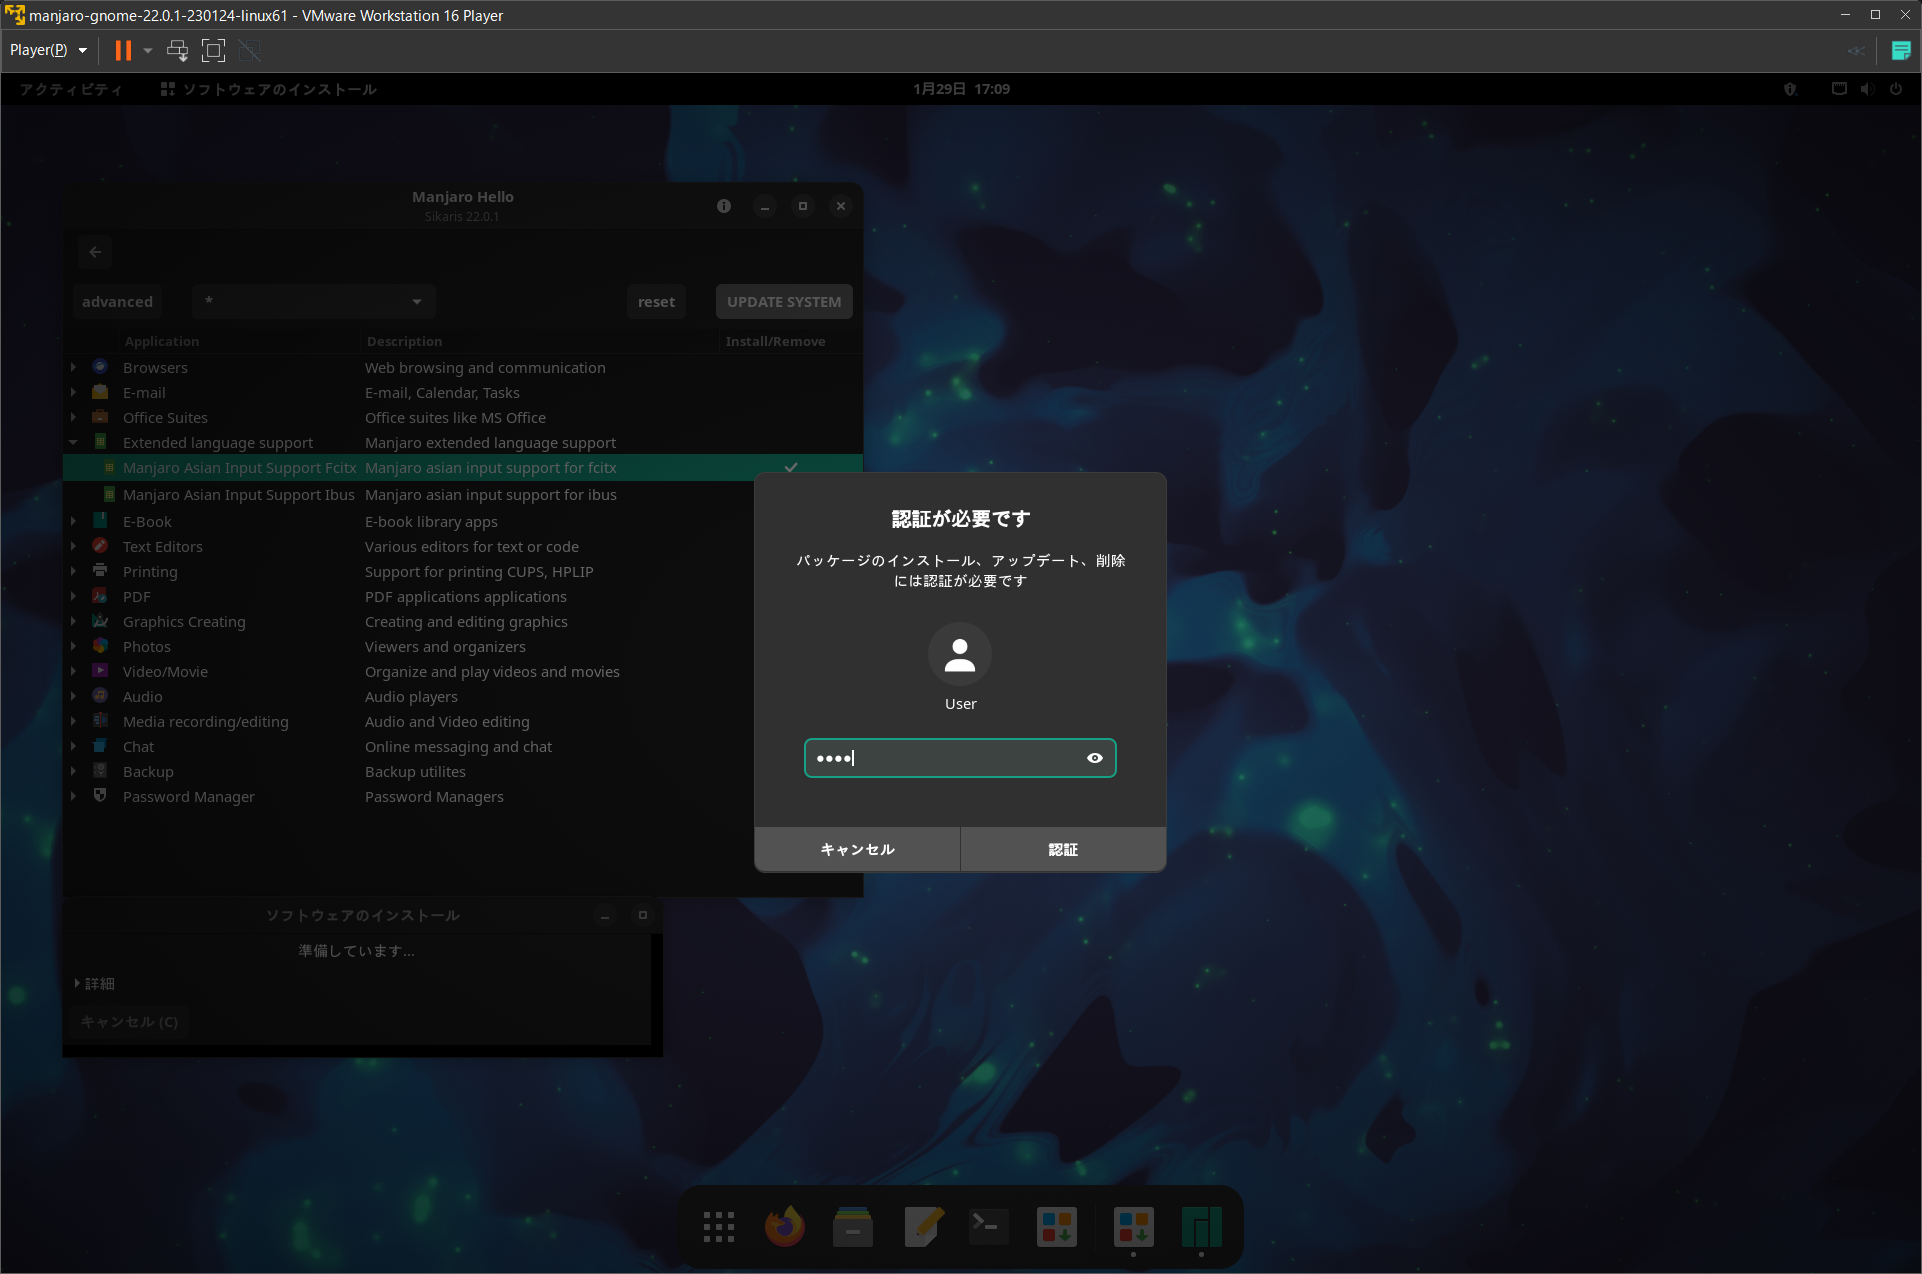
You will be asked to authenticate, so enter your user password.
Next, select the language you wish to use for Manjaro asian input support for fcitx. Here, select “fcitx-mozc: 日本語|Japanese” and click the “Select” button in the upper right corner.

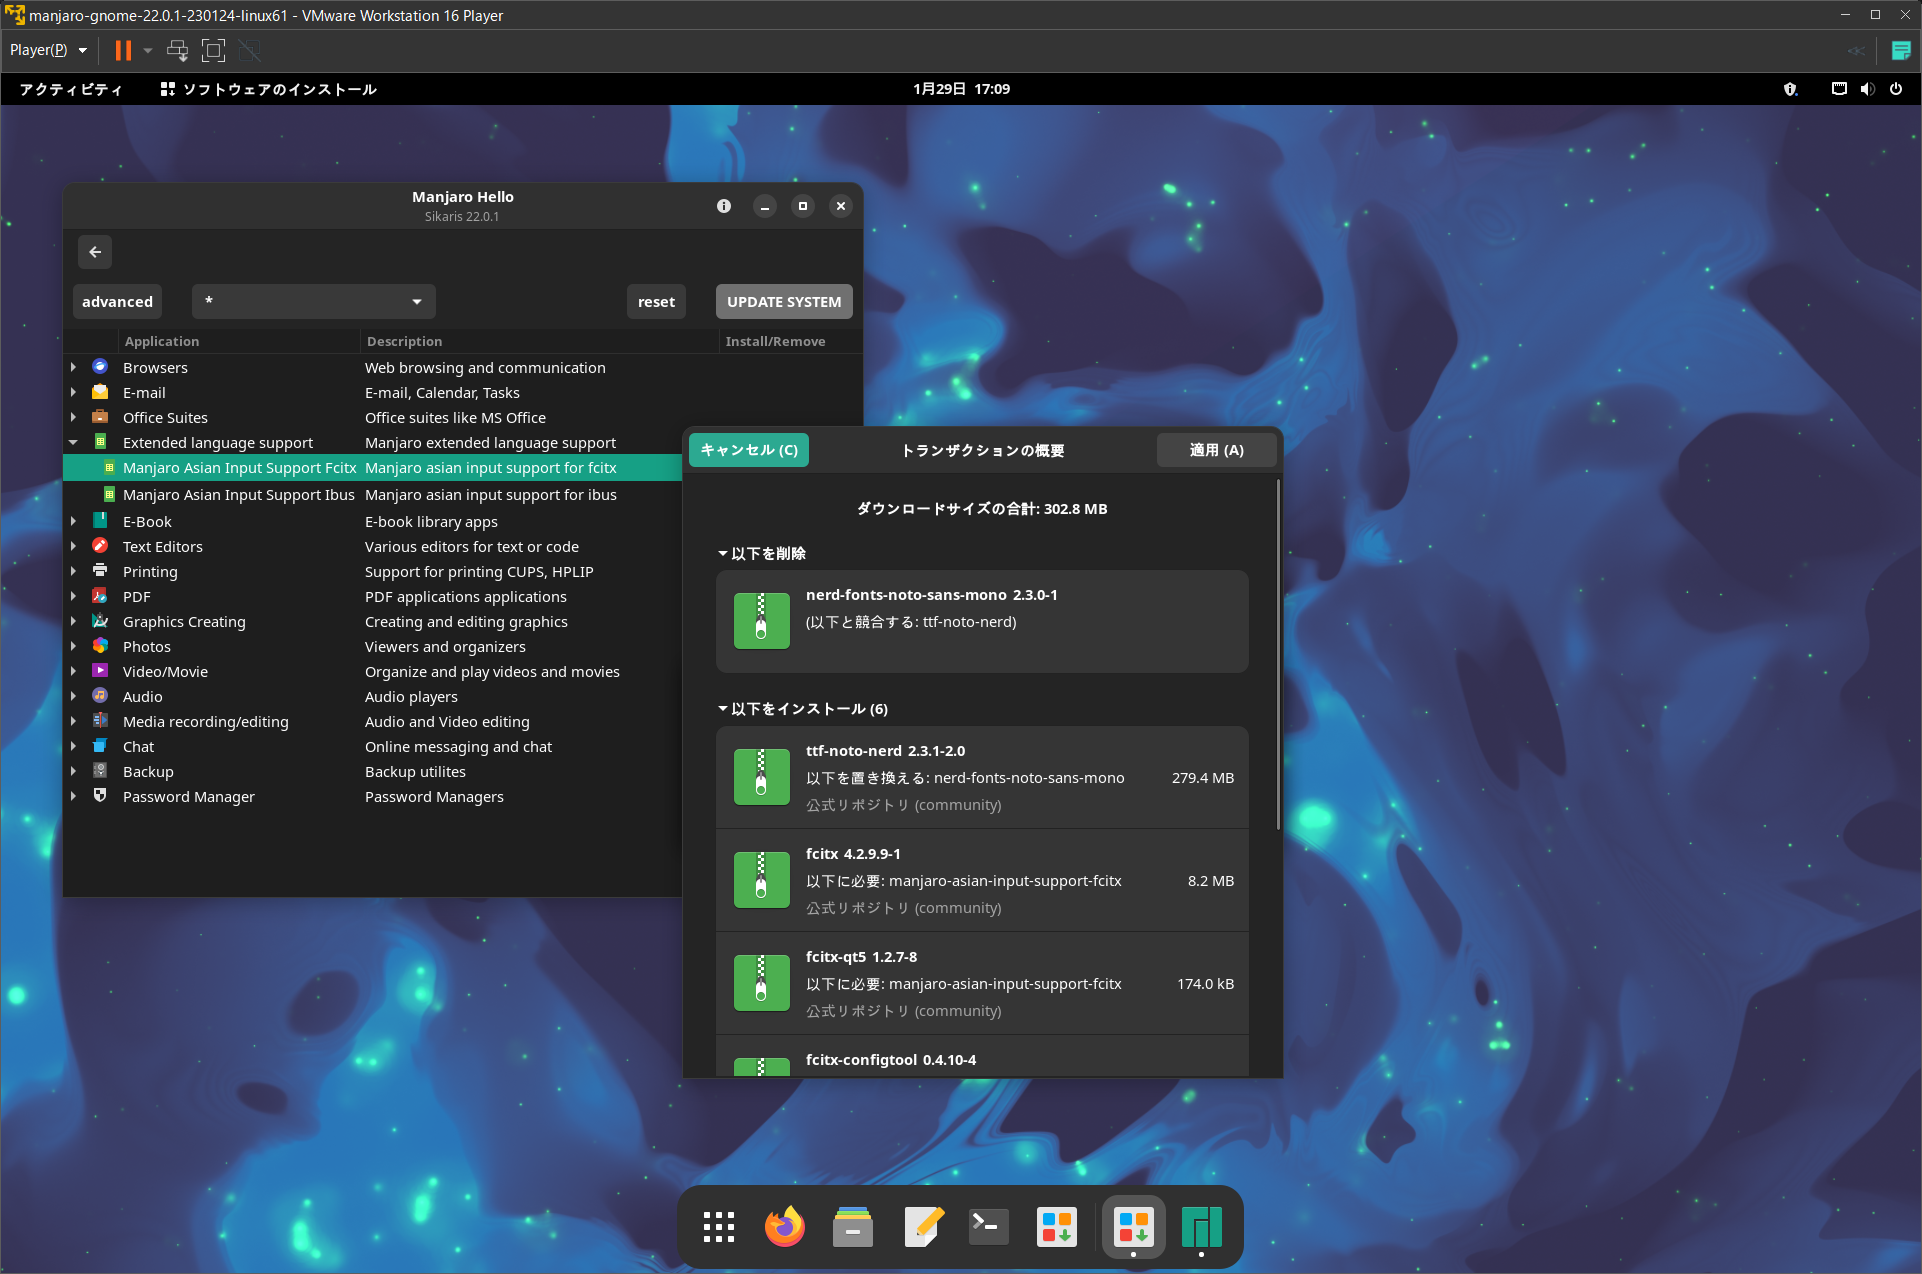
Before the installation starts, a confirmation screen will appear, so click the “Apply” button to proceed.
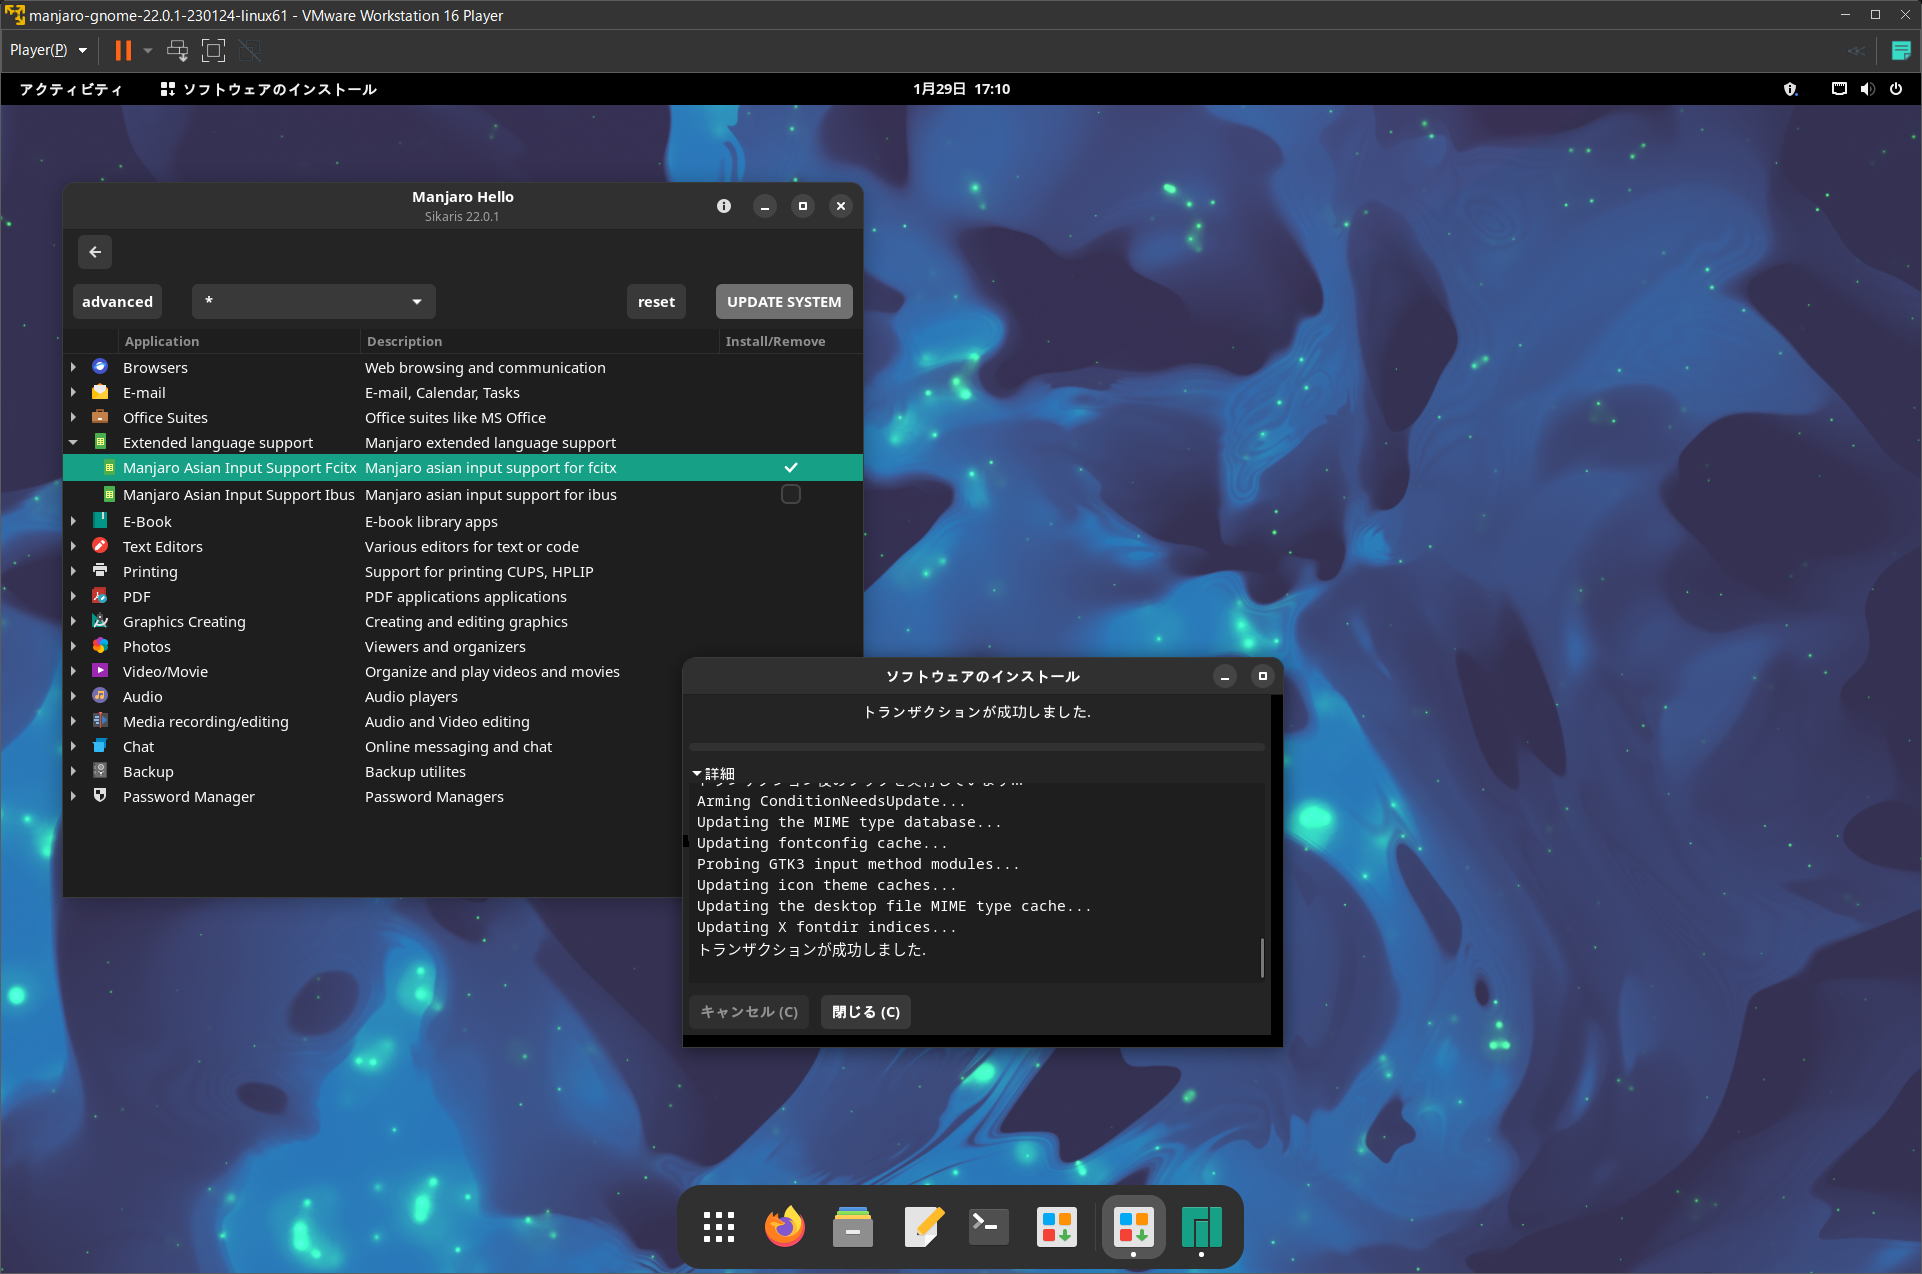
When the installation is complete, you will see the message “Transaction was successful. Click the “Close” button to close the installation.
Although the installation is complete, you cannot input Japanese at this point. By rebooting, the Japanese input service will start automatically and you will actually be able to input Japanese. First, select “Restart” from the power symbol to reboot.
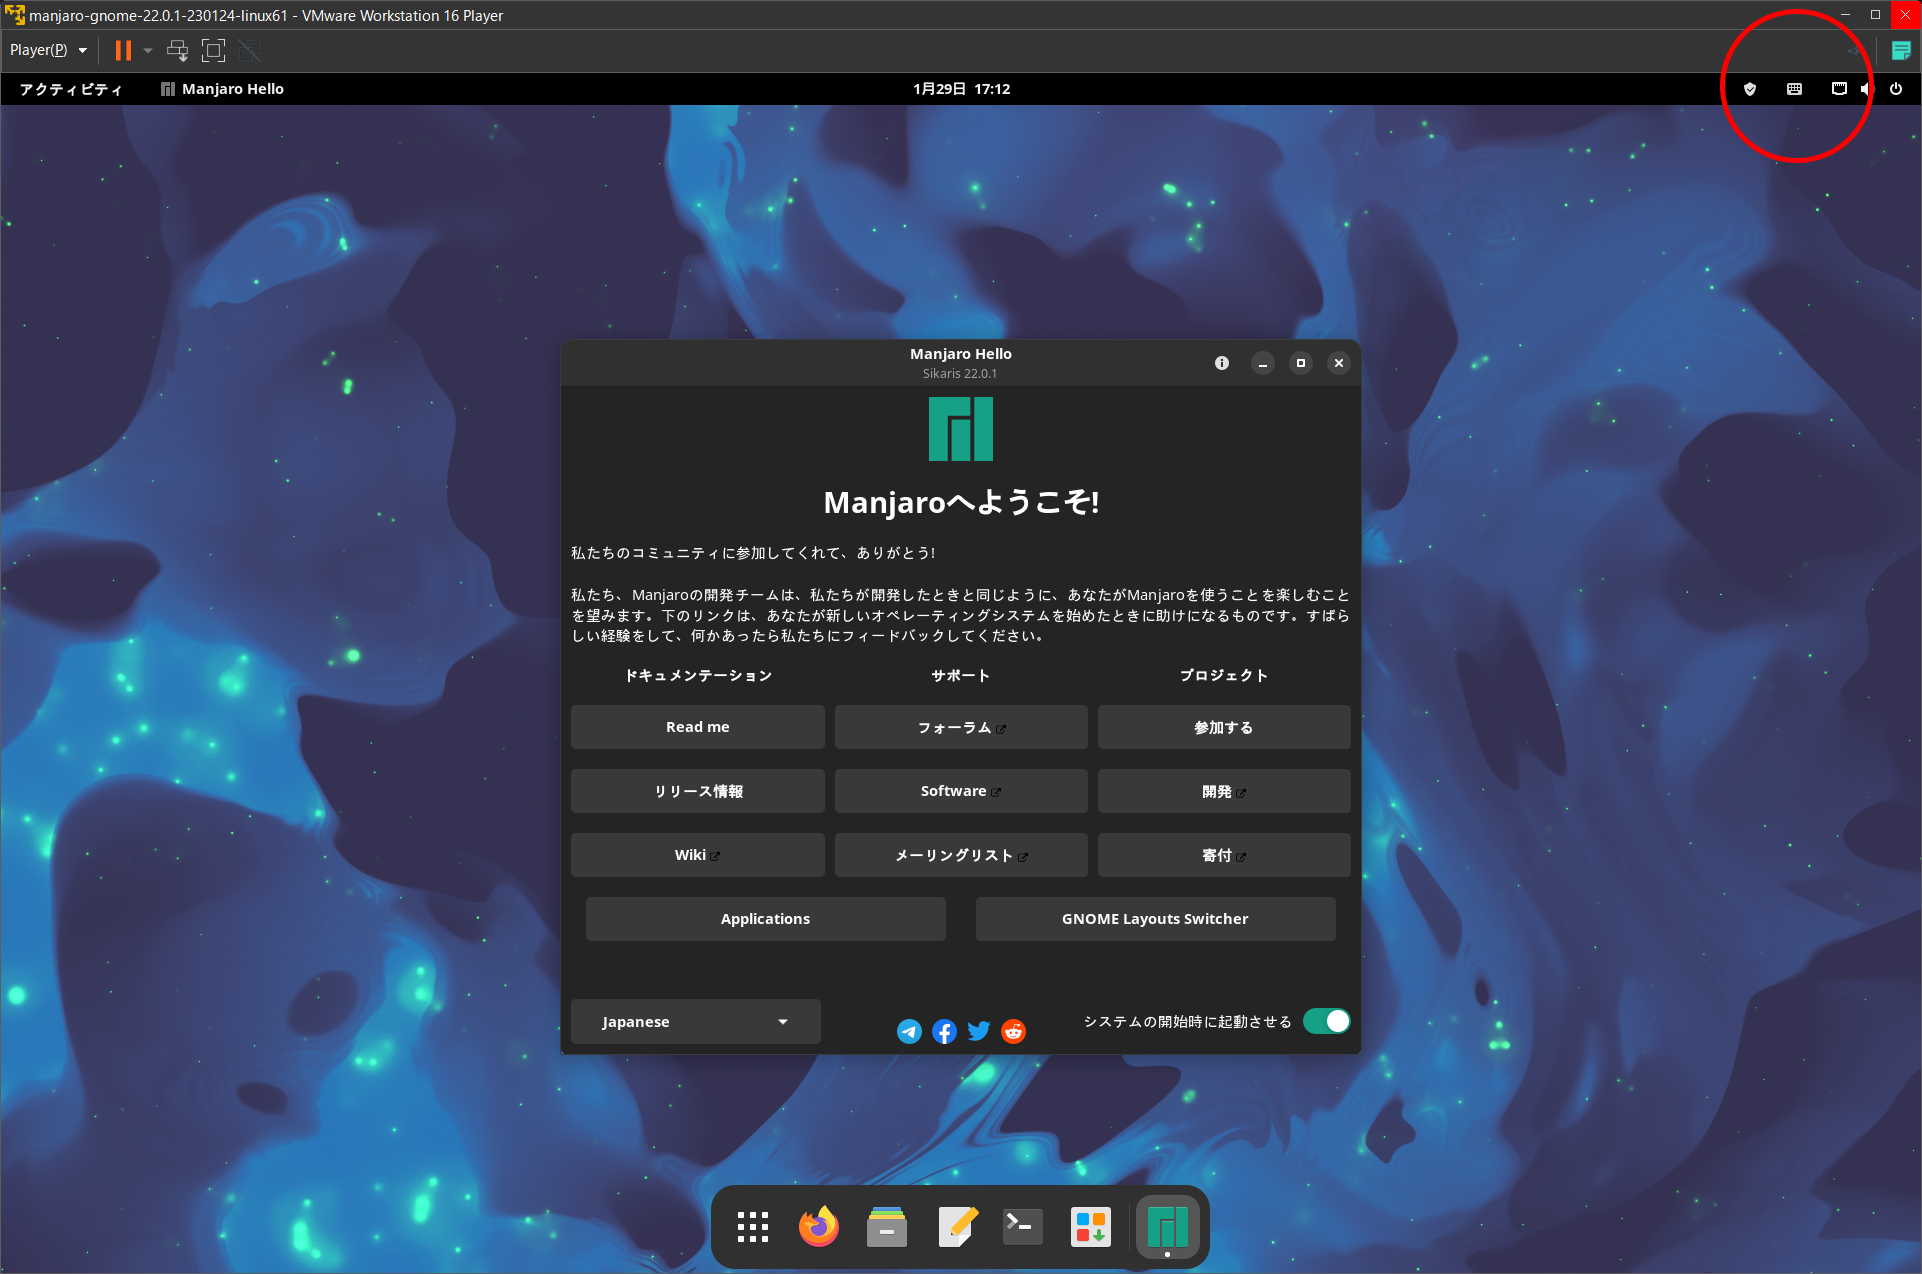
After restarting, you will see a keyboard-like icon in the upper right corner of the screen.
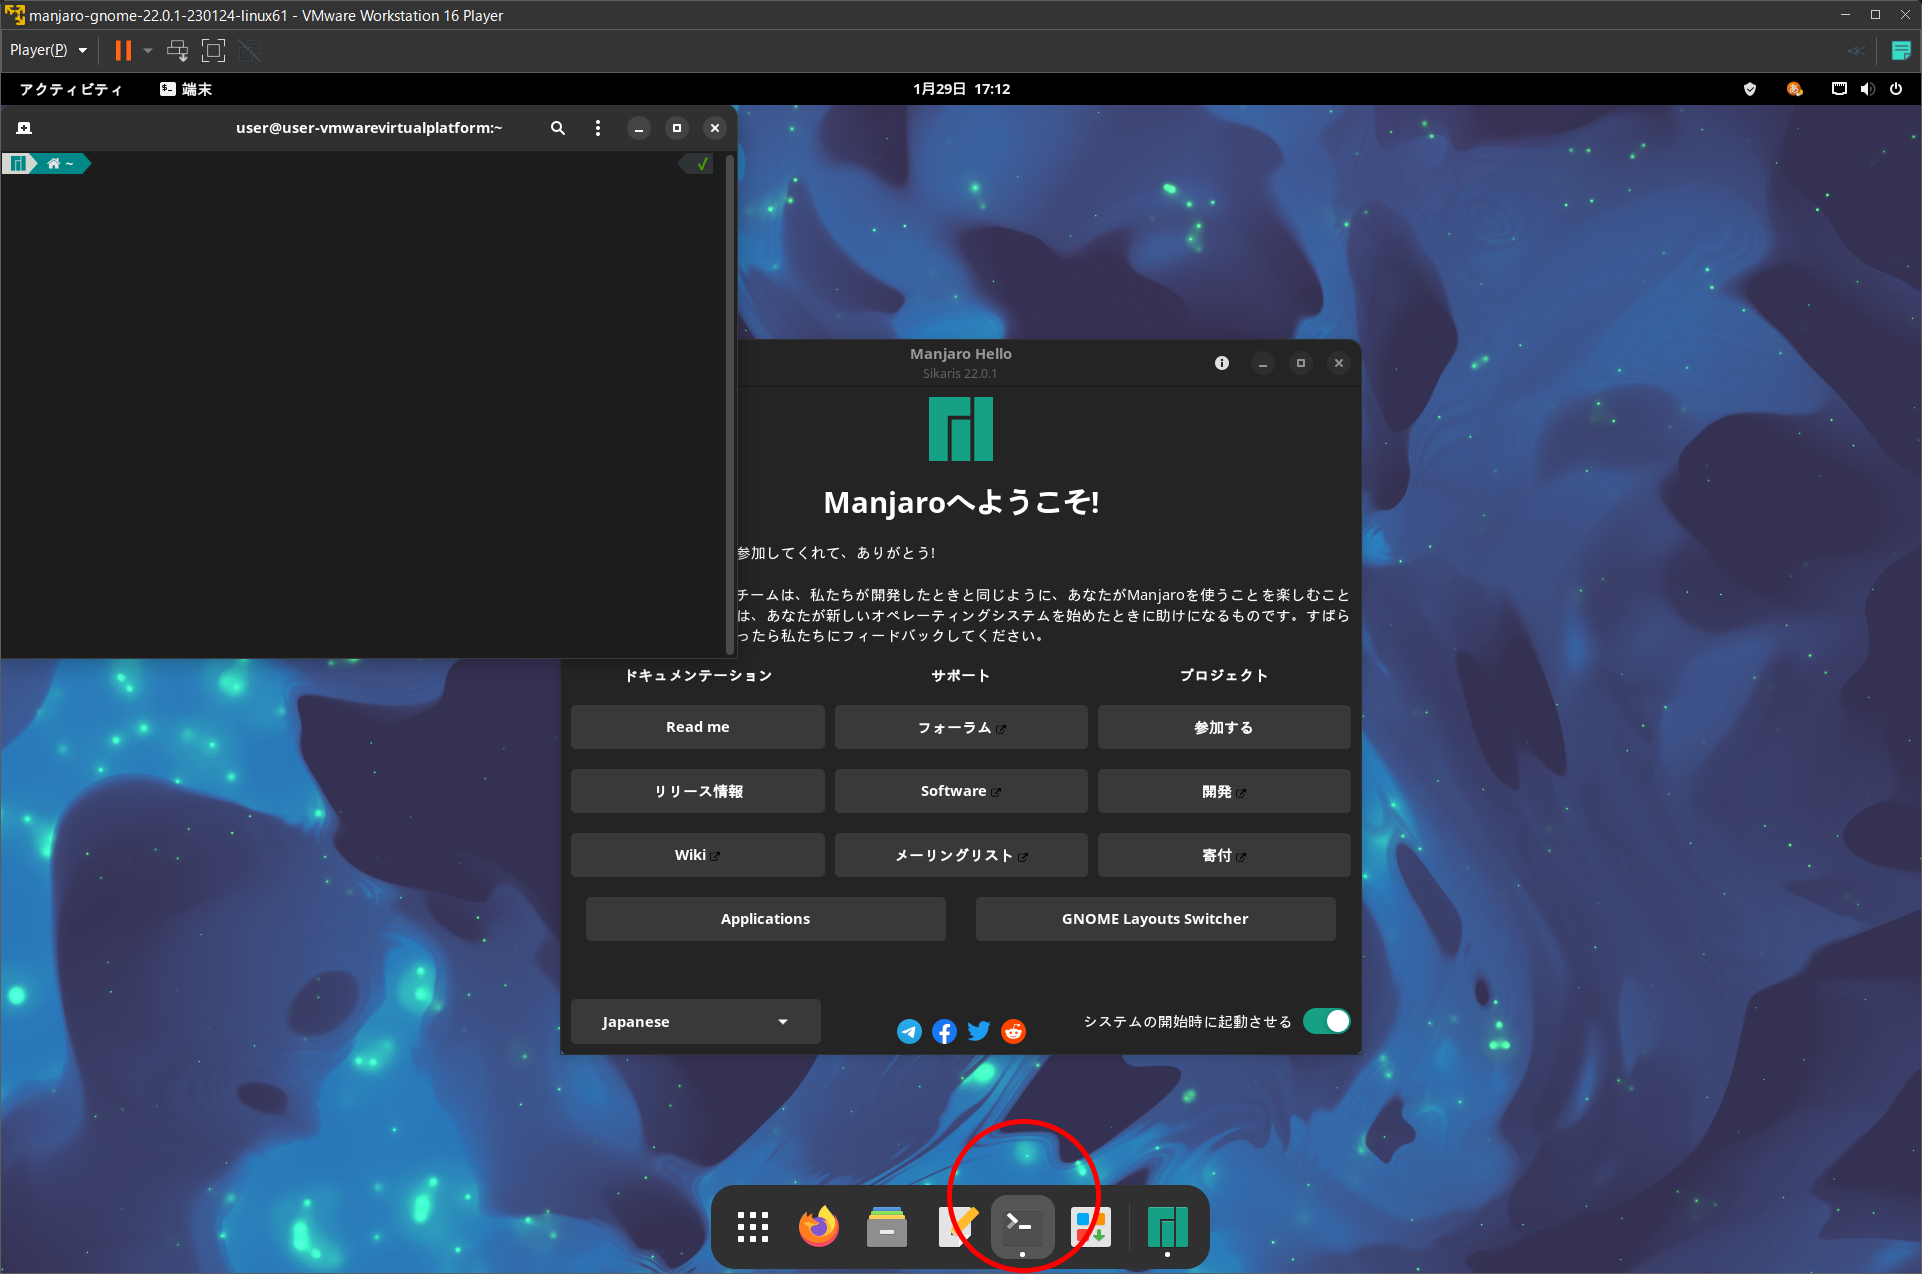
Let’s try typing in Japanese. Launch “Terminal” from the launcher at the bottom.
To type in Japanese, use the keys marked “Halfwidth/Fullwidth” and “Kanji” to switch between them, just as you would in Windows.
When you are in Japanese input state, the icon “A” will appear in the taskbar at the top.

Spell after installation
This completes the minimal setup.
Now it is time to install the necessary applications and configure settings, but there is one command that you should remember first. This is a command to invoke so-called applications and programs, like Windows Update in Windows. This is a command that you should remember to hit at startup, before installing applications, before shutting down, and every other time you need to do so.
Command: sudo pacman -Syyu
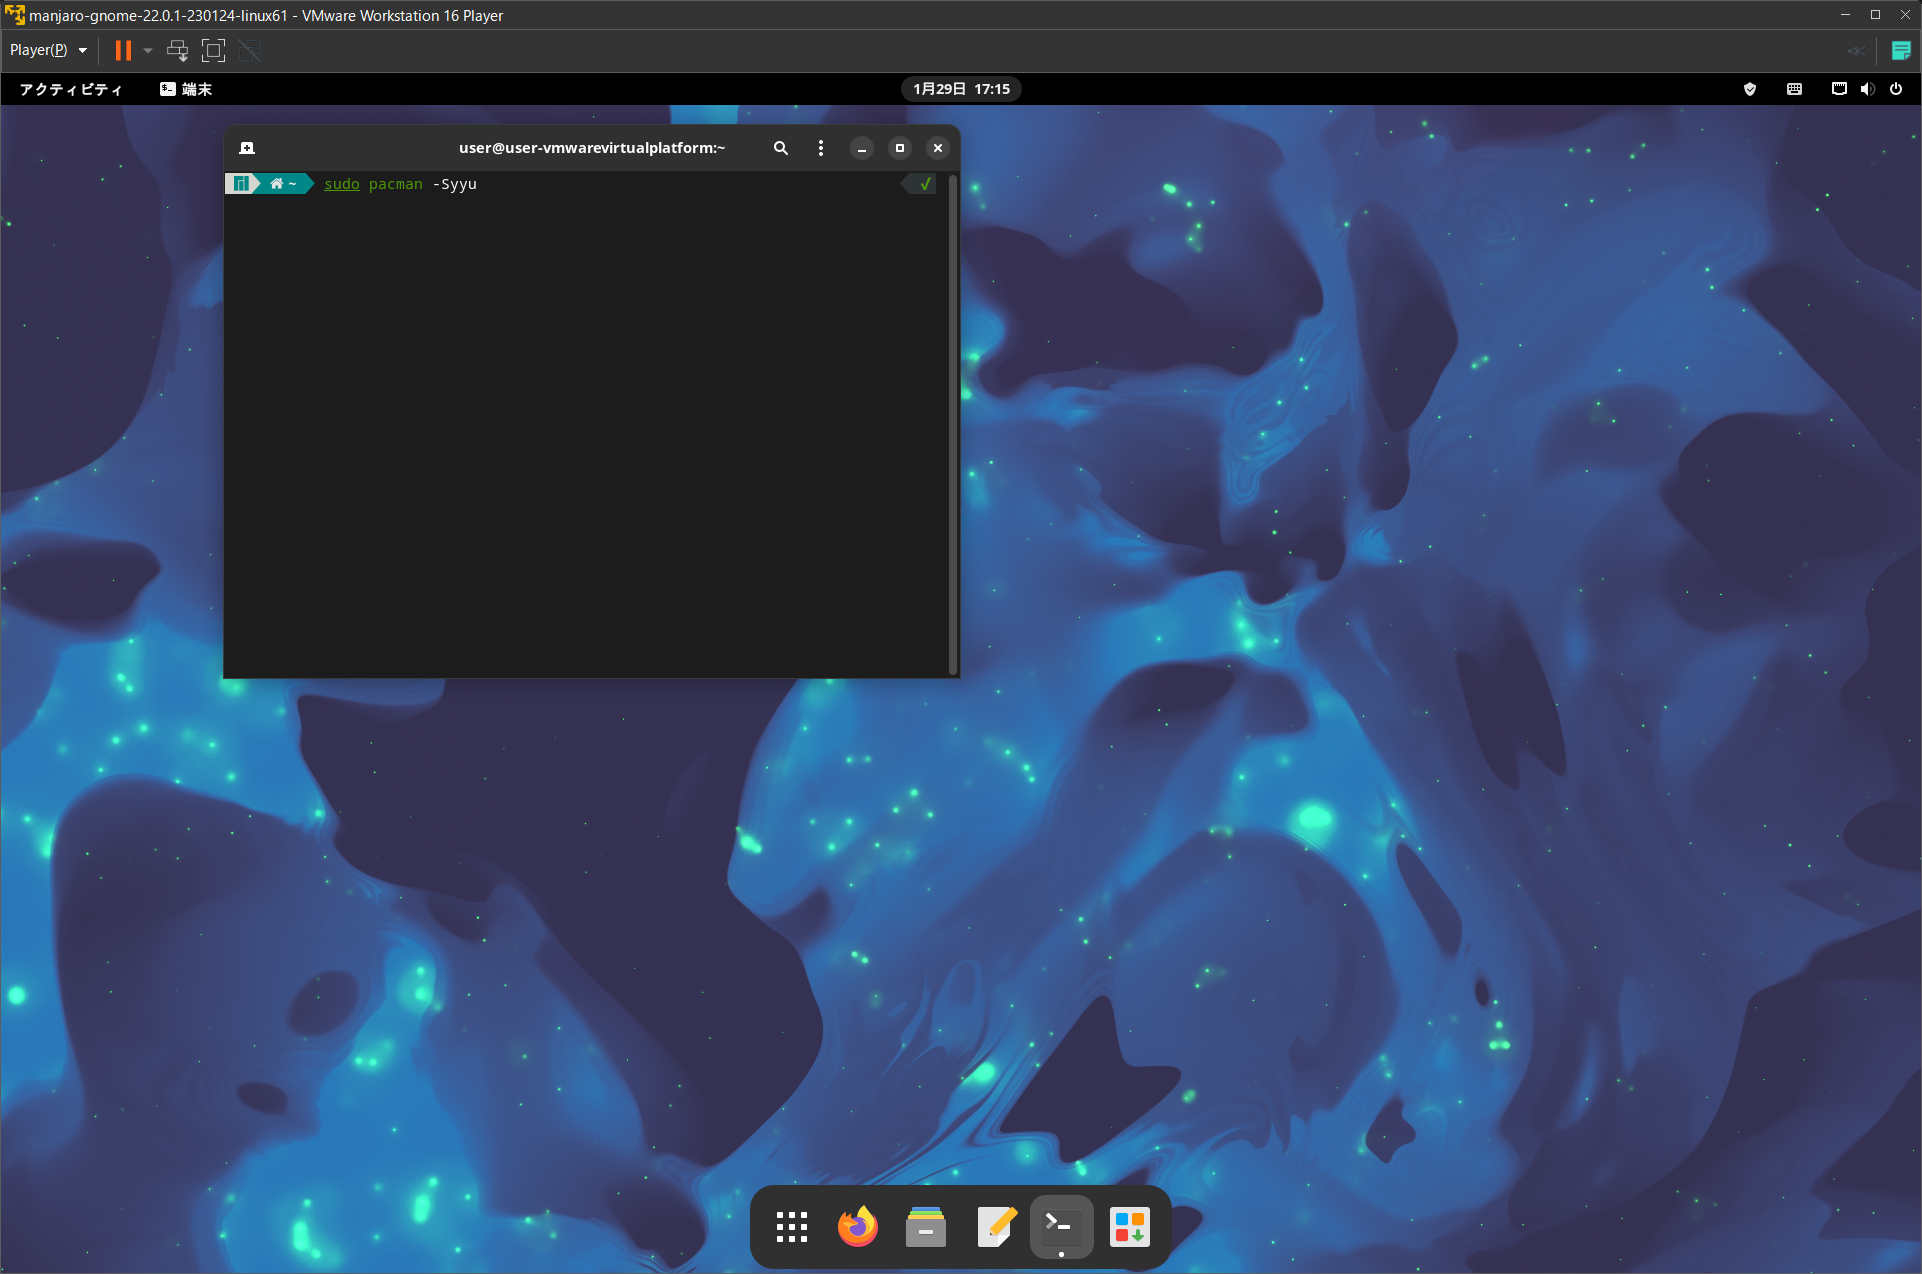
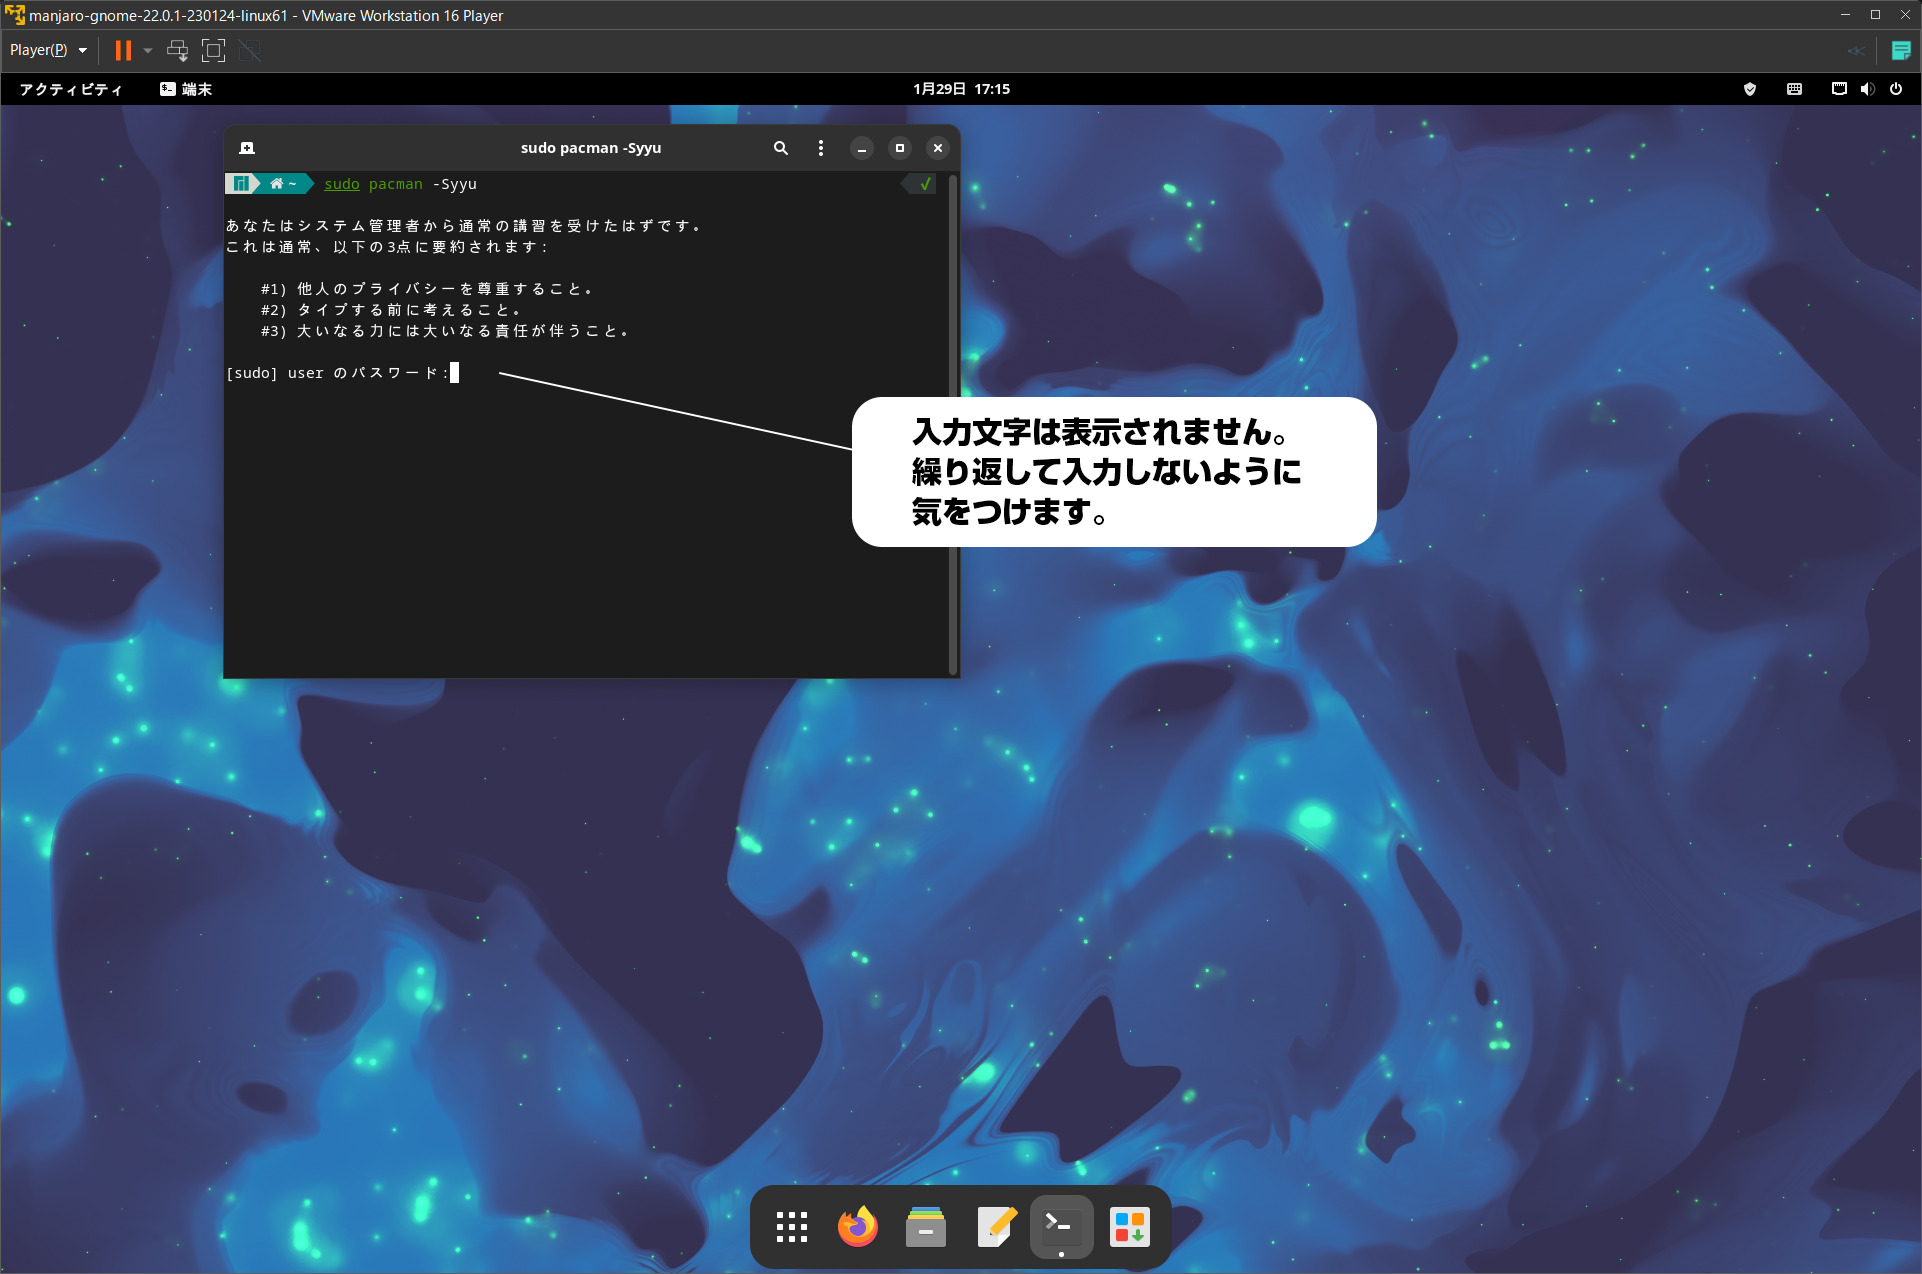
Again, enter the user password, as administrator privileges are required.
Note: If you are using a Linux terminal for the first time, nothing will change on the screen when you key in the password. If an error occurs, type the user password again and then hit the enter key.
Check for updates on the Internet, and if none are available, exit the command as is.
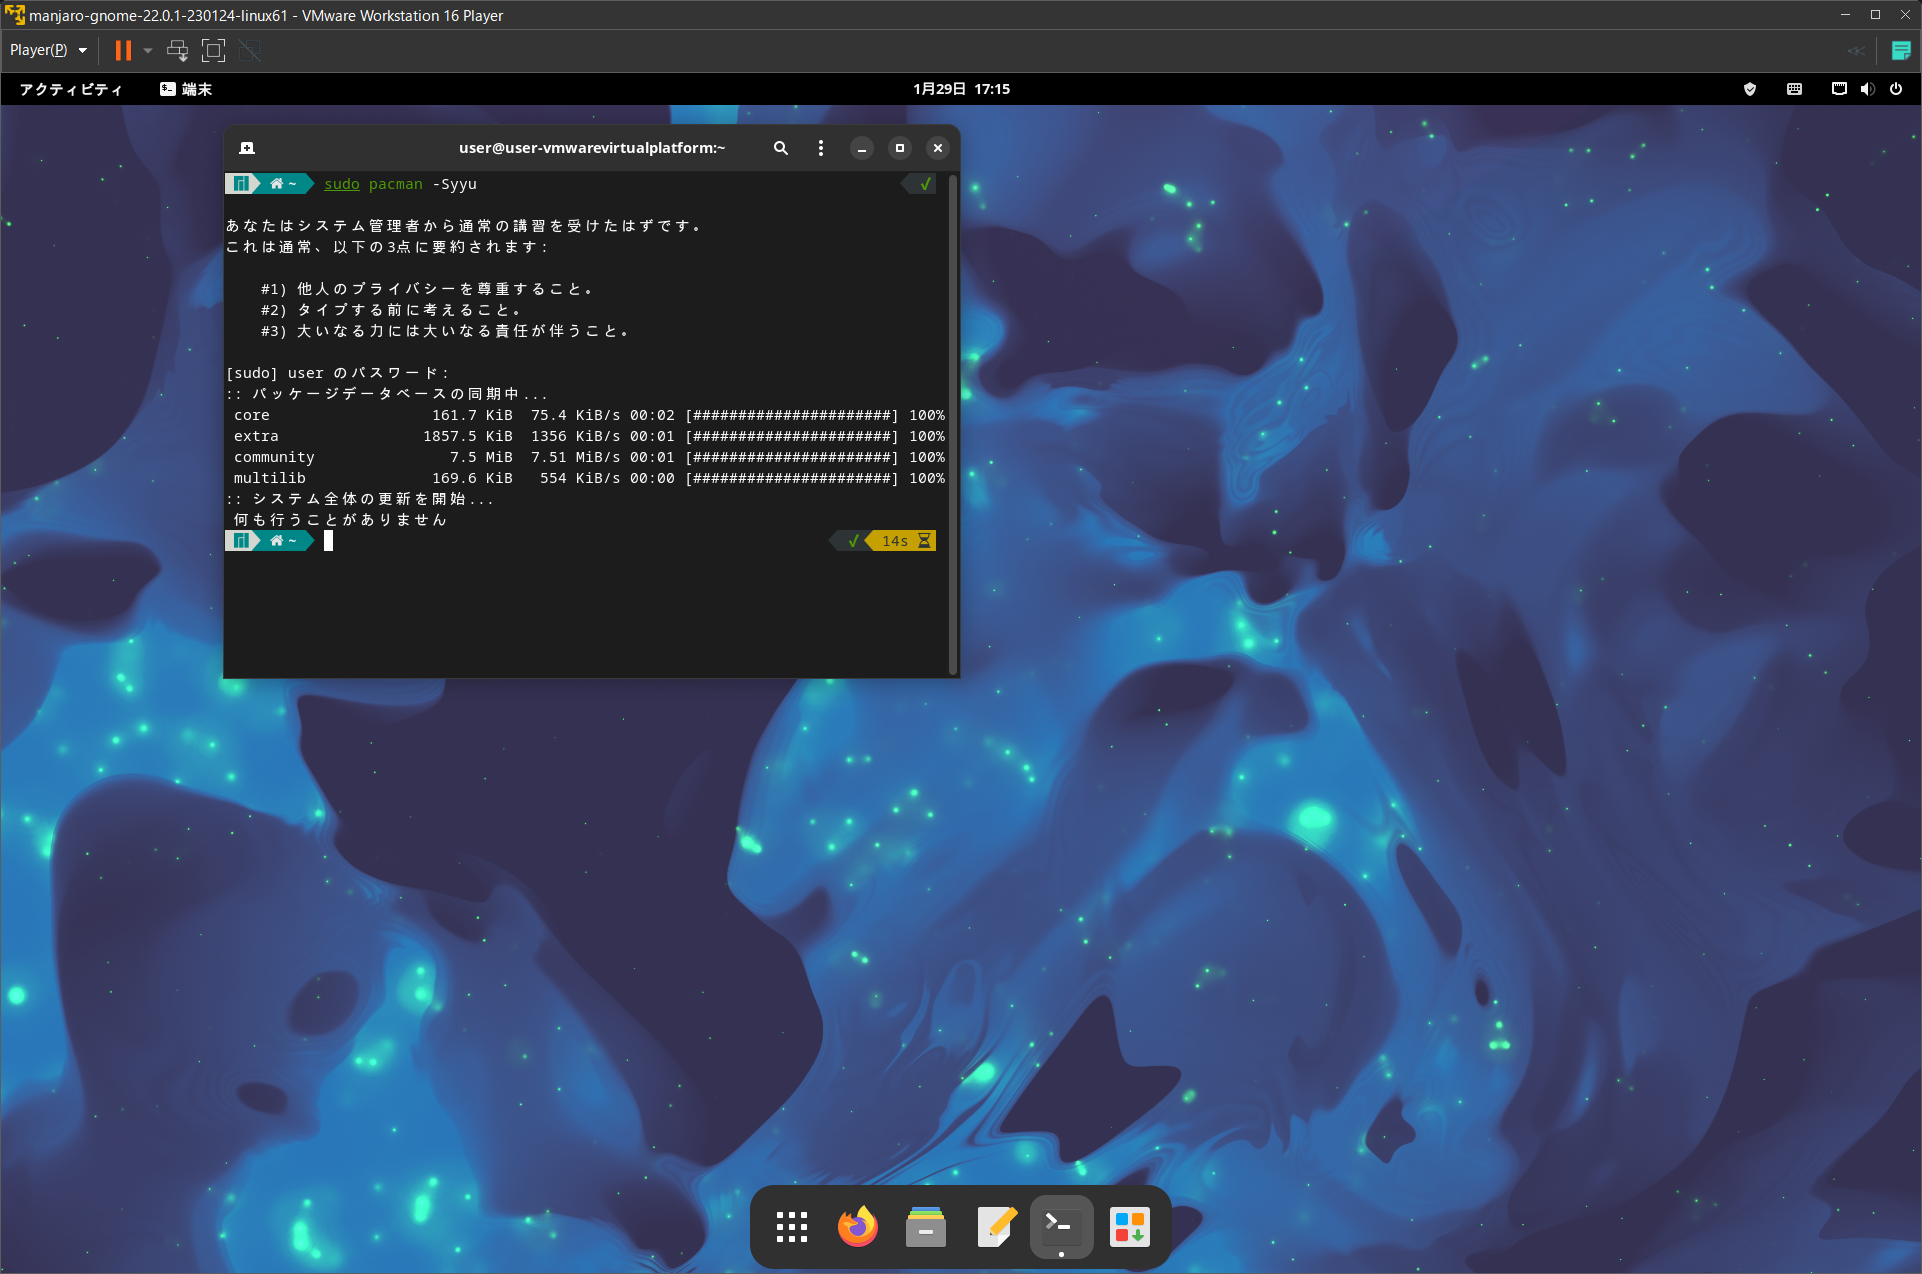
If there is an updater, you will be asked if you want to install it or not. If there is no special reason, press the “y” key and proceed with the update process.
You can find more information about this area here and there on our website.
In the next issue, I would like to explain the basic usage of GNOME rather than Manjaro.

コメント